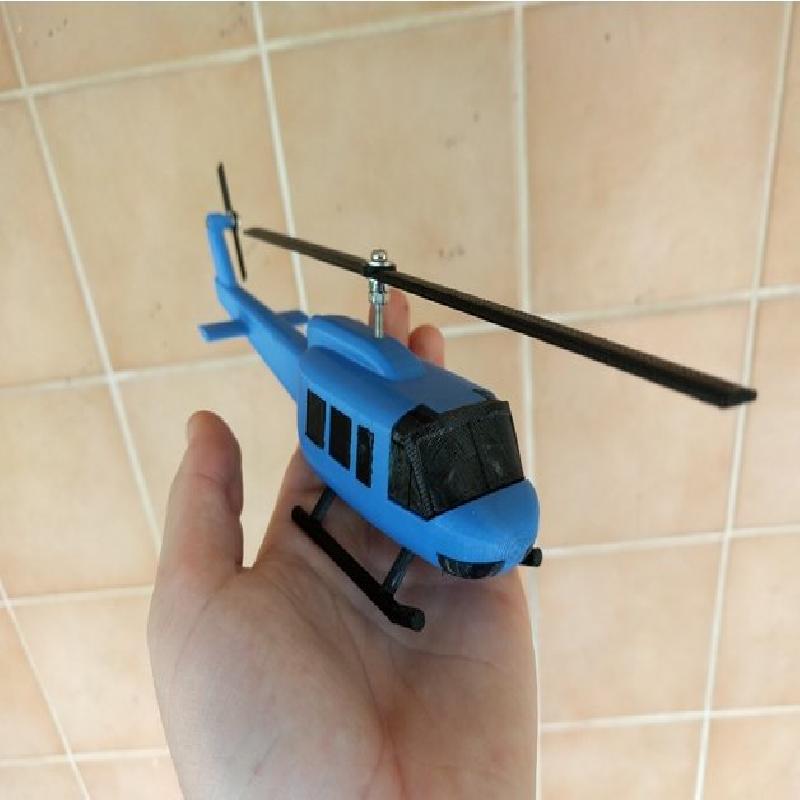
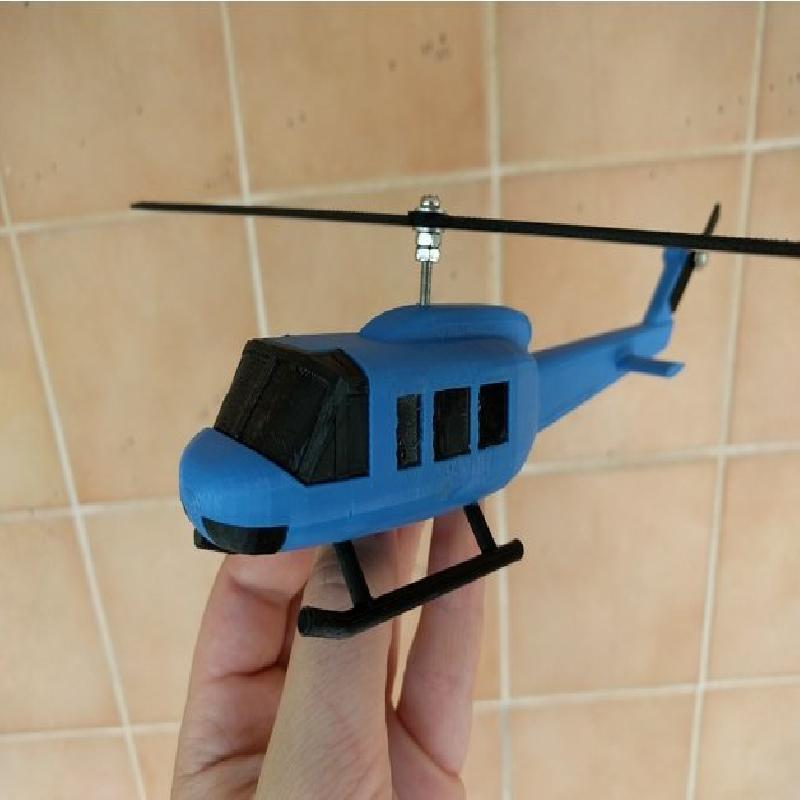
A 1:64 scale model of the Bell UH-1H Huey, the classic Vietnam helicopter.
Printer:
Anet A8
Rafts:
No
Supports:
Yes
Resolution:
0.2
Infill:
Variable - see below
Filament: Any brand PLA/PETG Black and not black
Notes:
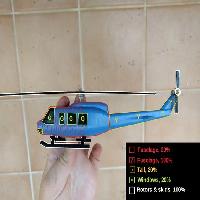
Infills for accurate Centre of Gravity:
Fuselage - 100%*
Tail - 20%
Windows - 20%
Skids & rotors - 100%
*If you have Simplify3D, you can print in 20% up to just below the rear skid attachment hole (38mm) for a better CG.
You will need:
1 x 30mm M3 bolt
1 x 15mm M3 bolt
2 x M3 nut
4 x M3 washer
Superglue (or other glue)
3mm drill
Screwdriver
2 x Spanners (suitable for nuts)
Construction
Drill out rotor holes in helicopter roof and tail with 3mm bit (a 2.5mm may be better, I haven't tried), and drill the holes in the rotors with the 3mm bit.
Place components on the 15mm bolt in the following order: Washer-Small Rotor (facing out)-Washer. Screw it into the tail from the LEFT side. Continue screwing it in until the rotor seizes up, then loosen about half a turn (or until the rotor spins freely).
On the 30mm bolt, place the components in the following order: Washer-Large Rotor (facing out)-Washer-Nut-Nut. Move the first nut up as far as it goes, then move the second up just behind it. Use spanners to turn the nuts against each other, so neither will slip. Adjust the nuts up and down small increments to change the tightness of the rotors. Once adjusted, screw the bolt into the top of the fuselage, so that the bottom of the rotors is about 13mm from the top of the fuselage.
All other construction is self-explanatory, use superglue to secure pieces in place.