by SethBon
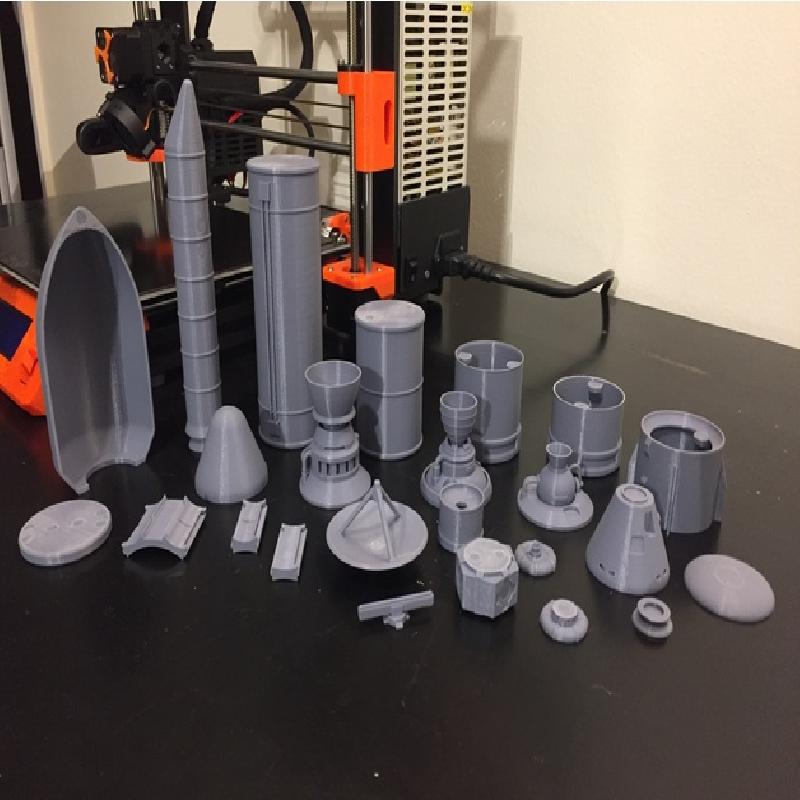
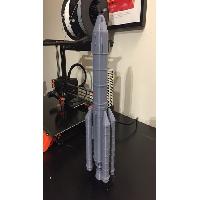
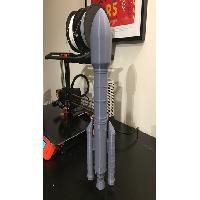
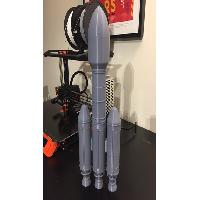
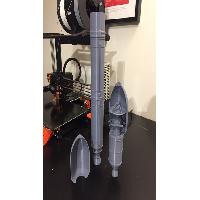
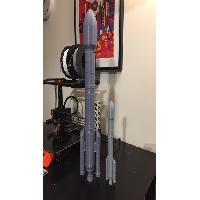
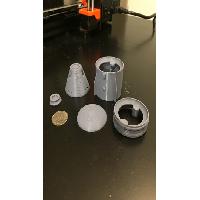
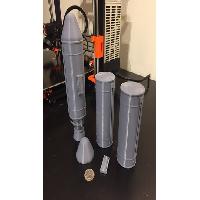
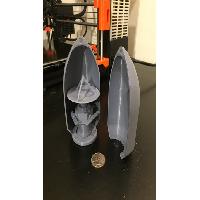
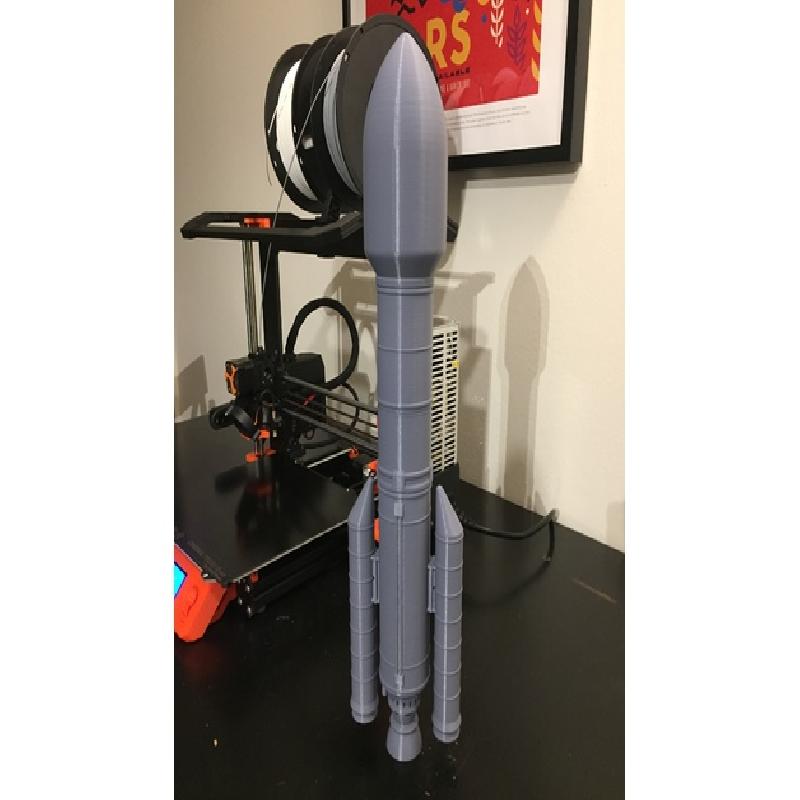
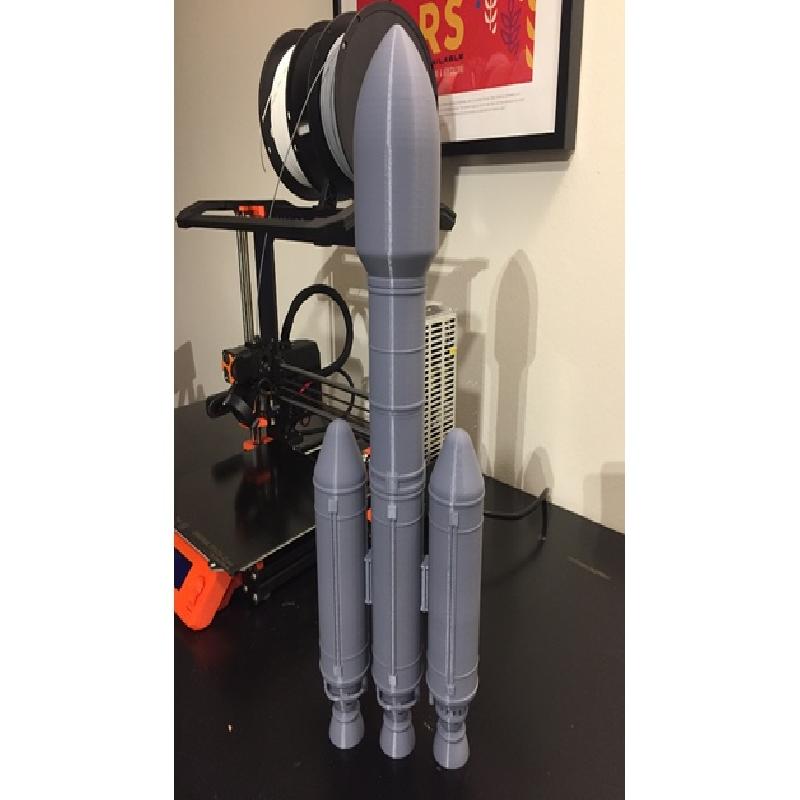
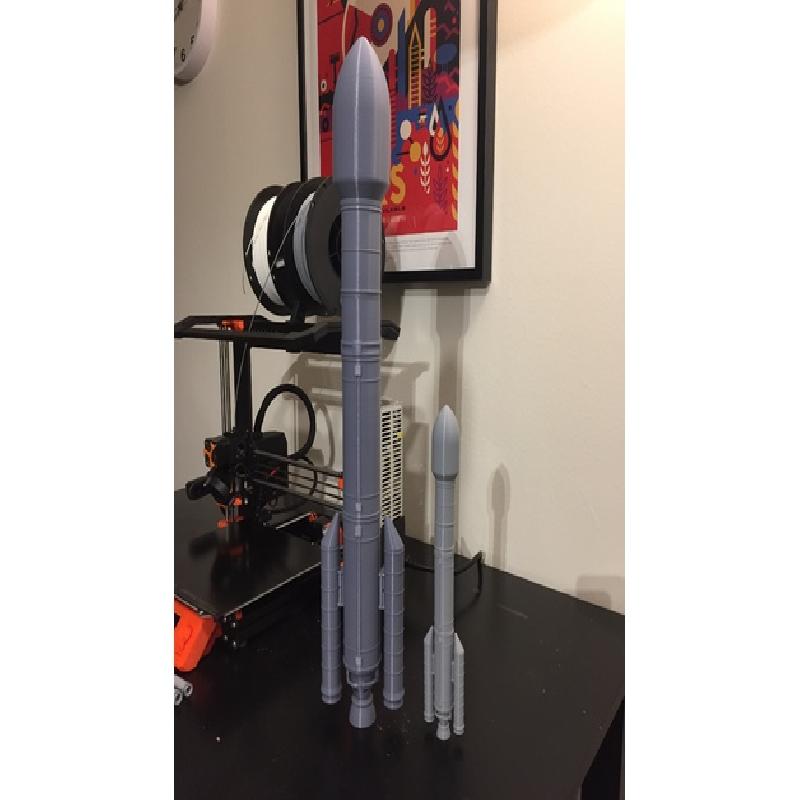
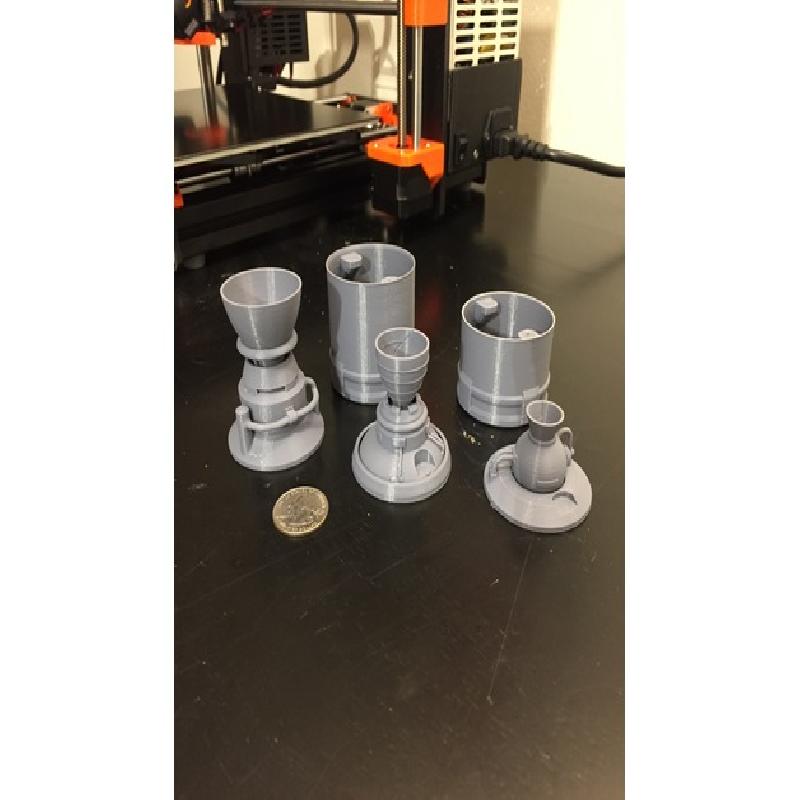
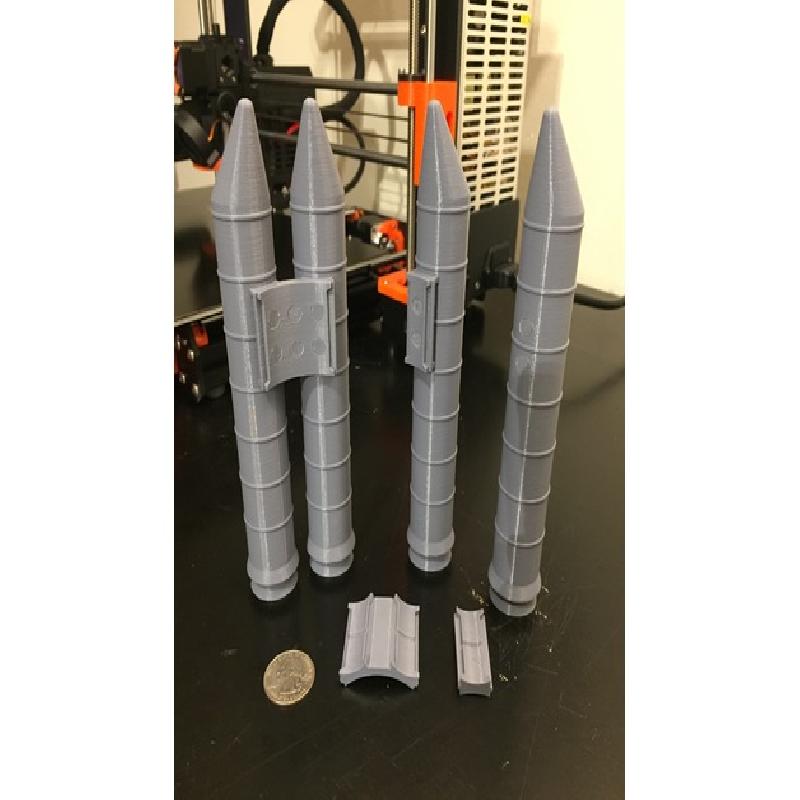
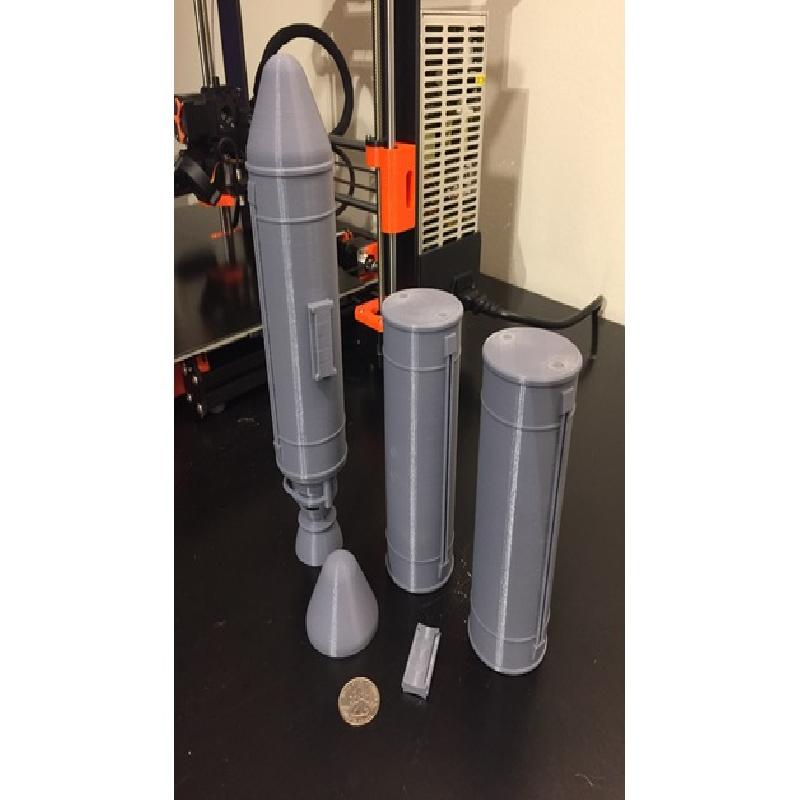
Bring your Kerbal Space Program rockets to life with these 25 modular rocket parts. Parts are designed to snap together using neodymium magnets to allow you to build and modify your rockets into different designs just like you're in the VAB.
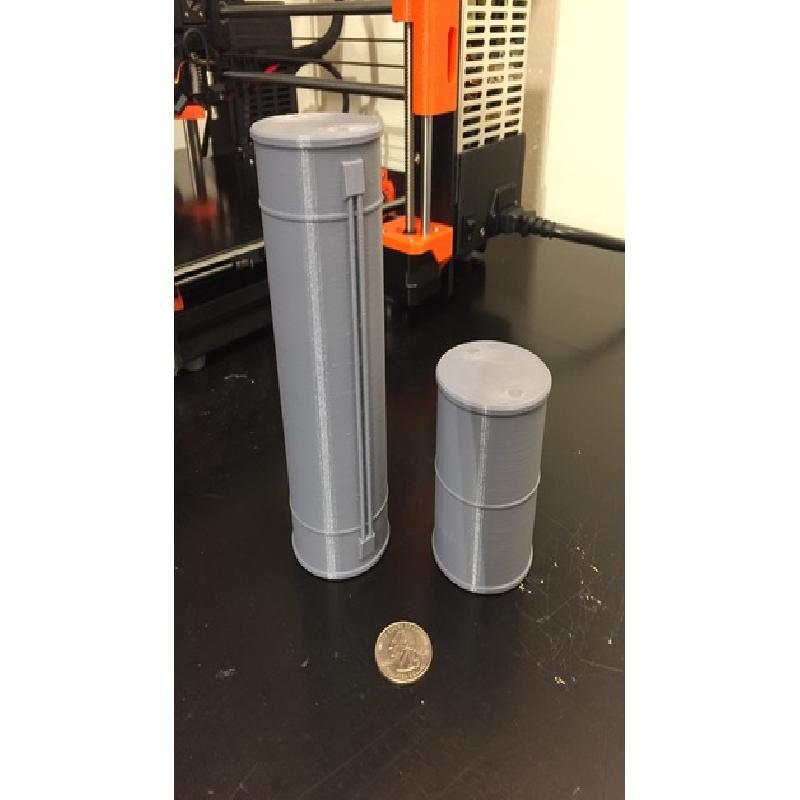
Rocket parts are 1:50 scale to in-game parts, e.g. 2.5m parts in-game are 5cm. Are these pieces a little too big for your desk? Check out my 1:100 scale parts (coming soon).
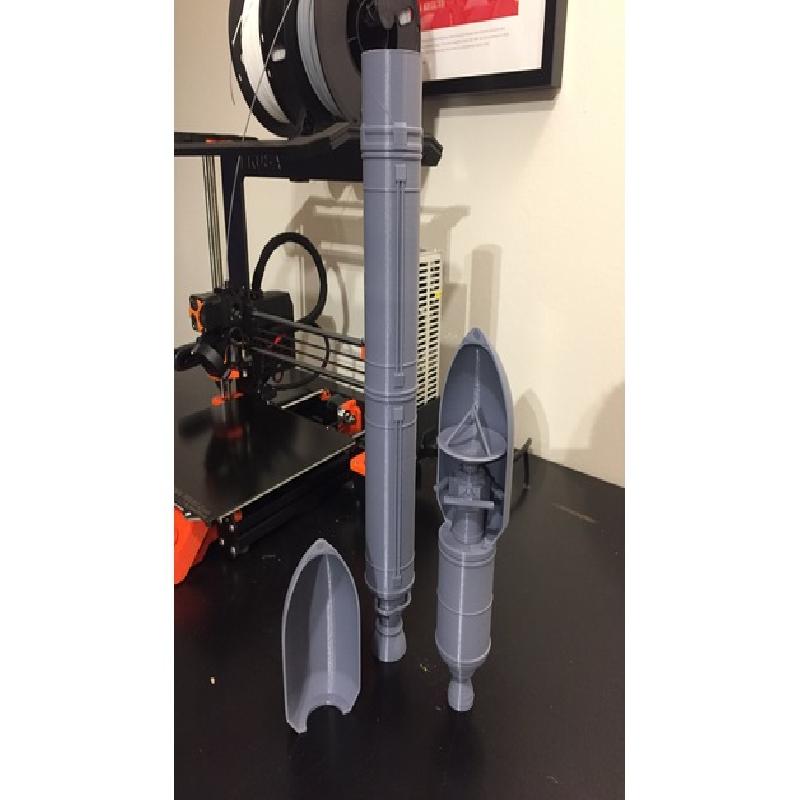
All parts fit 6x2mm neodymium disk magnets with some space left over for a cover plug. Magnets and plugs can be glued in place with normal super glue. With the cover plugs in place, the pieces hold together well, but you have to be careful when moving it or you may experience rapid unscheduled disassembly. For a better hold, try placing the plugs underneath and have the magnet exposed, even with the part surface. Or, for a more permanent fit, print the longer plugs to glue two pieces together. See the post-printing section for more details.
Want a part that I am missing? Leave a comment and I'll do my best to try to model that part.
All parts are modeled from scratch in Fusion 360. I make them as detailed and accurate as possible, but some parts may require slight modifications to make printing easier.
Printer Brand:
Prusa
Printer:
Resolution:
0.4mm Nozzle, See notes for layer height
Infill:
20%
Notes:
Print settings:
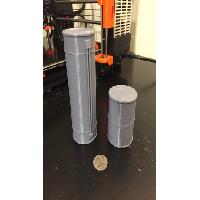
Fuel Tanks - 0.2mm layer height, no supports
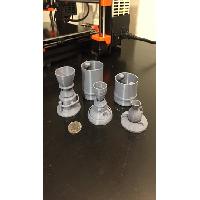
Engines - 0.15mm layer height, supports required for suspended portions
Engine Decouplers - 0.2mm layer height, no supports
Command Pod - 0.2mm layer height or 0.15mm for more detail, no supports
Command Pod Decouplers - 0.2mm layer height, no supports
Docking Adapter - 0.15mm layer height, no supports
Solid Booster - 0.2mm layer height, supports required for bottom overhang
Radial Decouplers - 0.15mm layer height, no supports
Nose Cone - 0.2mm layer height, no supports
Fairing - 0.2mm layer height, supports required for top of fairing halves
Satellite Body - 0.15mm layer height, no supports
Satellite Solar Panels - 0.15mm layer height, supports required
Satellite Decoupler - 0.2mm layer height, no supports
Satellite Dish - 0.15mm layer height, supports required for top section, dish body didn't require supports for my printer but yours may, print slowly for best results, at least 50%, this was the most difficult piece to come out with good quality for me
No supports should be required for any of the magnet slots.
Thin plugs should be printed at 0.10mm or even 0.05mm layer height if your printer supports it.
You may need to clean out the magnet slots to make the magnets and plugs fit correctly. Use a knife or drill bit to clean out the slots.
Here are the specific magnets I used: https://www.amazon.com/gp/product/B07CPMQJHF/ref=oh_aui_detailpage_o02_s00?ie=UTF8&psc=1
There are 5 lengths of cylinder plugs in addition to the ones with curved faces. I tried to indicate where the curved plugs go by their placement in the STL files. Below are the purposes for the 5 length cylinder plugs.
Longest (9.6mm): Permanent attachment for boosters through radial decouplers.
Second longest (4.8mm): Permanent attachment of two standard pieces, e.g. two tanks, engine and tank.
Middle length (2.8mm): Permanent attachment used in two places. Attaching the command pod and heat shield. And the satellite body and satellite engine. Magnets are required in the heat shield and satellite engine in order to attach to their respective decoupler pieces.
Second shortest (0.9mm): Magnet cover plug for attachment between the Skipper/Poodle engines and their respective decouplers. This creates a larger gap between the magnets, allowing you to disconnect your stages without pulling unintended pieces apart.
Shortest (0.4mm): Magnet cover plug for all other pieces.
Be careful when gluing the magnets in place to get your polarity right. Have the tops of each piece one direction and the bottoms the other direction so they snap together. Double and triple check before gluing as they will be nearly impossible to remove once dried. Use a metal rod like a drill bit to more easily place the magnets in their slots and press them in place. The single booster radial decouplers require two magnets per slot.
Sand the tops and bottoms of your pieces after gluing in the cover plugs for the best fit between pieces.