by MeakerVI
I present for your consideration a new DIY Nerf Blaster:
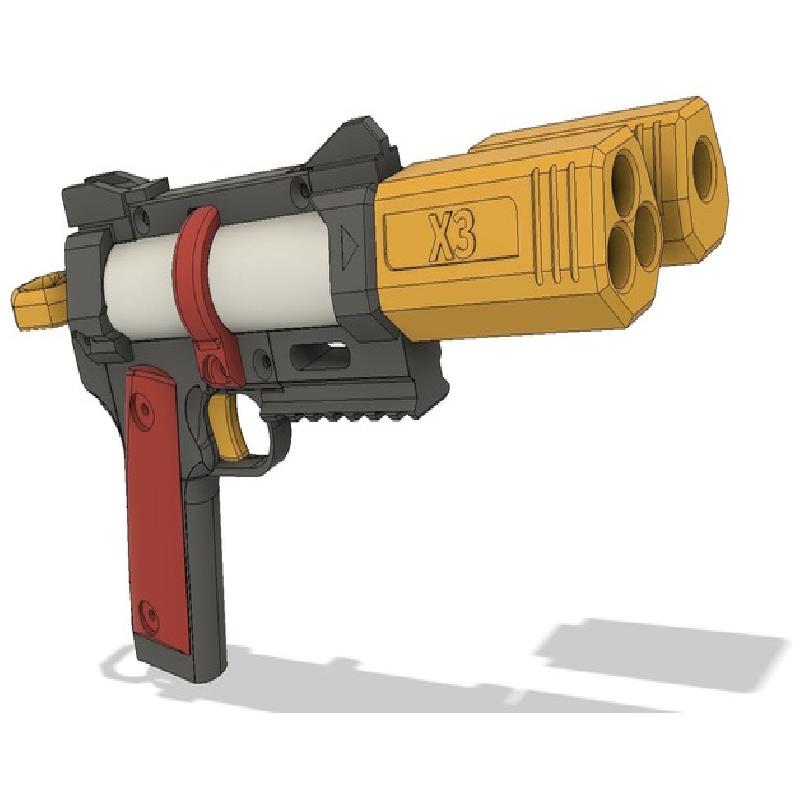
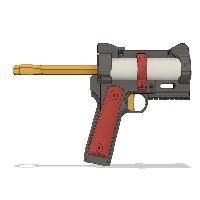
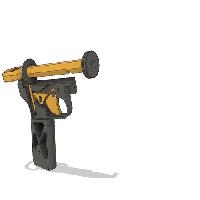
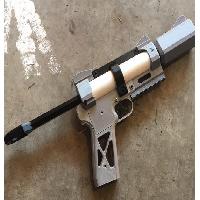
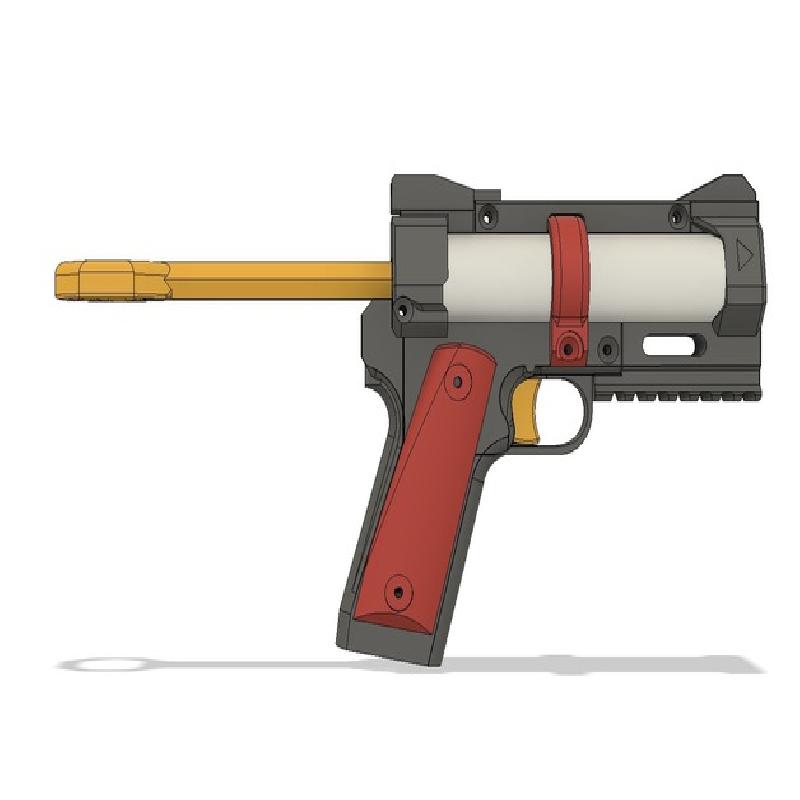
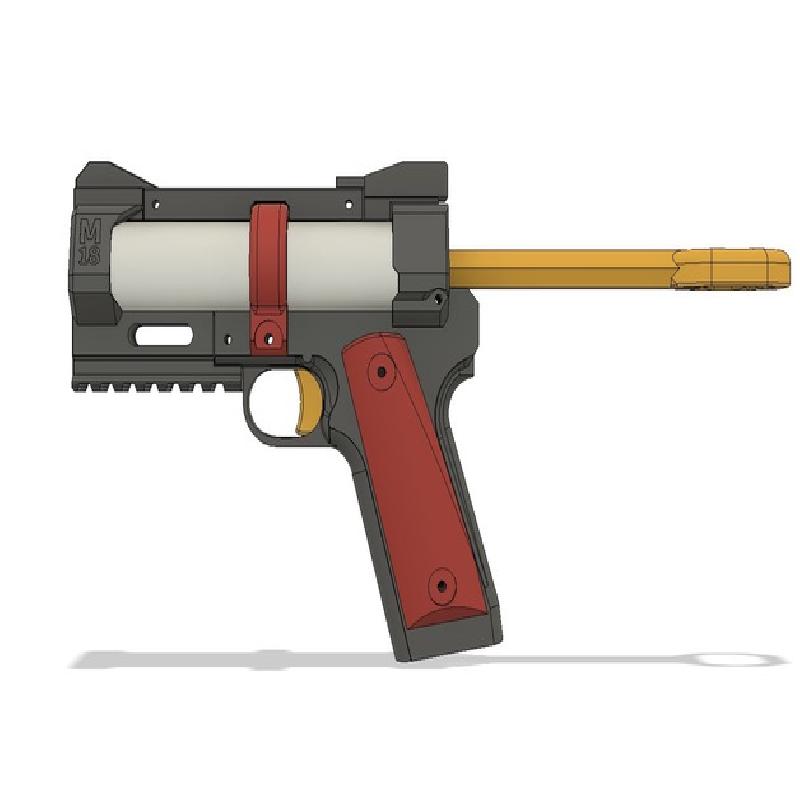
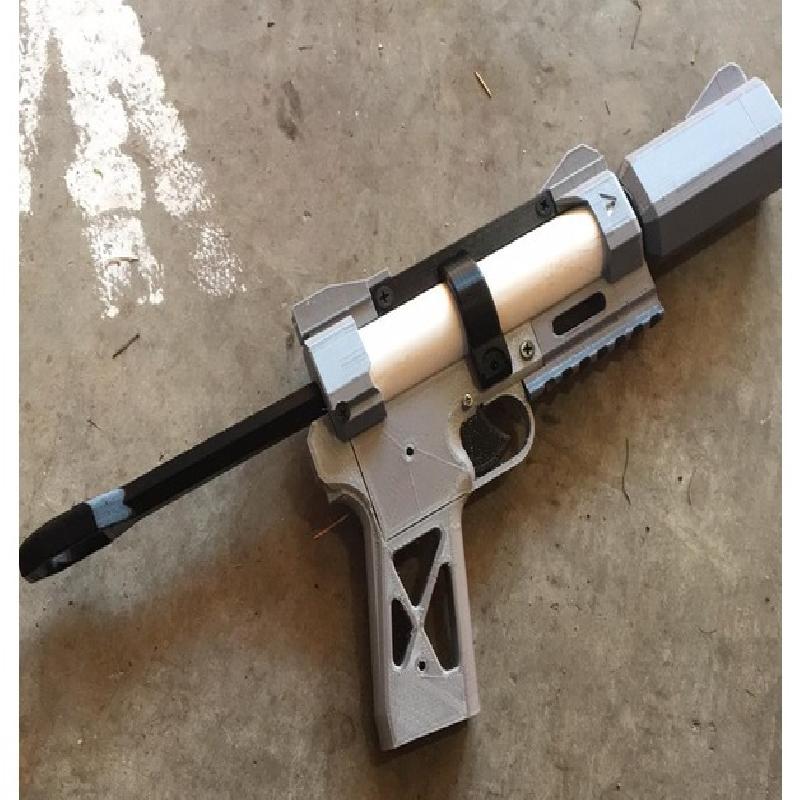
The Meaker Mk18 Assault Pistol
Background:
This blaster was concieved and designed when I found that, while playing in an infinite-respawn CQB point-based game, players carrying around bulky mag/clip based loadouts were only effective as long as their mag supply held out. Once they ran out (they all did) they were out of the match for several minutes reloading. While observing this, I also found that I could do quite well scoring points and holding territory with just a single-shot pistol (ala a Nightfinder, Firestrike, Hotshock, etc.).
However, I did run into several situations that left me wanting for additional firepower- I couldn't do much against a group of players after firing once. Thus I designed a blaster with quick-change barrels and multi-shot capability, designated an "Assault Pistol" as the player wielding it is intended to be rushing flags, taking points, and helping their team win the round, not necessarily focusing on getting tags except in fulfillment of those goals. Additonal barrel types are in the works and barrel fit is still being adjusted for maximum performance. At the time of posting the blaster is hitting ~90FPS with two of the three barrels plugged in the X3 barrel, and the shortest round in the burst lands as far as the longest from a stock sledgefire.
All parts should be safe printed at 2mm shells 20% infil; including the plunger head and plunger rod. No part other than the grip requires support; the grip only requires support touching buildplate. Part orientations may not be ideal; orient as needed. Barrels should print with the coupler up.
Ensure your printer's layers look clean and well-adhered, if you experience a failure increase the wall thickness rather than the infil unless you're increasing it to 100%.
Recommend printing in non-realistic colors (bright orange, blue, red, etc.) when intended for use outdoors. Always play responsibly, do not aim blaster at people or pets, wear goggles, etc. etc. I am not responsible for your misuse of the blaster.
Additional required parts:
~6" Of 1" 200 PSI PVC - Ping me on reddit or NH with your non-US-standard tubing options that are close to 1.315" OD and 1.185" ID so I can make new plunger heads (and frames if needed).
A ~5.5-6" mainspring of your choice (K25/6, ACE#49, etc.; has 'only' been tested with K25")
A Dash 213 (139" (1/8") sectional diameter, .921" (15/16") ID, 1.199" (1-3/16") OD) o-ring
A small extension spring for the catch. Designed with McMaster 9657K266 in mind.
A handful of #6 bugle or flat coarse-thread screws. I used 1-1/4" drywall screws and cut them where they stuck out.
Some gasketing between the barrel and frame. I'm presently using some craft foam, but am experimenting with barrel geometry to find a more elegant solution or o-ring that will work instead.
Plastic-safe lubricant of your choosing.
Assembly instructions:
Put the o-ring on the Plunger Head. Optionally pad the plunger head with gasketing.
Insert the Plunger Rod into the Rear Structure, through the Catch Plate, through the mainspring, and into the Plunger Head. Secure with #6x1-1/4" (minimum) long screw.
Lubricate and slide PVC over plunger head into structure. Slide Frame Ring over PVC.
Attach top structure and front structure with #6 screws to assembly. Optionally, insert craft-foam gasketing or padding between front and plunger tube. Ring should be closer to rear than front.
Insert small catch spring into Catch, Catch into Grip Frame with Cam and Trigger as shown in internal image in posting.
Add Grip Cover and attach grip to assembly with 3 #6 screws.
Cut #6 screws which protrude from assembly to length.
Cut a hole in craft foam and install onto barrel of your choosing.
Load dart(s), pull plunger, and have fun!
License: I've released this CC0, because I'm not of the belief that copyright really protects printed designs, and because I do not want to hinder those trying to acquire this design for themselves, personally, even in the event they need to hire the printing service. Those interested in selling the design commercially will get more support and care from me if they inquire after a paid licensing arrangement.
Rafts:
No
Resolution:
0.2mm
Infill:
20%
Filament: N/A Tested in PLA N/A
Notes:
Supports "touching build plate only" required on grip. Files are in inches (scale up 25.4x or 2540%), probably not optimally oriented.
All files should fit on 120mm build plate except grip and plunger rod. Thus I've provided the "shorty_" files to hopefully accommodate this. Because the grip size directly impacts the scales, those (rather, one; the other is a mirror anyway) are also available for the shorty version. This will require a split plunger rod; I've tested a version with a split PR without issue. Recommend glueing and screwing the PR together after inserting it into the frame.