by 3DprintA18
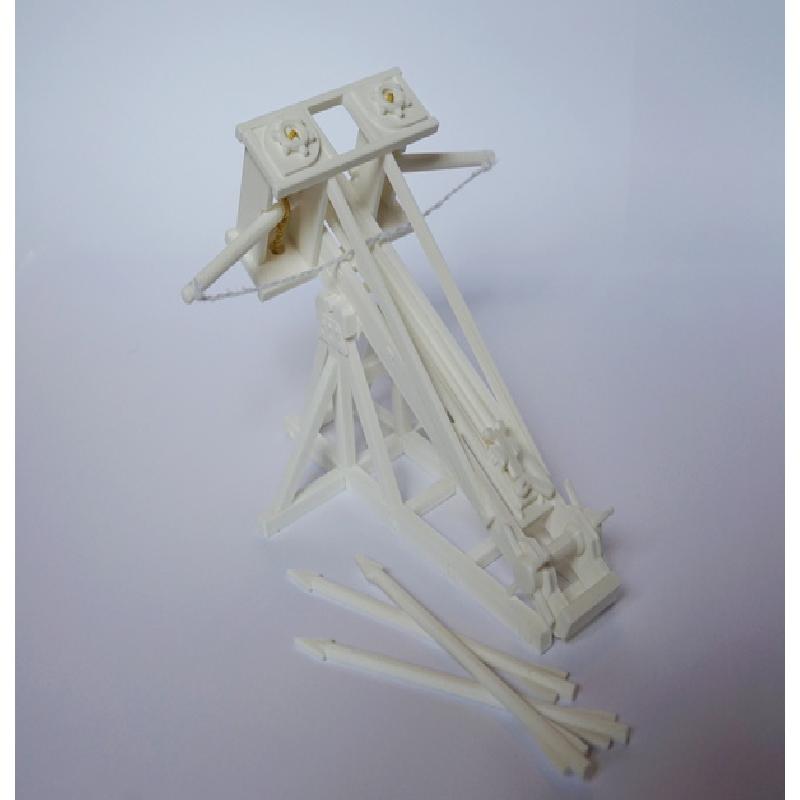
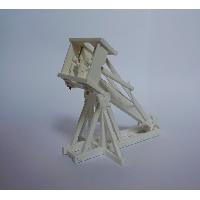
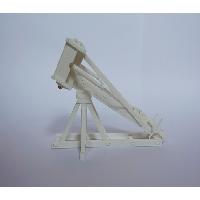
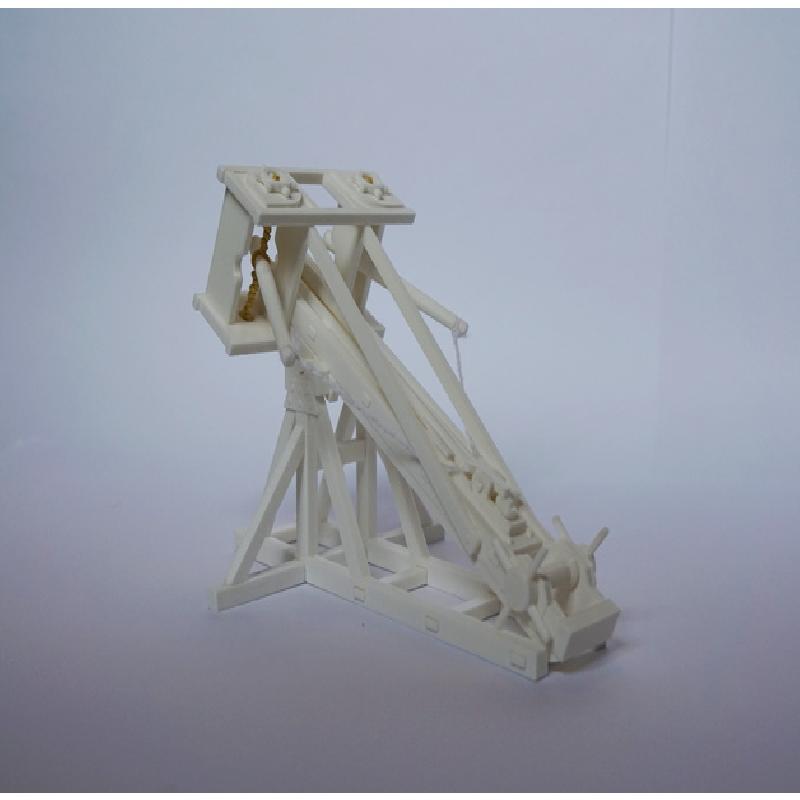
Model ballista based on historic designs as much as possible, very easy print. It is intended as a static model / display piece.
It will work but wont shoot the bolts with much force, even so please be careful if you do use it as a working model. Please do not attempt to modify this or turn it into a weapon.
Printer Brand:
Prusa
Printer:
Rafts:
No
Supports:
Yes
Resolution:
0.2
Infill:
20
Filament: Prusa PLA White
Notes:
The model has been optimised for 0.1 or 0.2mm layer heights so the tolerances will work best when using those. Most of the parts have a flat side making them easy to print, some of the parts may need supports depending on whether or not you choose to split them in your slicer programme.
Ive listed the quanities of each part where more than one is needed below, if the part is not listed below only one is needed.
Part:
Ballista- Arm Qty 2
Ballista- Outer stanchion Qty 2
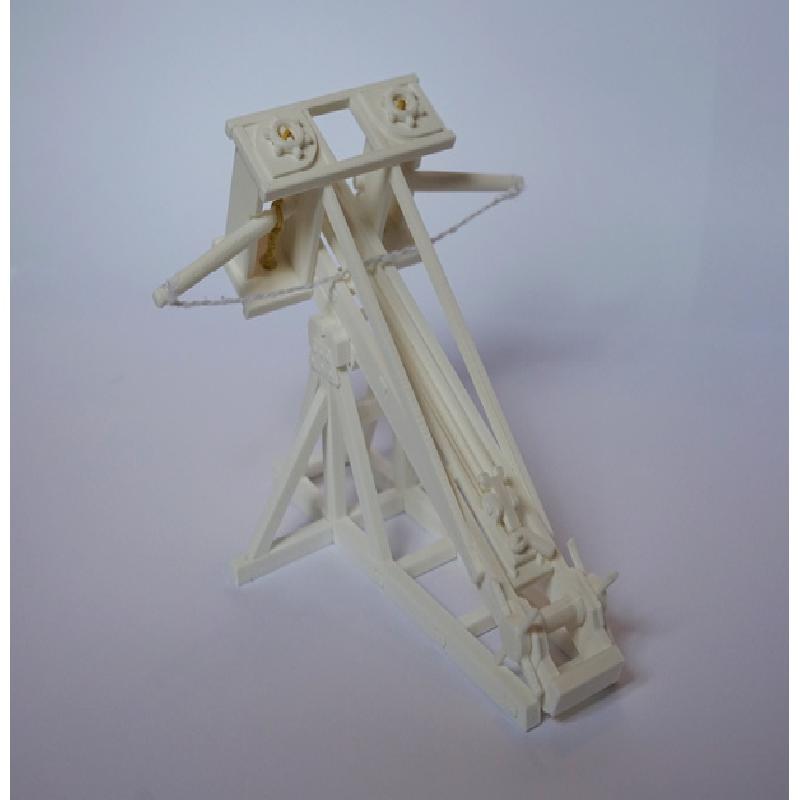
Ballista- Tension adjuster Qty 4
Base- Brace Qty 4
Base- Side brace Qty 2
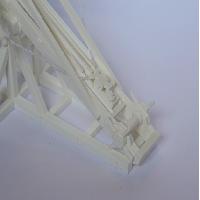
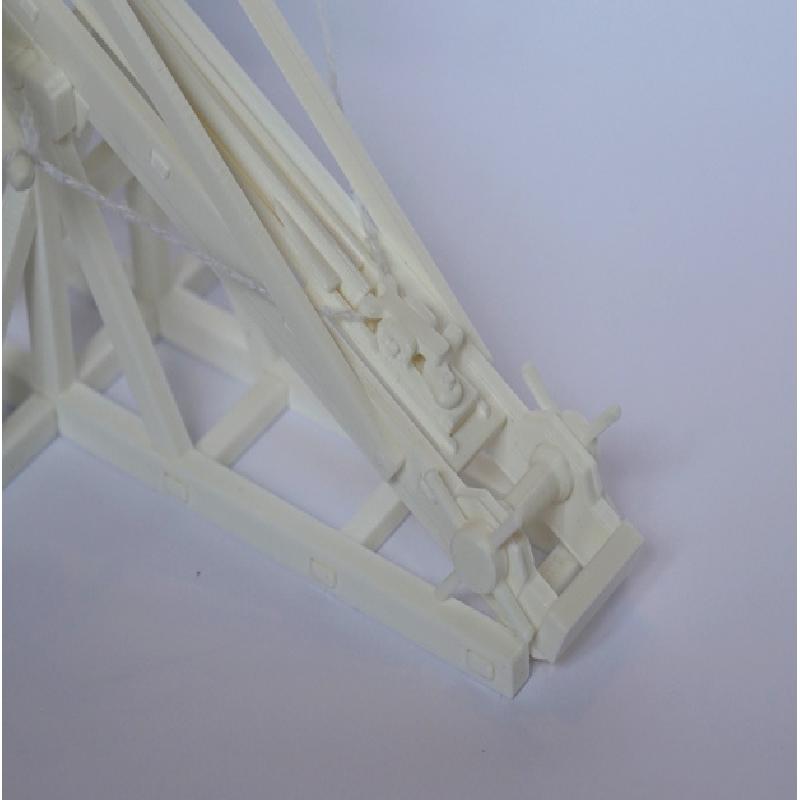
Most of the parts slot together and will then need gluing in place, depending on the accuracy of your printer there shouldnt be any modification needed to the parts.
The trigger mechanism uses a couple of short lengths of 1.75mm filament as pivots for the catch and lever. The trigger assembly is removable from the model to make it easier to assemble.
Once the model is assembled a string or rubber band can be threaded between the tension adjusters, the arm can then be put between the strings/rubber bands and tension added by pulling out and twisting the adjusters to hold the arms in place.