by TheOther10
Sadly these days most people think a classic ray-gun looks like Han Solo's Mauser or a Stormtrooper's sub-machinegun. But us older folk remember the days before Leslie Nielson was funny and props were designed, not just cobbled together from found objects.
Forbidden Planet? Isn't that a comic-shop in London?
So: this is still a thing 'in progress', but I was keen to get it out there while there are still people alive who remember the film. The handle still isn't quite right because I just can't get Solidworks to do the slightly flattened bit on the back at the bottom; and there's a glitch in the .stl for the rear cap - one side of the three-pointed star detail is actually not solid, so may print strangely, but cleans up easily. Eventually I'll get around to tidying things up, but eventually I'll get around to a lot of things...
The body is hollow so there's plenty of room to fit your lighting system of choice. (Or if you're in Australia, you can nip into Big W and buy the same torch I did.)
Of course filament printers still can't do clear parts clear, but if you want to be serious, you can always polish up the printed barrel bits and use them to make silicone moulds for casting in clear resin.
Printer Brand:
Up
Printer:
Rafts:
Yes
Supports:
Yes
Resolution:
fine - 0.15mm
Infill:
20%
Filament: 3D Fillies ABS black; clear; 'brass'
Notes:
Print all the parts standing up on their wider ends, except the 'tree', which works best standing on the small end. It should then print without support material marring the surface.
Since getting an UP-Box I print everything in ABS so I can flirt with death by dipping models into invisible boiling acetone vapour, but of course, you can print in corn-starch If you prefer.
Aside from the odd-shaped trigger and the torch(flashlight) insert, I think it should be fairly self-evident which bits go where and how.
Of course, test-fit everything before glueing. Make sure the mating-surfaces are clear of all raft/support residue so they fit together precisely. Having to fill gaps sucks. My machine prints parts very accurately so they're all designed to be a close fit, but I remember when using an older Makerbot I had to make allowance for parts printing slightly oversize.
.
Basic assembly sequence (sans lighting):
First glue the front end of the gun body to the back. Most of the join will be invisible behind the ring, but pay particular attention to the stub of the front of the handle- you don't want to get a visible crack down the side. Use a good acrylic solvent cement like this:
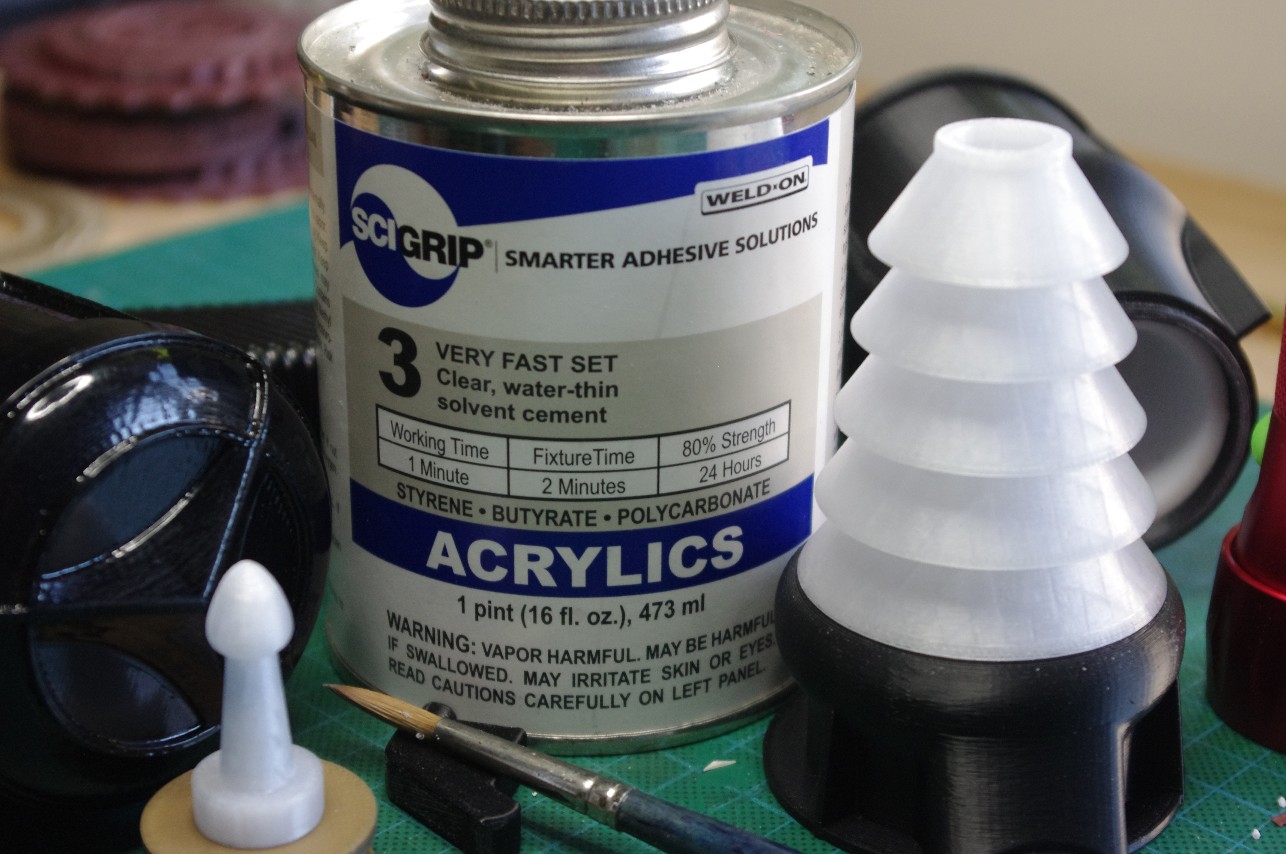
Any brand will do but this one seems widely available worldwide. It's similar in nature to the MEK-based solvent you get in little bottles from hobby shops, but way too aggresive for styrene kits. It works really well on ABS and also PLA. Use a big (#6) brush with real sable bristles.
Next attach the handle. You may find a slight discrepancy between the width of the surfaces, where the handle joins the body of the gun. For me, the handle is just a tad narrower (old 1956-era imperial tad). This is because - assuming you've printed the parts 'upright' as suggested - the X-Y-Z axes have been rotated between them. The Z axis of the handle is at 90 degrees to that of the gun body. The Z axis is controlled by a different drive-train to the X and Y, so the bed steps down in increments ever-so-slightly out of sync with the extruder's horizontal scanning motions. Which explains why I haven't followed conventional wisdom and put the join-line at the bottom of one of the grooves around the grip - the join is on a high spot so it's easy to get to. Just scrape it smooth with the edge of a knife or tip of a small file.
(Conventional wisdom is rubbish, by the way.) (But that's OK, because so is my explanation of that X-Y-Z crap.) (But if you do print the handle on it's back, it fits better, doesn't it.)
It's at this stage that I acetone-vapoured everything, but I'm not going to recommend it in case you blow up your kitchen and then try to sue me from hospital.
I found the back end-cap a good, snug fit that didn't need gluing, which is also handy for gaining access to any interior electronics you may choose to install.
If you're not fitting lights, glue the 'dummy trigger' into the handle.
Glue the three 'barrel' bits together. Again I haven't glued the barrel to the gun body because it's such a good tight fit. And it's further good access to the lighting. Depending on how you interpret photos of the originals, you may decide to leave a slight gap between the body and the fat end of the 'tree'. Or not.
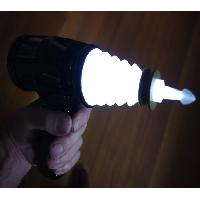
My lazy cheat for lighting it:
Now that the gun's assembled, you can either light it the way I did, or you're on your own. (until I get around to something more accessible, which I admit may be a while, because I'm in the middle of several other exciting projects at the moment).
I was on my way to the electronics geek shop to look for switches, batteries and LEDs when I thought: this thing's big enough to hold a little cheapo torch (flashlight, if you eat cookies instead of biscuits) with all the necessary stuff in one compact package. I just needed to find one with a switch that can be pushed by the trigger. And the first supermarket I passed had just the right thing:
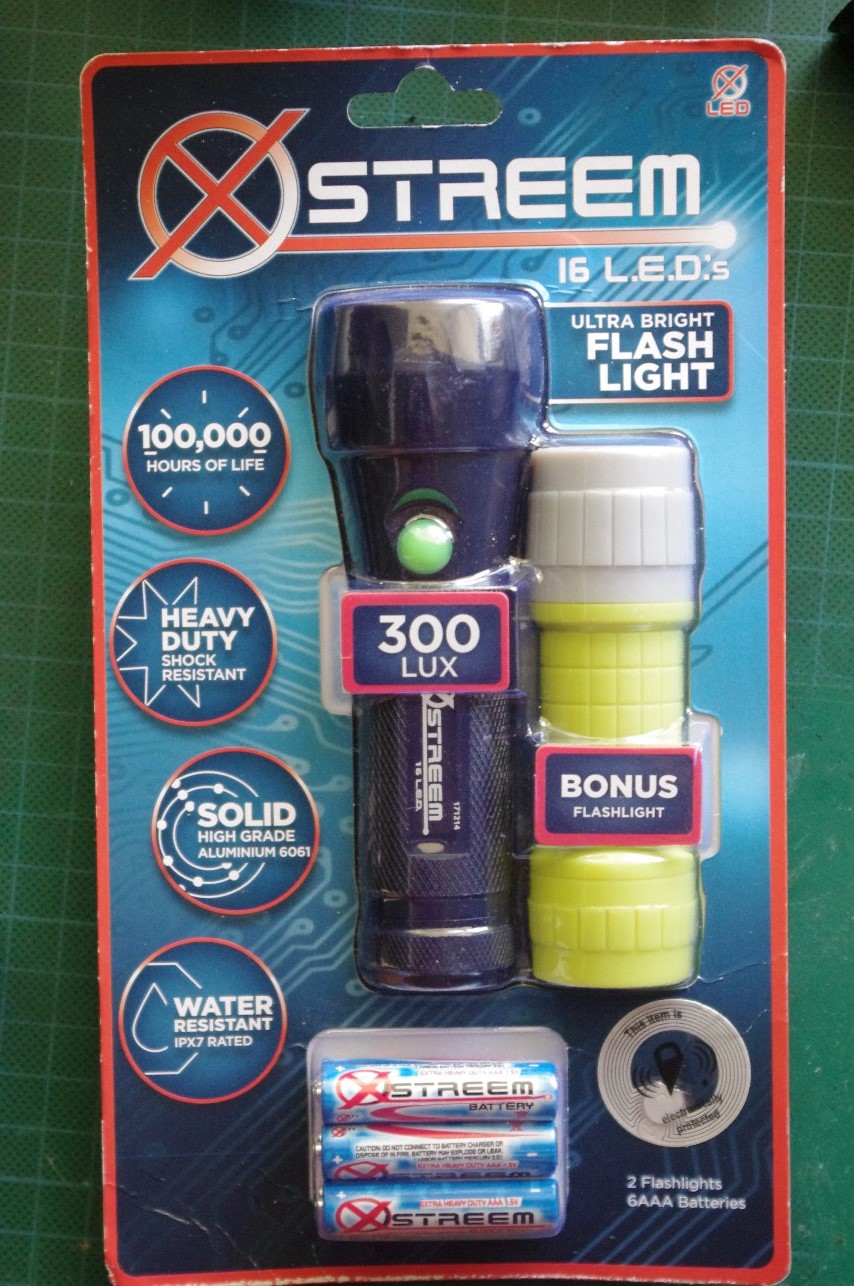
Made in China like most things these days, but designed in Australia, so those in less-lucky countries may have trouble finding one of these. (It's the big one, by the way, not the 'bonus' yellow thing)
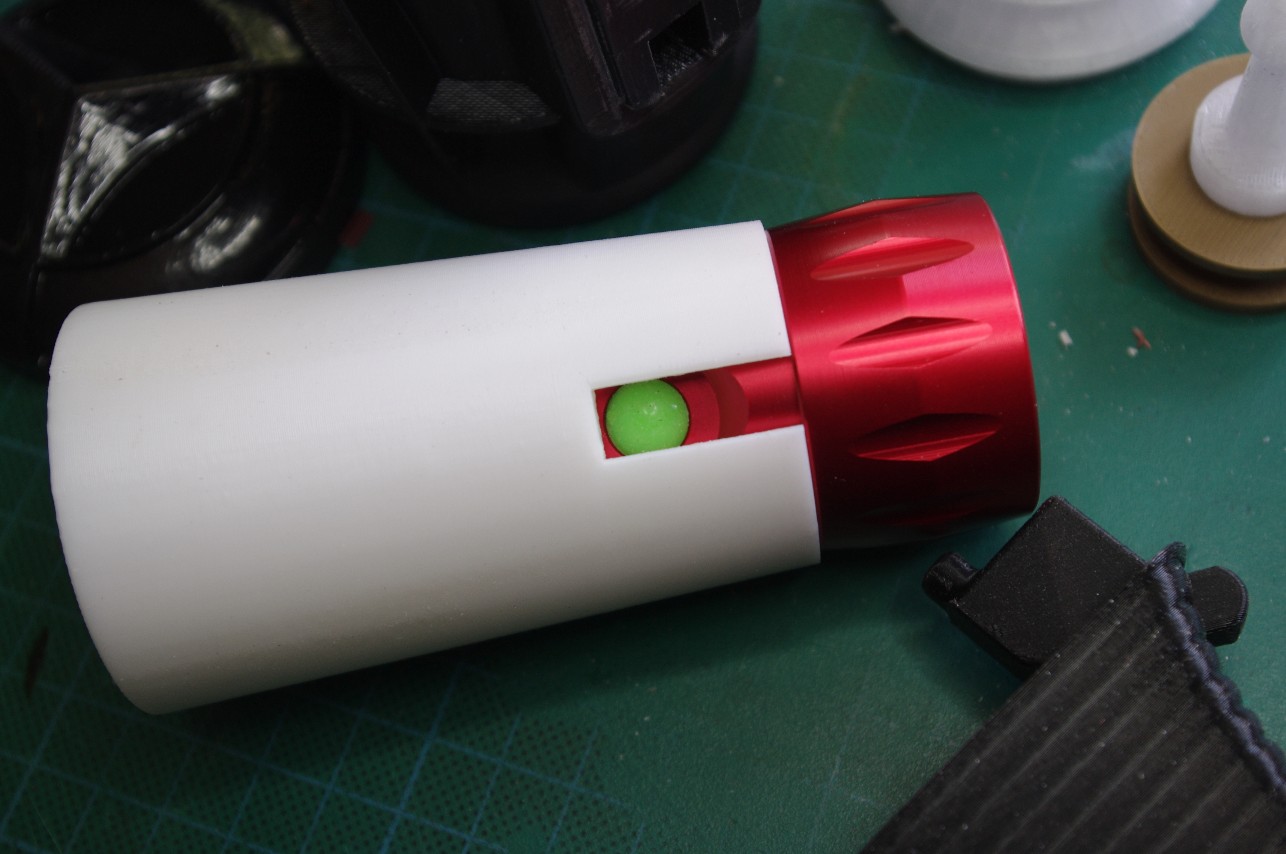
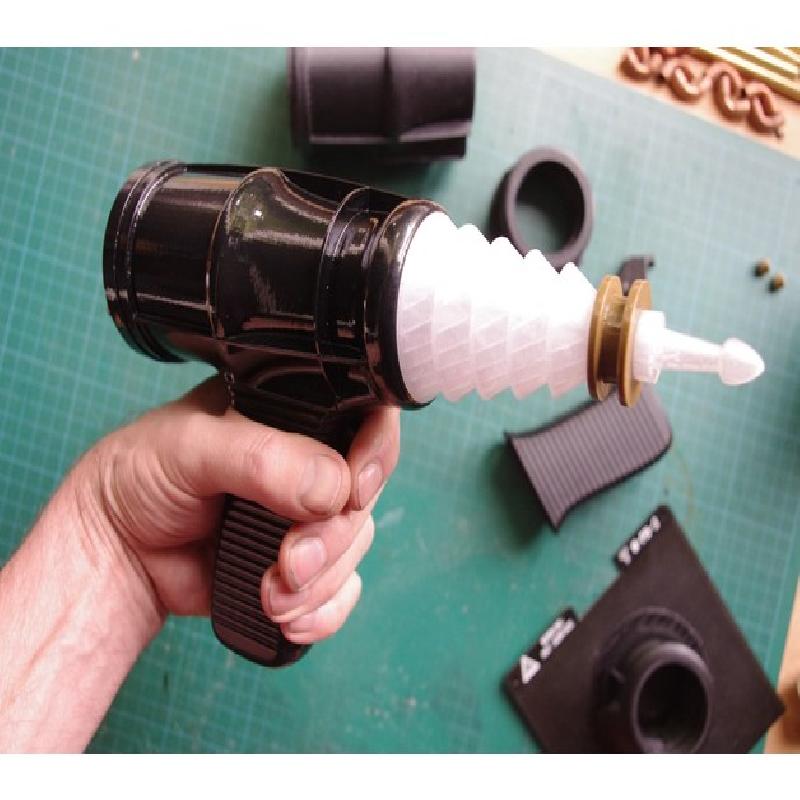
Where the torch will fit in the insert. Get the switch button dead center in the slot.
Push the insert into the gun from the back as far forward as it will go, making sure the slot is perfectly aligned with that in the top of the handle. The trigger 'mechanism' is severely crude, having only one moving part, but has been working fine for me. Drop the trigger in from the front so the square button pops out through the matching hole in the handle. Make sure the back bottom corner is nice and smooth by filing/sanding off any printing-layer ridges. Ditto the back of the slot inside the body. When pushed, the trigger should slide smoothly, not bump or jump on little ridges.
Now unscrew back end from the torch and push the torch in from the gun's front. Note that the knurling on the torch body will tend to make it rotate as it goes in, so it may take a little fiddling to get it sitting correctly with it's push-button aligned adjacent to the round knob on top of the trigger.
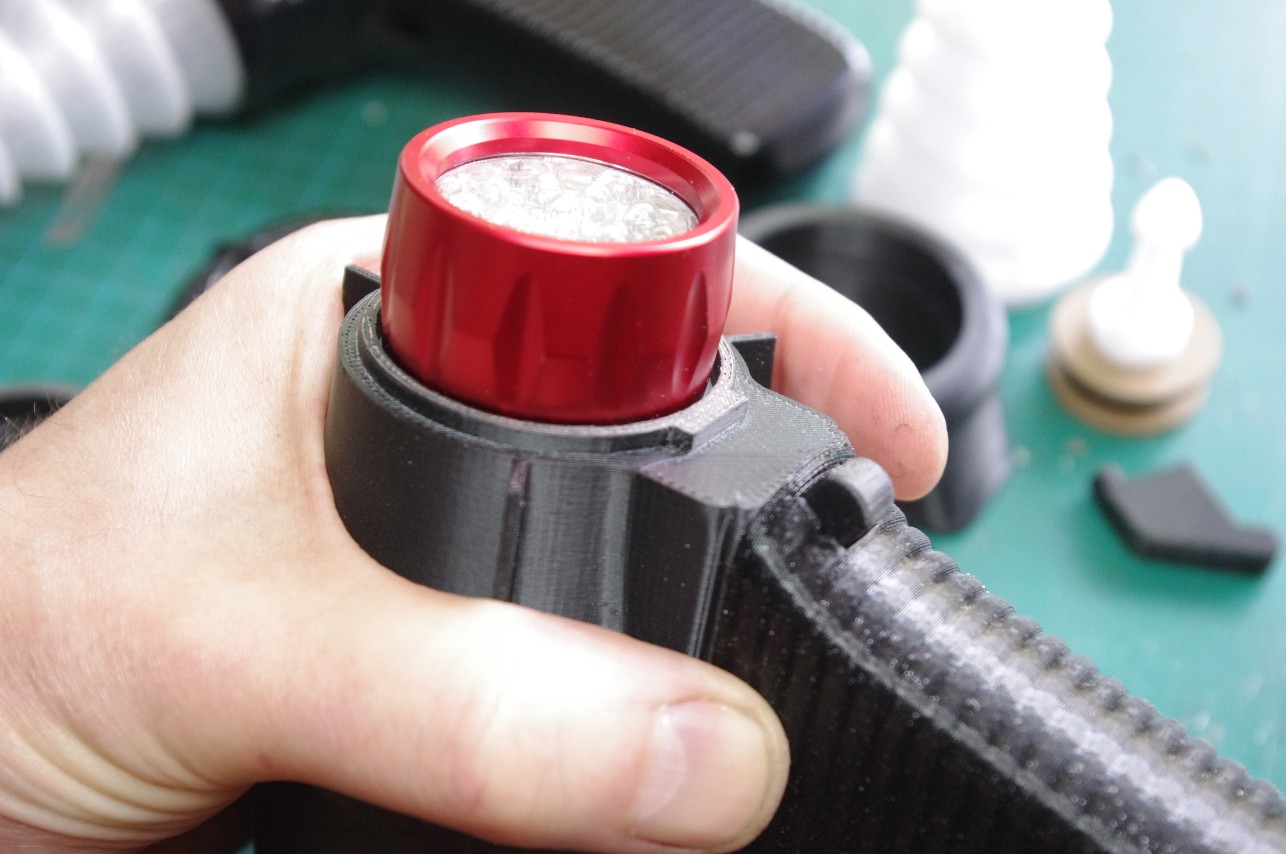
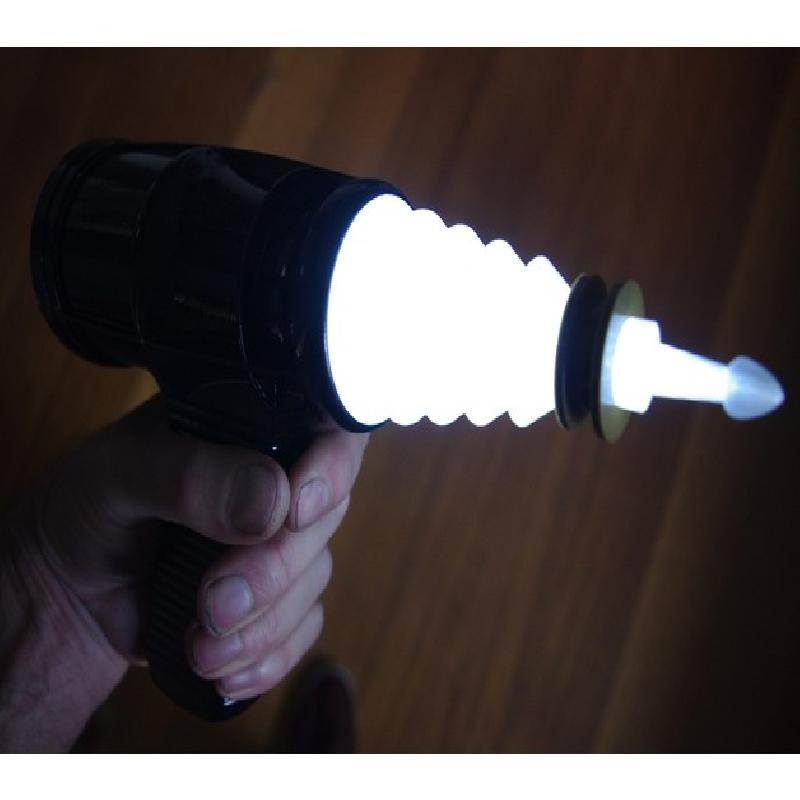
Test fitting. With the bits held in place like this, make sure pushing the trigger works and it pops back out freely to let the switch go 'click' again. Of course you read down to here before you started glueing things together, didn't you...?
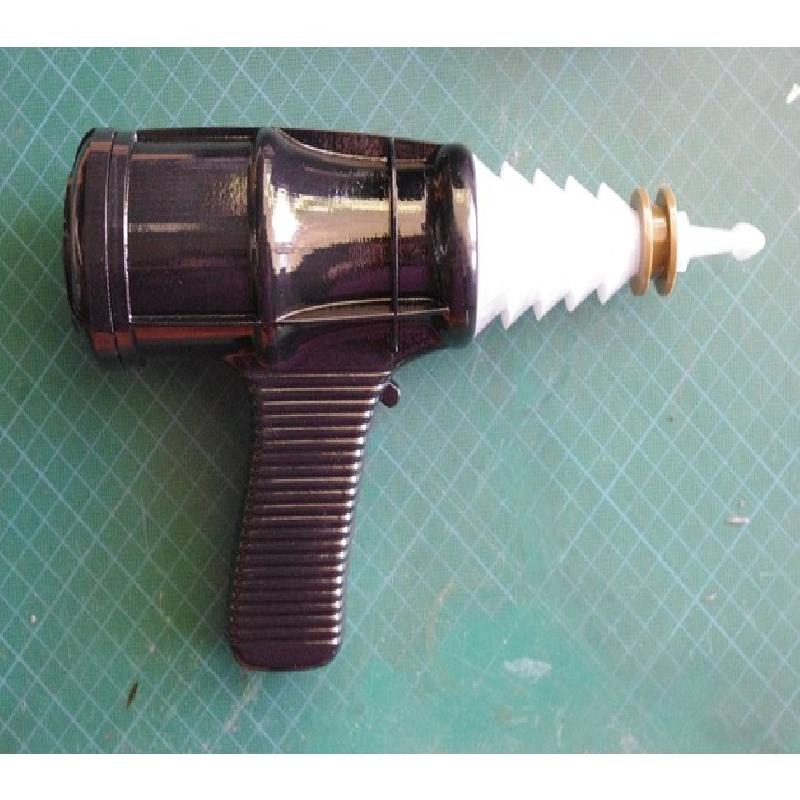
It seems only a few of the originals survive in captivity and no-one has published accurate dimensions. (Well, if I'd paid US$35000 for one, I'm not sure I'd be helping others score one for free either.) Best I could find were auction descriptions saying it's about 10 1/2 inches long by 6 inches. And somewhere (The RPF?) I've read that people are stacking discs of 1/2 inch thick acrylic to make the X-Mas tree-shaped 'barrel'. So I thought: inches; round numbers and easy fractions. That 'barrel' looks hand turned with a chisel on a wood-lathe from acrylic rod, probably 2 inches diameterat the fat end.
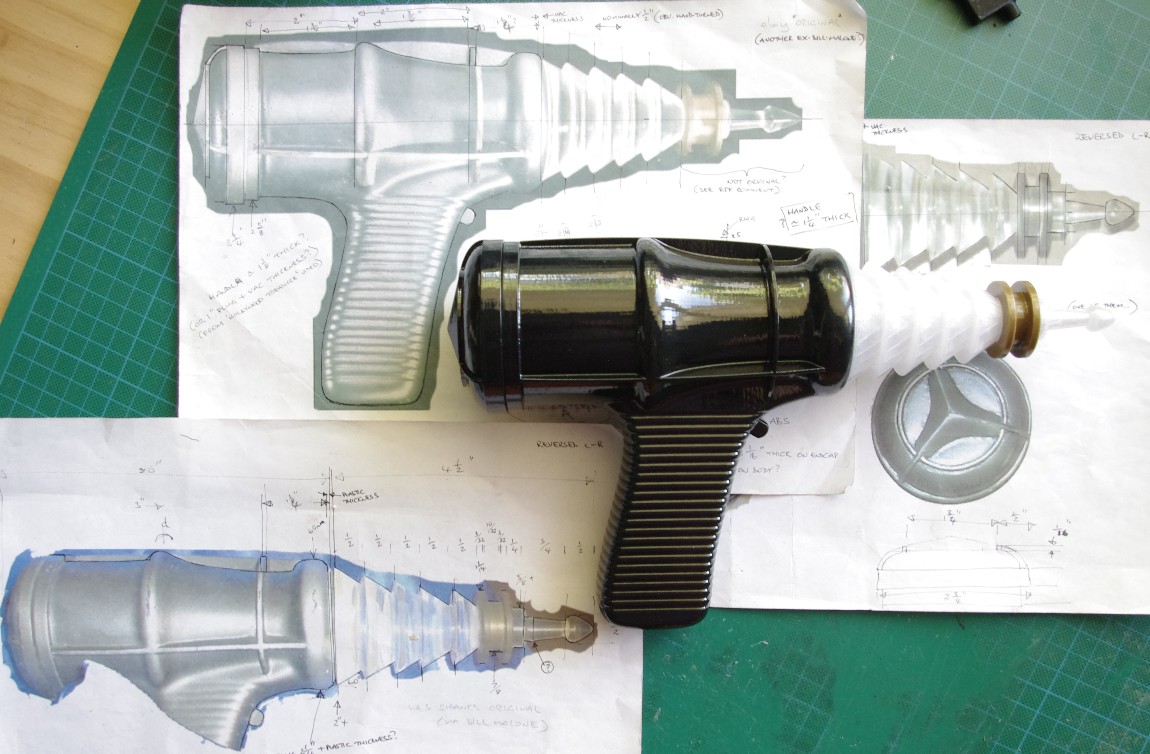
You can see here the bottom of the handle still needs refining, but generally I think it's pretty close - given that no two originals seem to be identical.
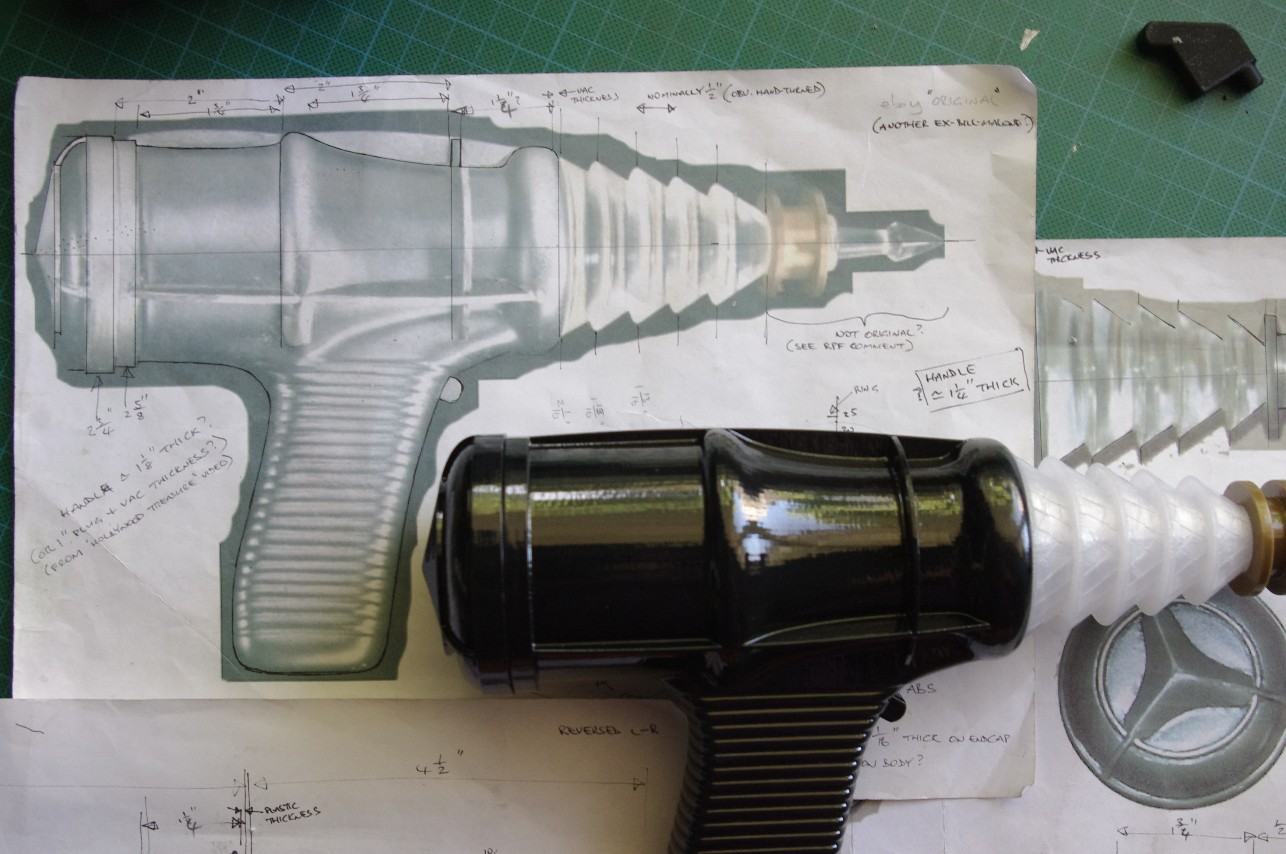
I've scaled the photos to get everything to fit neat fractions of inches
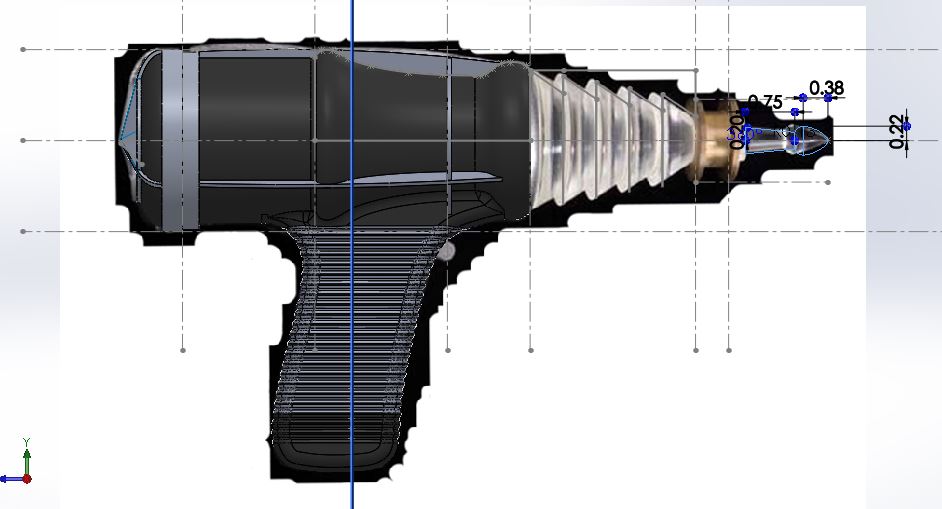
I've finally discovered this nifty feature in Solidworks that lets you construct a model over the top of a photograph. Of course it helps to find a good photo and make allowances for parallax.