by ChakMlaxpin
What about Pumpkin? Do you love Pumpkin?
Of course you do! That's why you're here! Everyone loves Pumpkin!
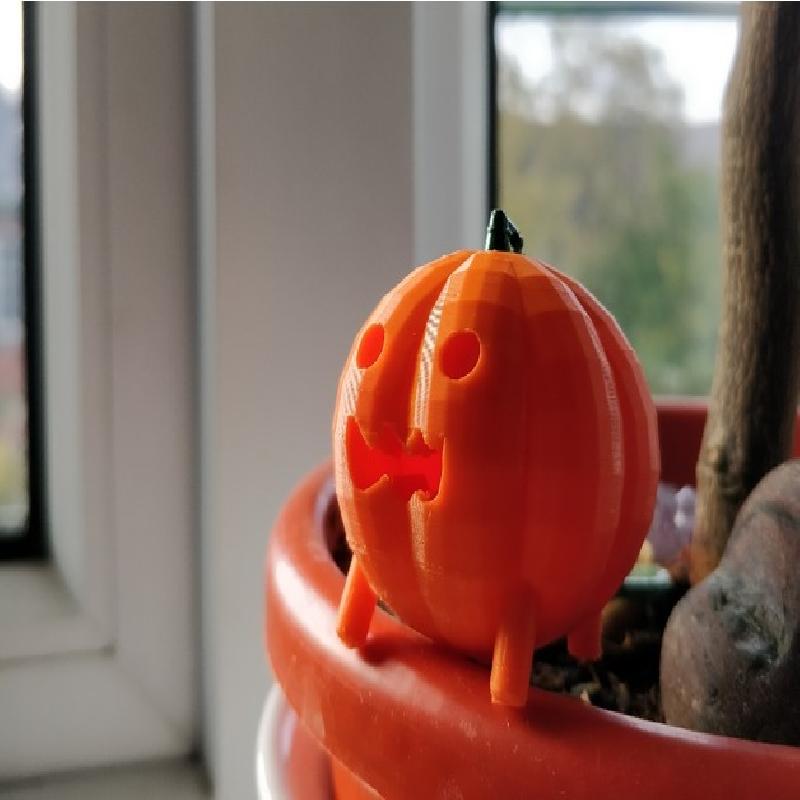
I initially designed this because Halloween was coming up and I was thinking about pumpkins a lot and realised that there was a distinct lack of models of Pumpkin on here, so made this one and printed it off last week, and then painted the stalk and tail on Friday (today is currently the following Tuesday).
Anyhow it's been done for a while and when I printed it I thought " Hey! Y'know who'd like this? r/StevenUniverse! I should take a pretty photo and post it on there, probably with him sat in my tree's plant pot because aesthetic!"
Anyway I am the founder and CEO of Procrastination Inc. and forgot about doing that until I saw the post from u/Borizwithaz oh their (much more representative looking) Pumpkin with three different colours and actual curves that looks like it was actually made by someone who knows their way around 3D modelling software rather than just some amateur chucking something together in Tinkercad in a couple of hours to fulfil a whim.
Needless to say I remembered about posting my own so I did and now here I am at home uploading my file to share with anyone who might want to print my copy.
The final model stands at roughly 38x70x40mm so it's a little desk ornament as far as prints go. It is hollow inside so if you want to scale it up to something larger and then maybe chuck an arduino with an RGB LED and a little lithium battery into it's mouth you could create a little light display out of that. The eyes do not connect to the inside cavity however so that may be of importance to note.
Printer:
Creality Ender 3
Rafts:
No
Supports:
Yes
Resolution:
0.12 worked for me and is a good balance of detail and print time
Infill:
15%-20%, or whatever you usually default to
Filament: Rigid.Ink PLA Orange
Notes:
I used the experimental "tree supports" in Cura with the regular supports enabled too to provide support to the inside of the mouth. Will definitely be needed there, but if you want to have a shot at just using regular supports that contact the top and bottom of the mouth and cleaning it out after be my guest but I do not encourage it.
OH ALSO YOU WILL ALMOST DEFINITELY NEED A BRIM TO PRINT THIS BECAUSE THE FRONT LEFT LEG HAS VERY LITTLE CONTACT WITH THE BUILD PLATE SO WILL COME UP QUITE EASILY OTHERWISE!
Painting & Cleaning
So obviously this is all one model, so you're only really going to have one colour to it unless you have one of those fancy new-fangled dual-colour printers, in which case go ham. You'll need to make it so that it prints in green for the stalk and tail (banch?) though of course.
I however am but a simple peasant boy from a poor family with nothing but a very modded Ender 3 and probably more free time than I should have which I should really be using for more important stuff but whatever here I am. If you're painting it, get a fine brush and some good model paint. I found a colour called leaf green by a brand called Revell which seemed to be the perfect shade of green for me. If you're in the UK and have a model shop nearby that sells that brand, then hey go you! If not I'm sure you can manage using some intuition to find something that matches your needs. I mean, you manage to make a hobby out of 3D printing. If you can work out the starting kinks in that you're more than capable of getting some decent paint. You can do it!
You might also need to clean up the model a little bit after you've printed it to get rid of any marks the supports have left and what-not, but you probably already knew that.
Tinkercad
And lots of polygons.
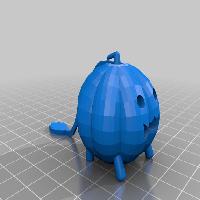
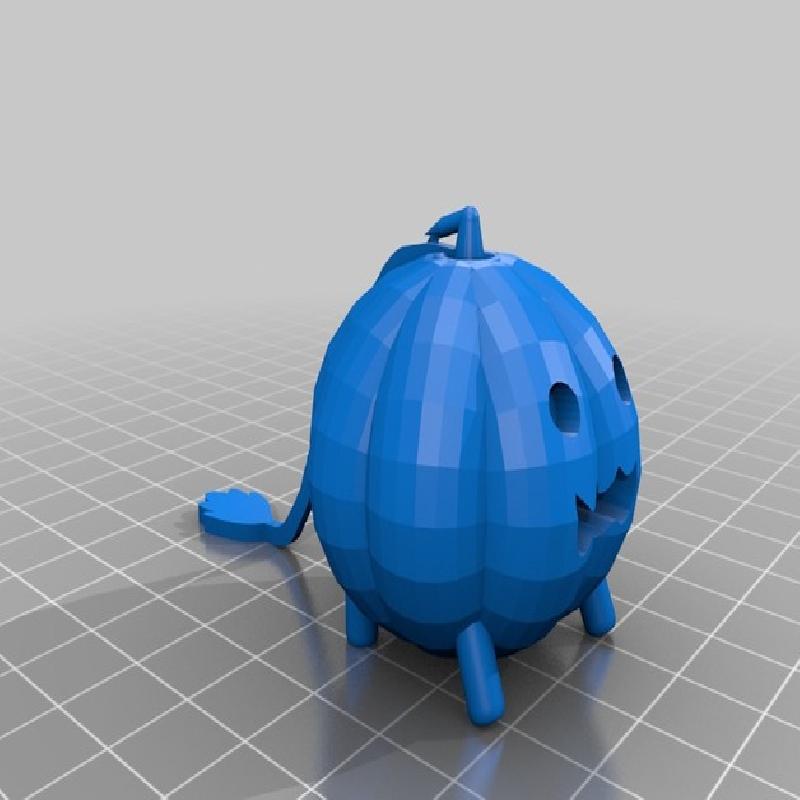
It took me a couple of hours to put together, but the body is pretty much just a bunch of tori next to each other to make a ring. Then I did some stuff with cylinders to make the eyes and the legs. The mouth, tail and leaf at the end are all doodles which I threw together. The mouth was a doodle that I made long and into a hole. I also put a sphere inside as a hole too to make it hollow because that just looks neat with the mouth then.
Honestly the hardest part of this design was the stalk. I had to have it sticking out at the top which was kind of tough but again I managed to make the indentation using another torus, and then the stalk itself is some cones and a half-sphere joined together in a 3D-modelly way.