by themindseye
This is the third installment in the series of models known as A-Folded-Vehicle or AFV. As you’ll recall, this series of model vehicle “kits” can be printed on a 6- x 6-inch 3D printer bed. This enables you to obtain all of the parts for this model in a single printing session. As you’ll soon see, this model doesn’t exactly follow that requirement.
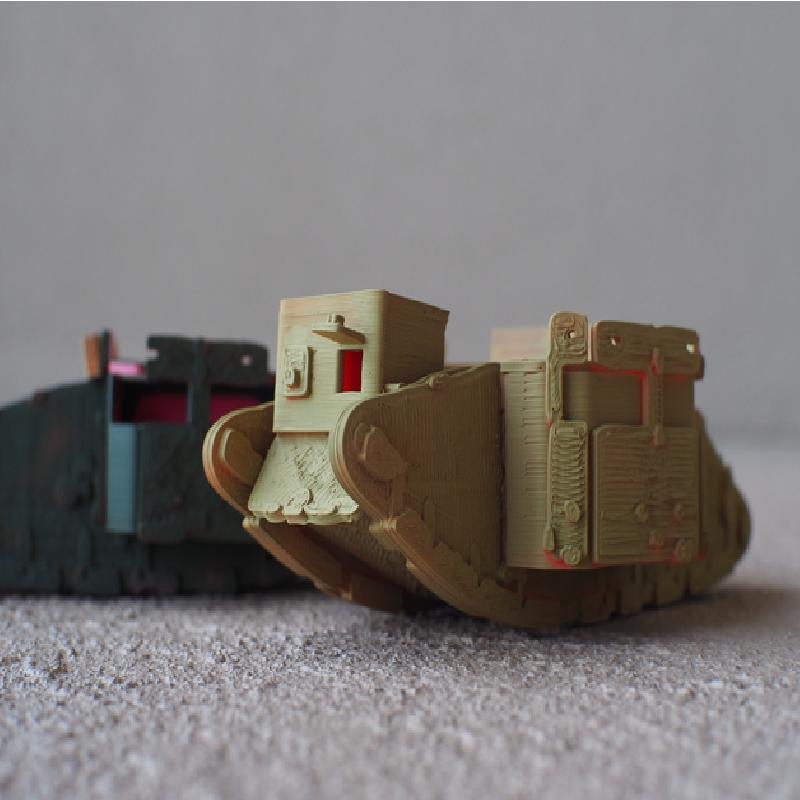
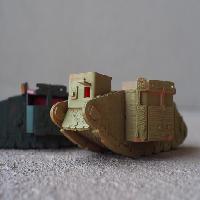
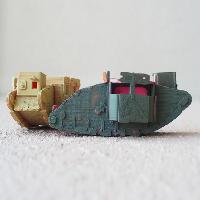
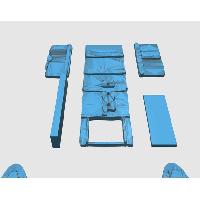
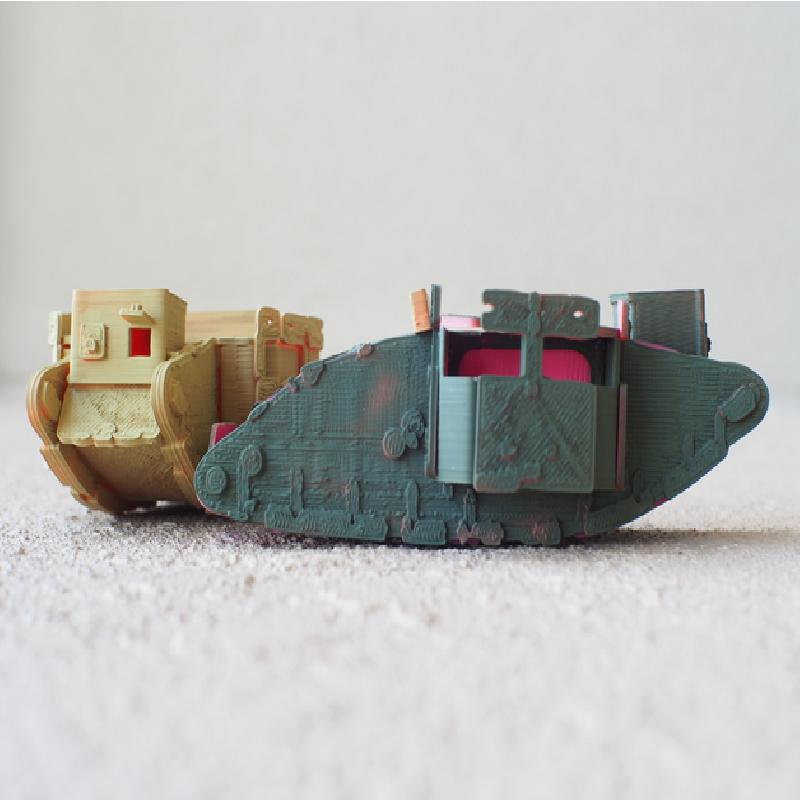
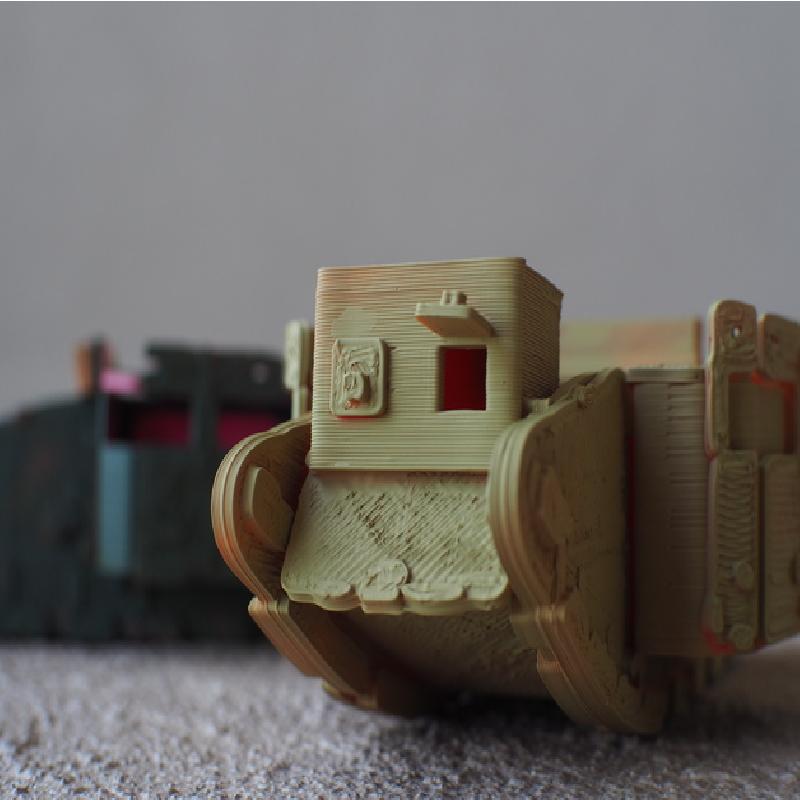
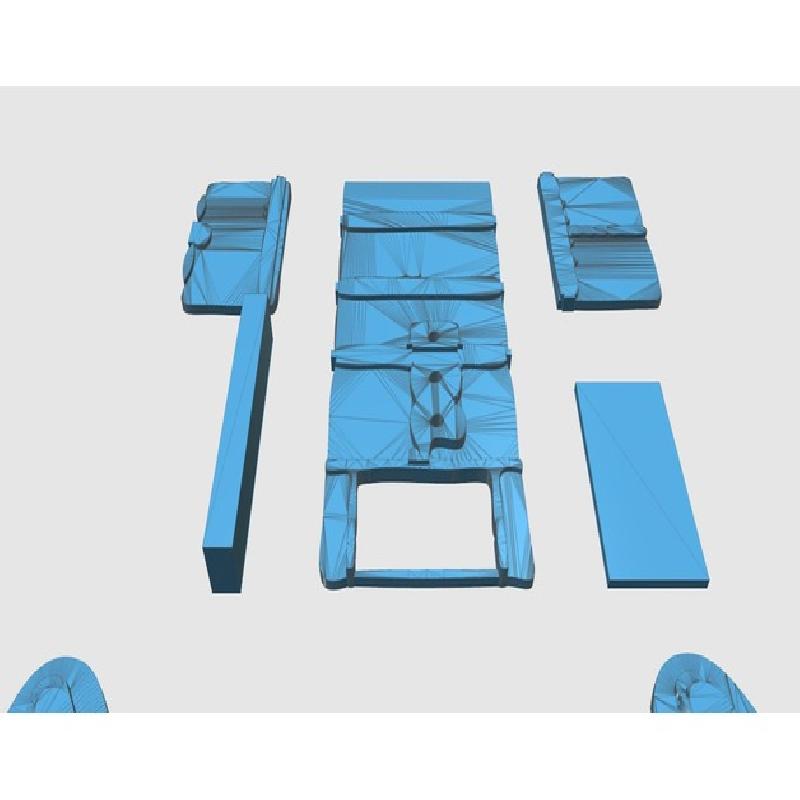
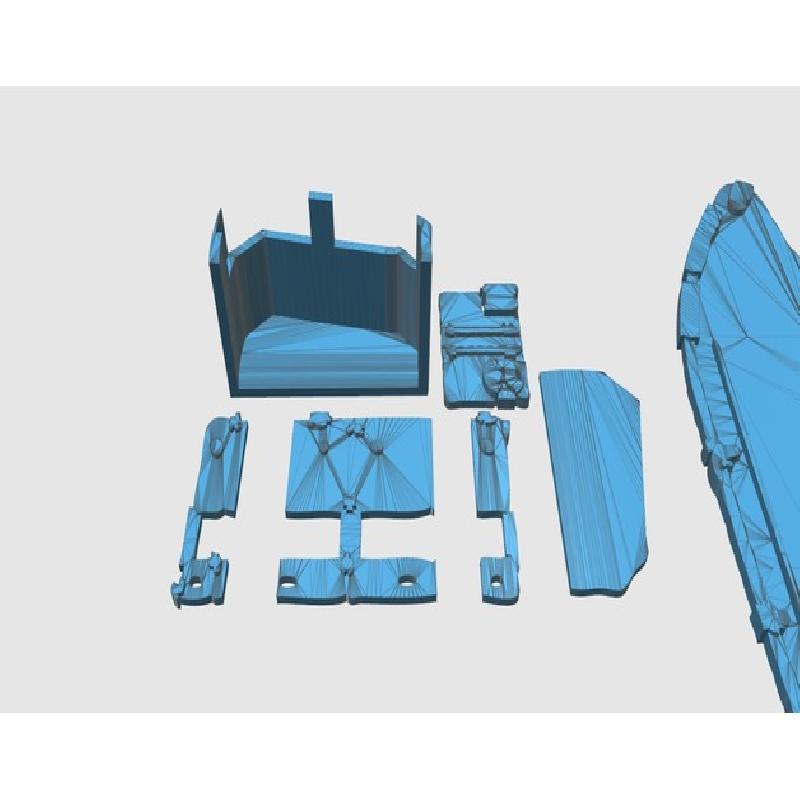
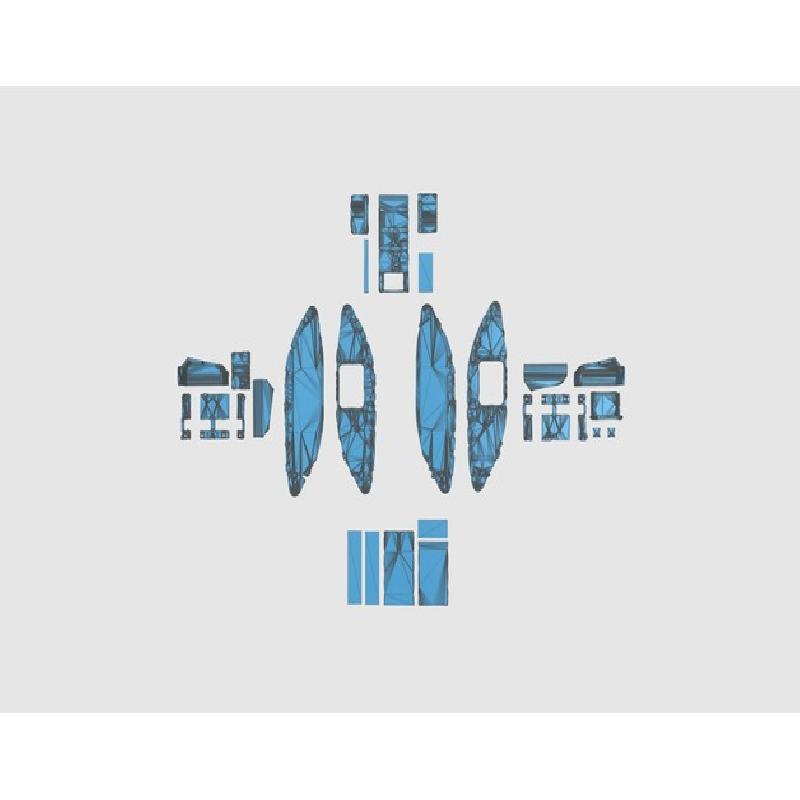
This is a 1:56 scale model of the British World War I (The Great War; The War to End All Wars) Mk. IV (also known as, the Mark Four) tank. Consisting of 8 different 3D-printable STL files, labeled as A-H (pretty clever, eh?), this kit can’t really be defined as a member of my AFV series. Believe me, it started out as a single print model, but the early test builders craved a larger more substantial model. So, the scale was increased to 1:56 and, along with that enlargement, the number of STL print files increased, also. Sorry for this inconvenience.
There are 28 parts in this Mark Four kit. The complete model can be easily assembled in less than one hour. Testors Liquid Cement for Plastic Models (#3507) is recommended for assembling your model.
Enjoy.
Before you begin the assembly of your Mark Four kit, it is vitally important that you correctly align the four hull side pieces. Although this step looks deceptively easy, failure to join the correct inside and outside pieces together will result in a failed build.
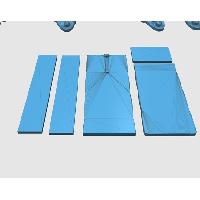
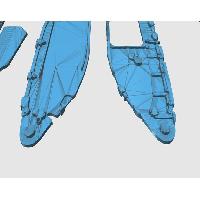
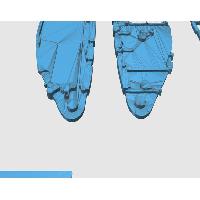
Step 1. The correct side pieces for properly assembling the hull are: join piece A to D and join piece B to C. There are two PNG illustrations that clearly document this step. Furthermore, I’ve included a “witness mark” that will ensure that you have a failure-free build. There is a small round raised gear on one end of each side hull piece; A, B, C, and D. These small round gears MUST ALL be aligned with each other. For example, the inside piece A will have it’s gear on the inside and piece D will have it’s similar gear on the outside. Then, during the assembly of the lower and upper hull pieces, ALL of these round gears MUST be aligned together. And for your reference, this alignment forms the rear of the tank. Oh, and you might have to rotate each of these four side hull pieces to 45 degrees on your print bed for proper printing on a 6x6-inch 3D printer.
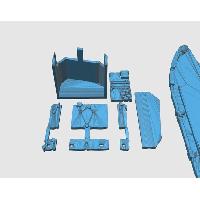
Step 2. Using the guides printed on the inside side hulls, attach the main lower hull piece (the piece with two protruding plates on it) to the bottom of these guides. This step will form the basic bottom hull structure.
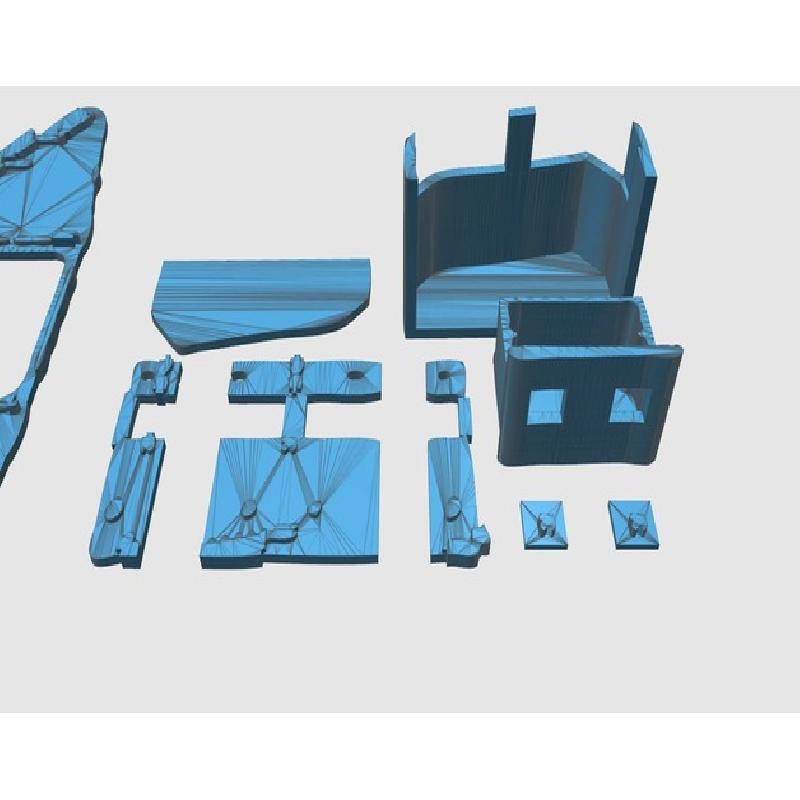
Step 3. Similarly, using the upper guides printed on the inside of the side hulls, fasten the main upper hull piece (the piece with the large rectangular opening in it) to the bottom of these guides.
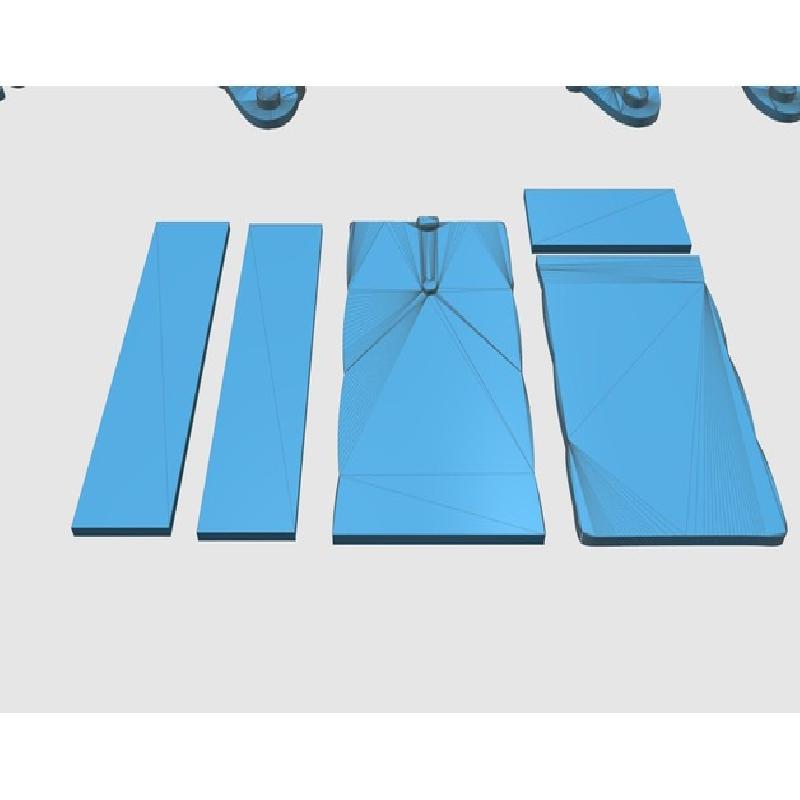
Step 4. Finish the hull bottom by cementing the other long lower hull piece to the front of the of the underside. There will be a small amount of overlap between the two lower hull pieces.
Step 5. Attach the small smooth upper hull piece to the rear of the main upper hull piece. This piece should overlap the main piece, as well as sit 1-2 mm proud of the main piece. Complete the upper hull by attaching the final piece with the T-shaped plates to the rear of the upper hull. This piece should follow the slope of the hull sides.
Step 6. Cement the two narrow lower hull pieces, side-by-side, to the rear hull deck (remember, those are the side pieces with the round gears). These pieces should extend to the small round rear gears used for alignment in Step 1.
Step 7. Fasten the engine compartment bulkhead (found with the left side sponson parts) to the rear of the upper and lower hulls. This piece should also rest on the rear hull deck extension from Step 6.
Step 8. Finish the Mark Four front with the final upper hull piece (this piece has several raised plates along its lower edge) attached to the front of the upper and lower hulls.
Step 9. Cement the commander/driver’s cupola over the rectangular opening on the front of the upper hull. There are two small hatches that can be fixed either open or closed on this cupola.
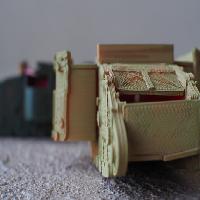
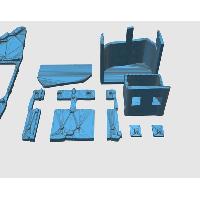
Step 10. Build the left and right side sponsons. These sponsons are attached over the large openings in the sides. Each sponson consists of three armor plate sections for the outside and one roof plate. For proper orientation, the smaller end of each sponson faces forward.
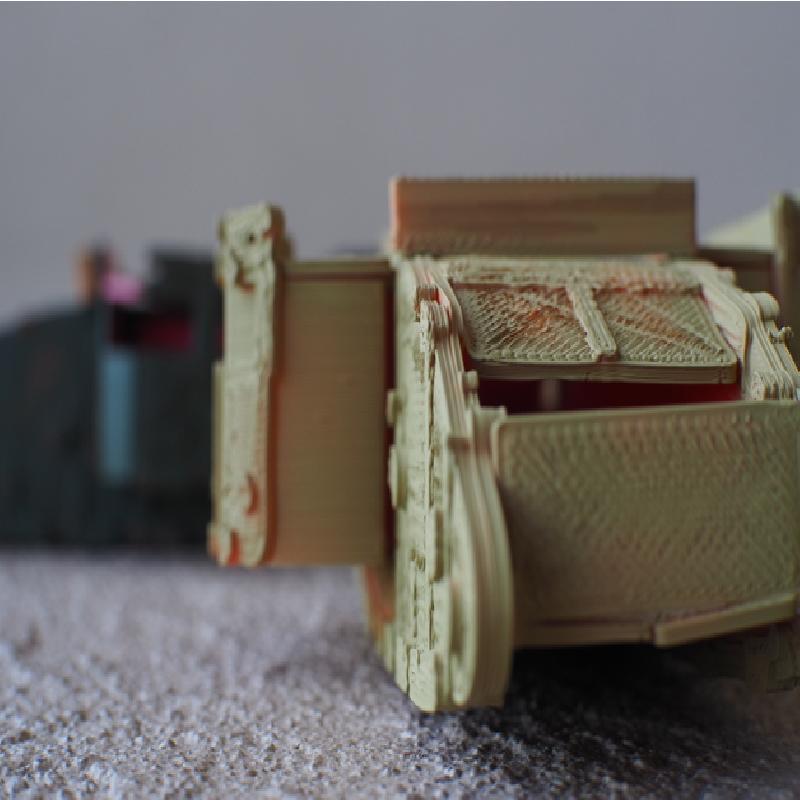
There should be one final piece left from your Mark Four build. This rectangular-shaped box is the “unditching” beam used on these early tanks for gaining traction in mud. This beam can be mounted crosswise on the upper hull.
Your Mark Four model is now complete. Carefully study the included illustrations and photographs for helping you with assembly of this tank.
Fact 1. The armored tank concept was initially supported by the First Lord of the Admiralty, Winston Churchill.
Fact 2. The initial armored tank was considered a “land battleship” and the prototypes were commissioned by the “Landships Committee” under the auspices of the Royal Naval Air Service.
Fact 3. The first viable armored tank test prototype model was called, “Mother.”
Fact 4. British Mark tank variants armed with machine guns were known as “female” tanks.
Fact 5. British Mark tank variants armed with 6 pounder 40 calibre naval cannons were called “male” tanks. Ironically, this nomenclature made “Mother” a “male” tank.
--AFV #3, Tanks Marks I to IV, Ellis, Chris & Chamberlain, Peter; Profile Publications Limited, England.
If you’d like to support my 3D modeling endeavors, then please consider purchasing a copy of my new book about modeling. Buying this book enables me to continue publishing these FREE 3D models like the new AFV series. The book can be ordered from Amazon in a softbound format ($24.95).
Something’s Funny in the Air - https://www.amazon.com/Somethings-Funny-Air-Dave-Prochnow/dp/1717823157/ref=sr_1_1?s=books&ie=UTF8&qid=1533745899&sr=1-1&keywords=something%27s+funny+in+the+air
There is also a brand new eBook version that works on Amazon Fire Tablets, as well as with the Kindle App for smart devices ($12.95).
Something’s Funny in the Air - https://www.amazon.com/Somethings-Funny-Air-Dave-Prochnow-ebook/dp/B07FT7PG2T/ref=sr_1_1?s=books&ie=UTF8&qid=1539700609&sr=1-1&keywords=something%27s+funny+in+the+air
Thank you!