by biline
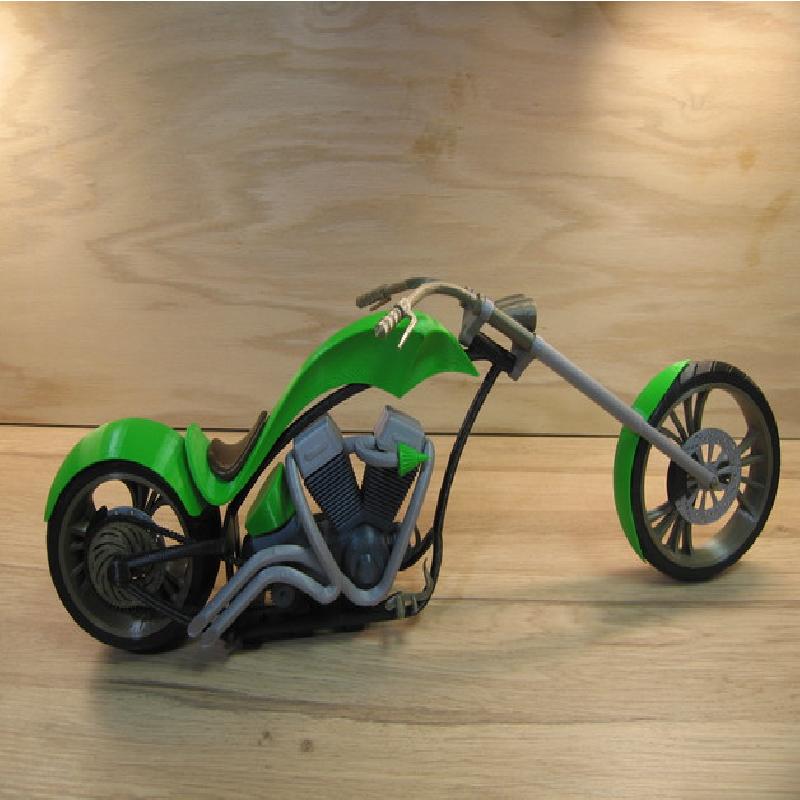
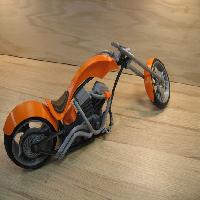
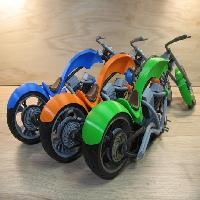
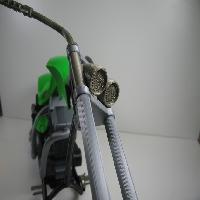
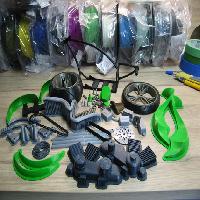
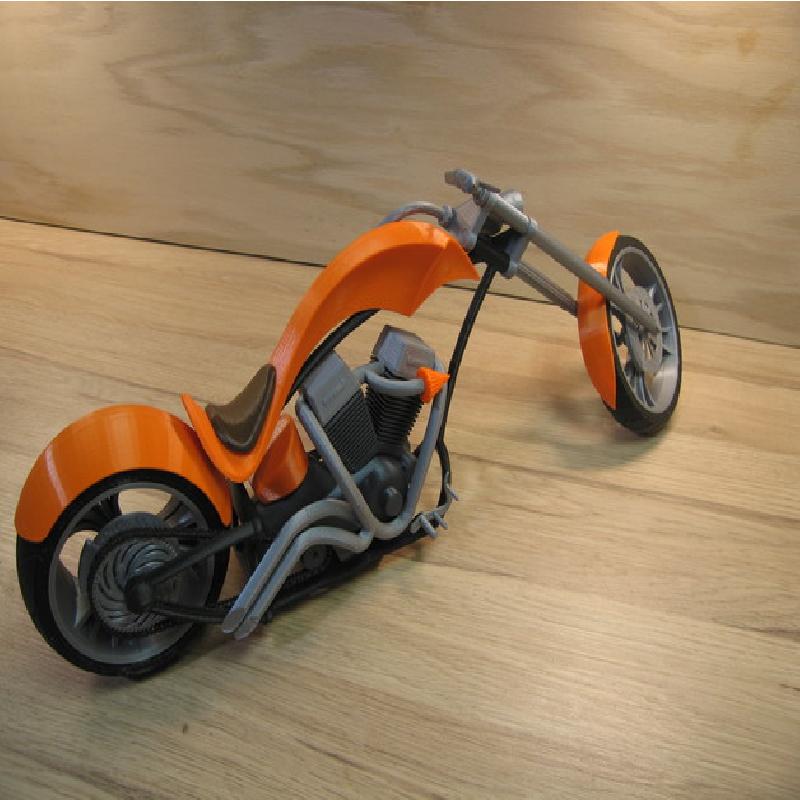
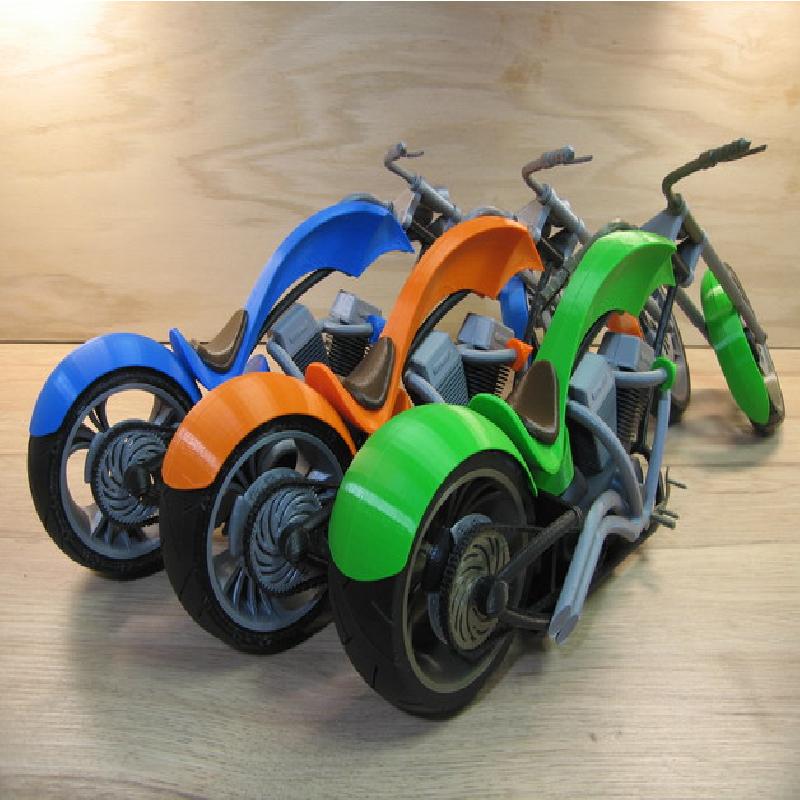
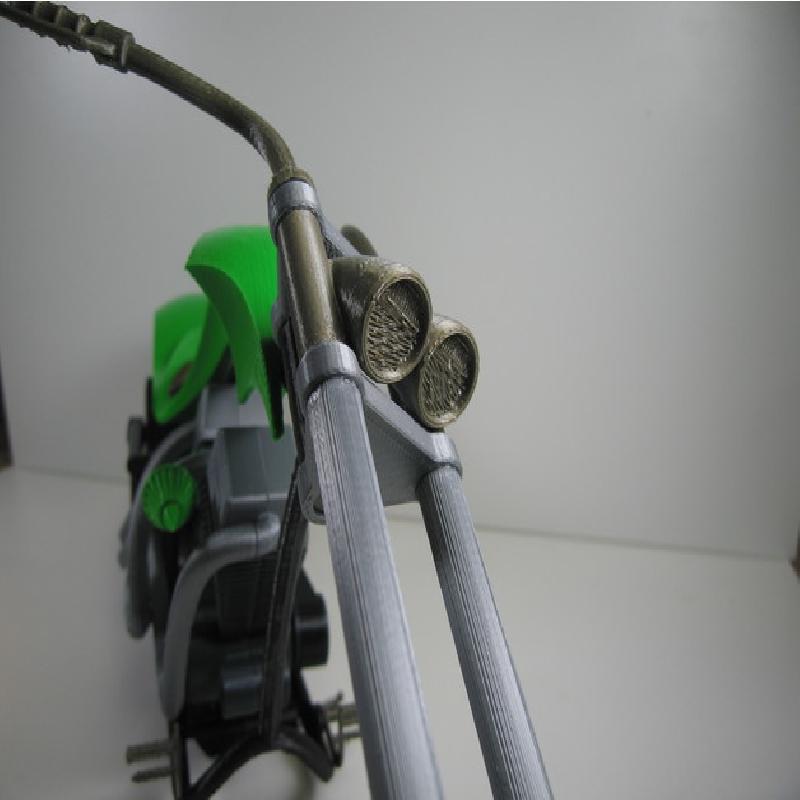
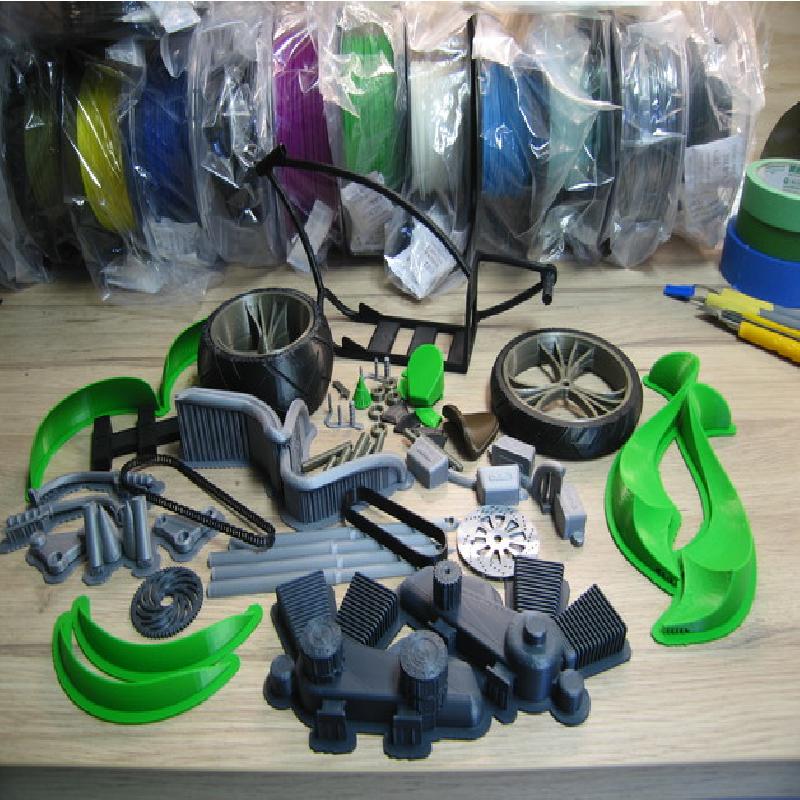
I really loved this chopper but wanted to separate the color options a bit more. During my build and I found some parts could be improved for printing and would require less glue. Some things are minor, I changed how the handlebars print and added cups to fit over the top of the shock plate. This helps when trying to glue the handlebars as they pretty much stay in place without any glue.
Original parts were named in another language so I renamed them in English to make things easier
The frame was remixed to print in one complete section simply because my print bed was large enough and I made one with support included.
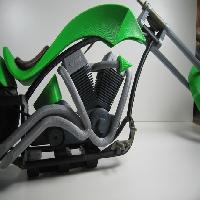
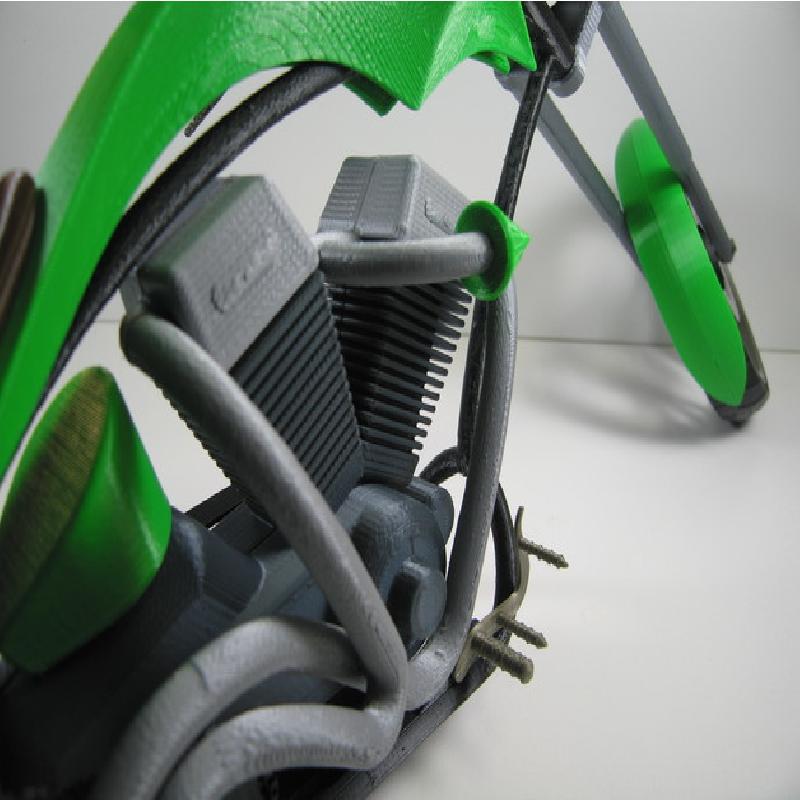
The Engine was separated so that the engine head and exhaust pipes can be silver and the rest of the engine can be printed in grey.
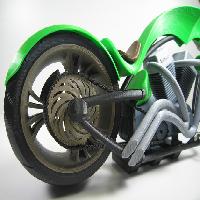
Brakes, the caliper and rotor separated to print different colors.
Exhaust pipes joined and some support added to print in one piece.
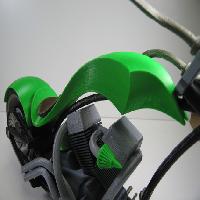
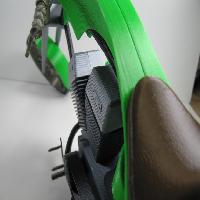
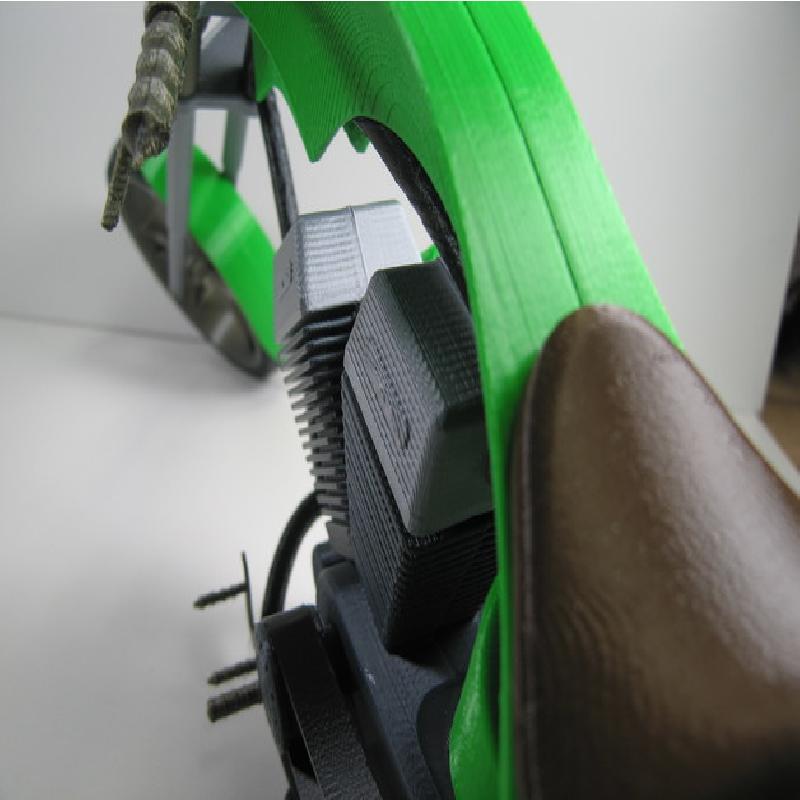
Rear fenders separated to allow for better placement with other parts when printing.
Created a stand that allows for the chopper to be very stable and lean over slightly so it looks like it is actually is on the kick stand which is included and glues directly to the frame.
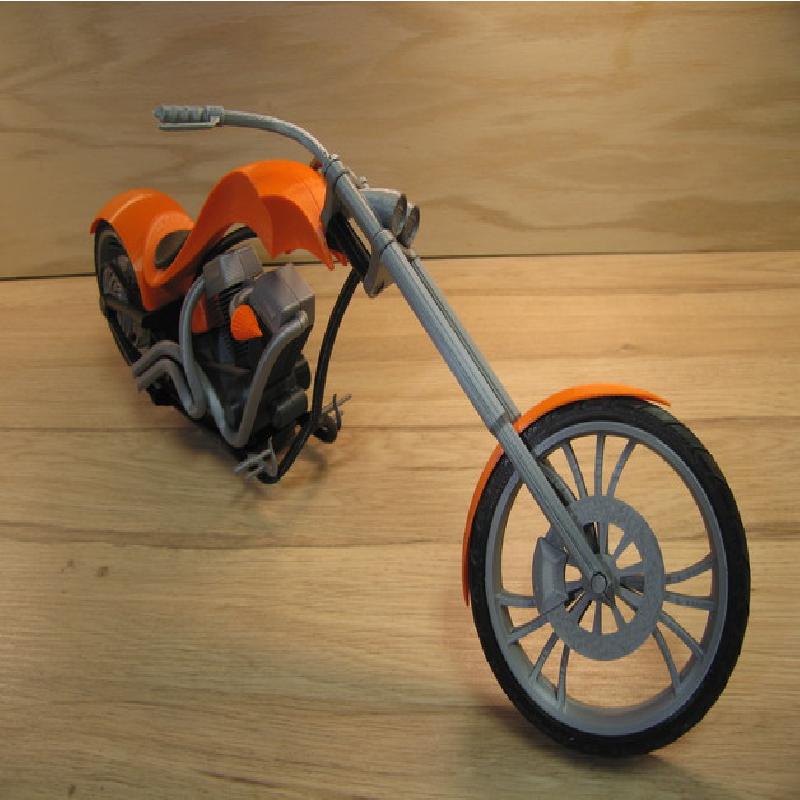
Headlights slightly modified to look a bit better and separated to allow printing in 3 parts.
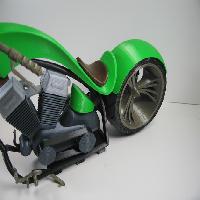
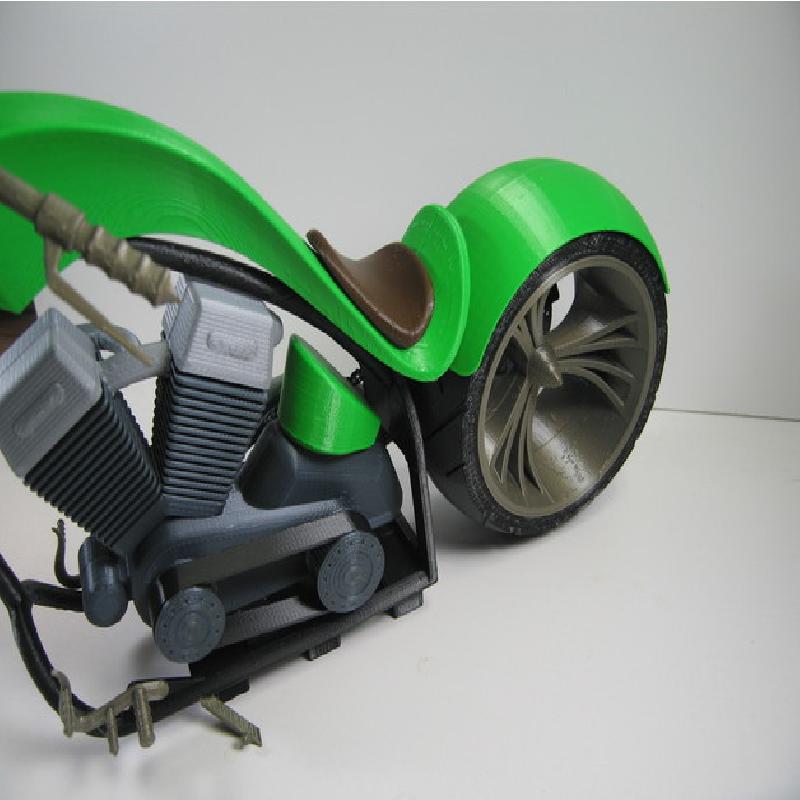
Rear rim flipped in print orientation to print correctly
Created some wheel spacers to give you something to attach the brake rotors to and maintain correct spacing from the wheels.
Rotated and split the front shocks for easier printing.
All changes to parts are prefixed with Remix_.
I suggest for gluing the fenders that you first tape them together with masking tape from the outer side and then simply run a bead of glue down the inside seam of the fender.
During assembly I found the best way to attach the fenders was to use a small piece of plastic leftover from the raft, cut to size and glue the pieces to the inside of the fenders than later apply glue to these pieces and glue directly to the tires.
Hopefully these little changes makes it a bit easier to print for someone else.
Printer:
BigBox Pro V1.1
Rafts:
Yes
Supports:
Yes
Resolution:
.2
Infill:
20%
Filament: PLA PLA Misc