by Dsk001
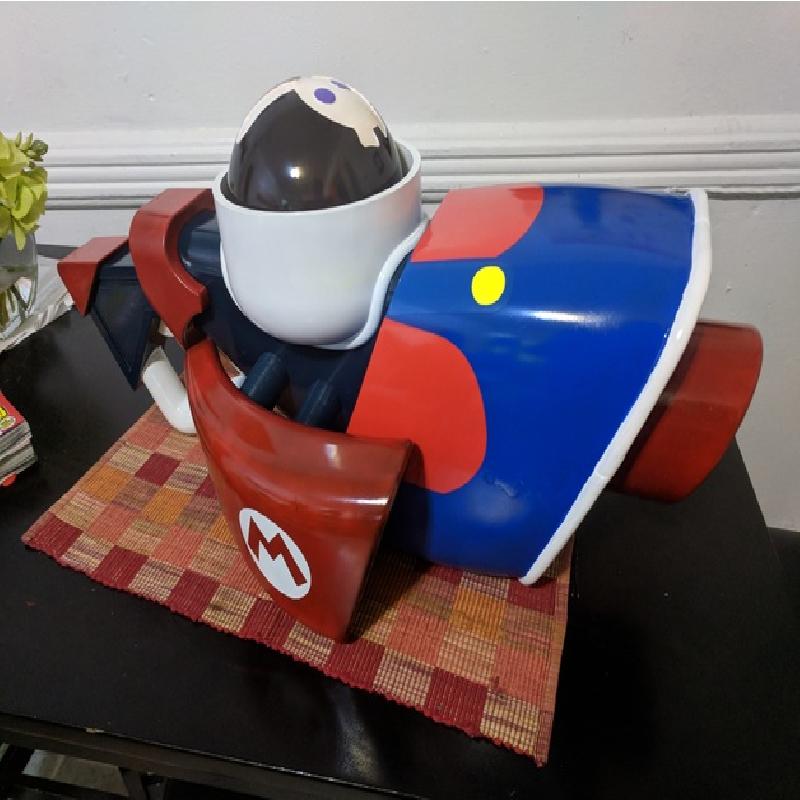
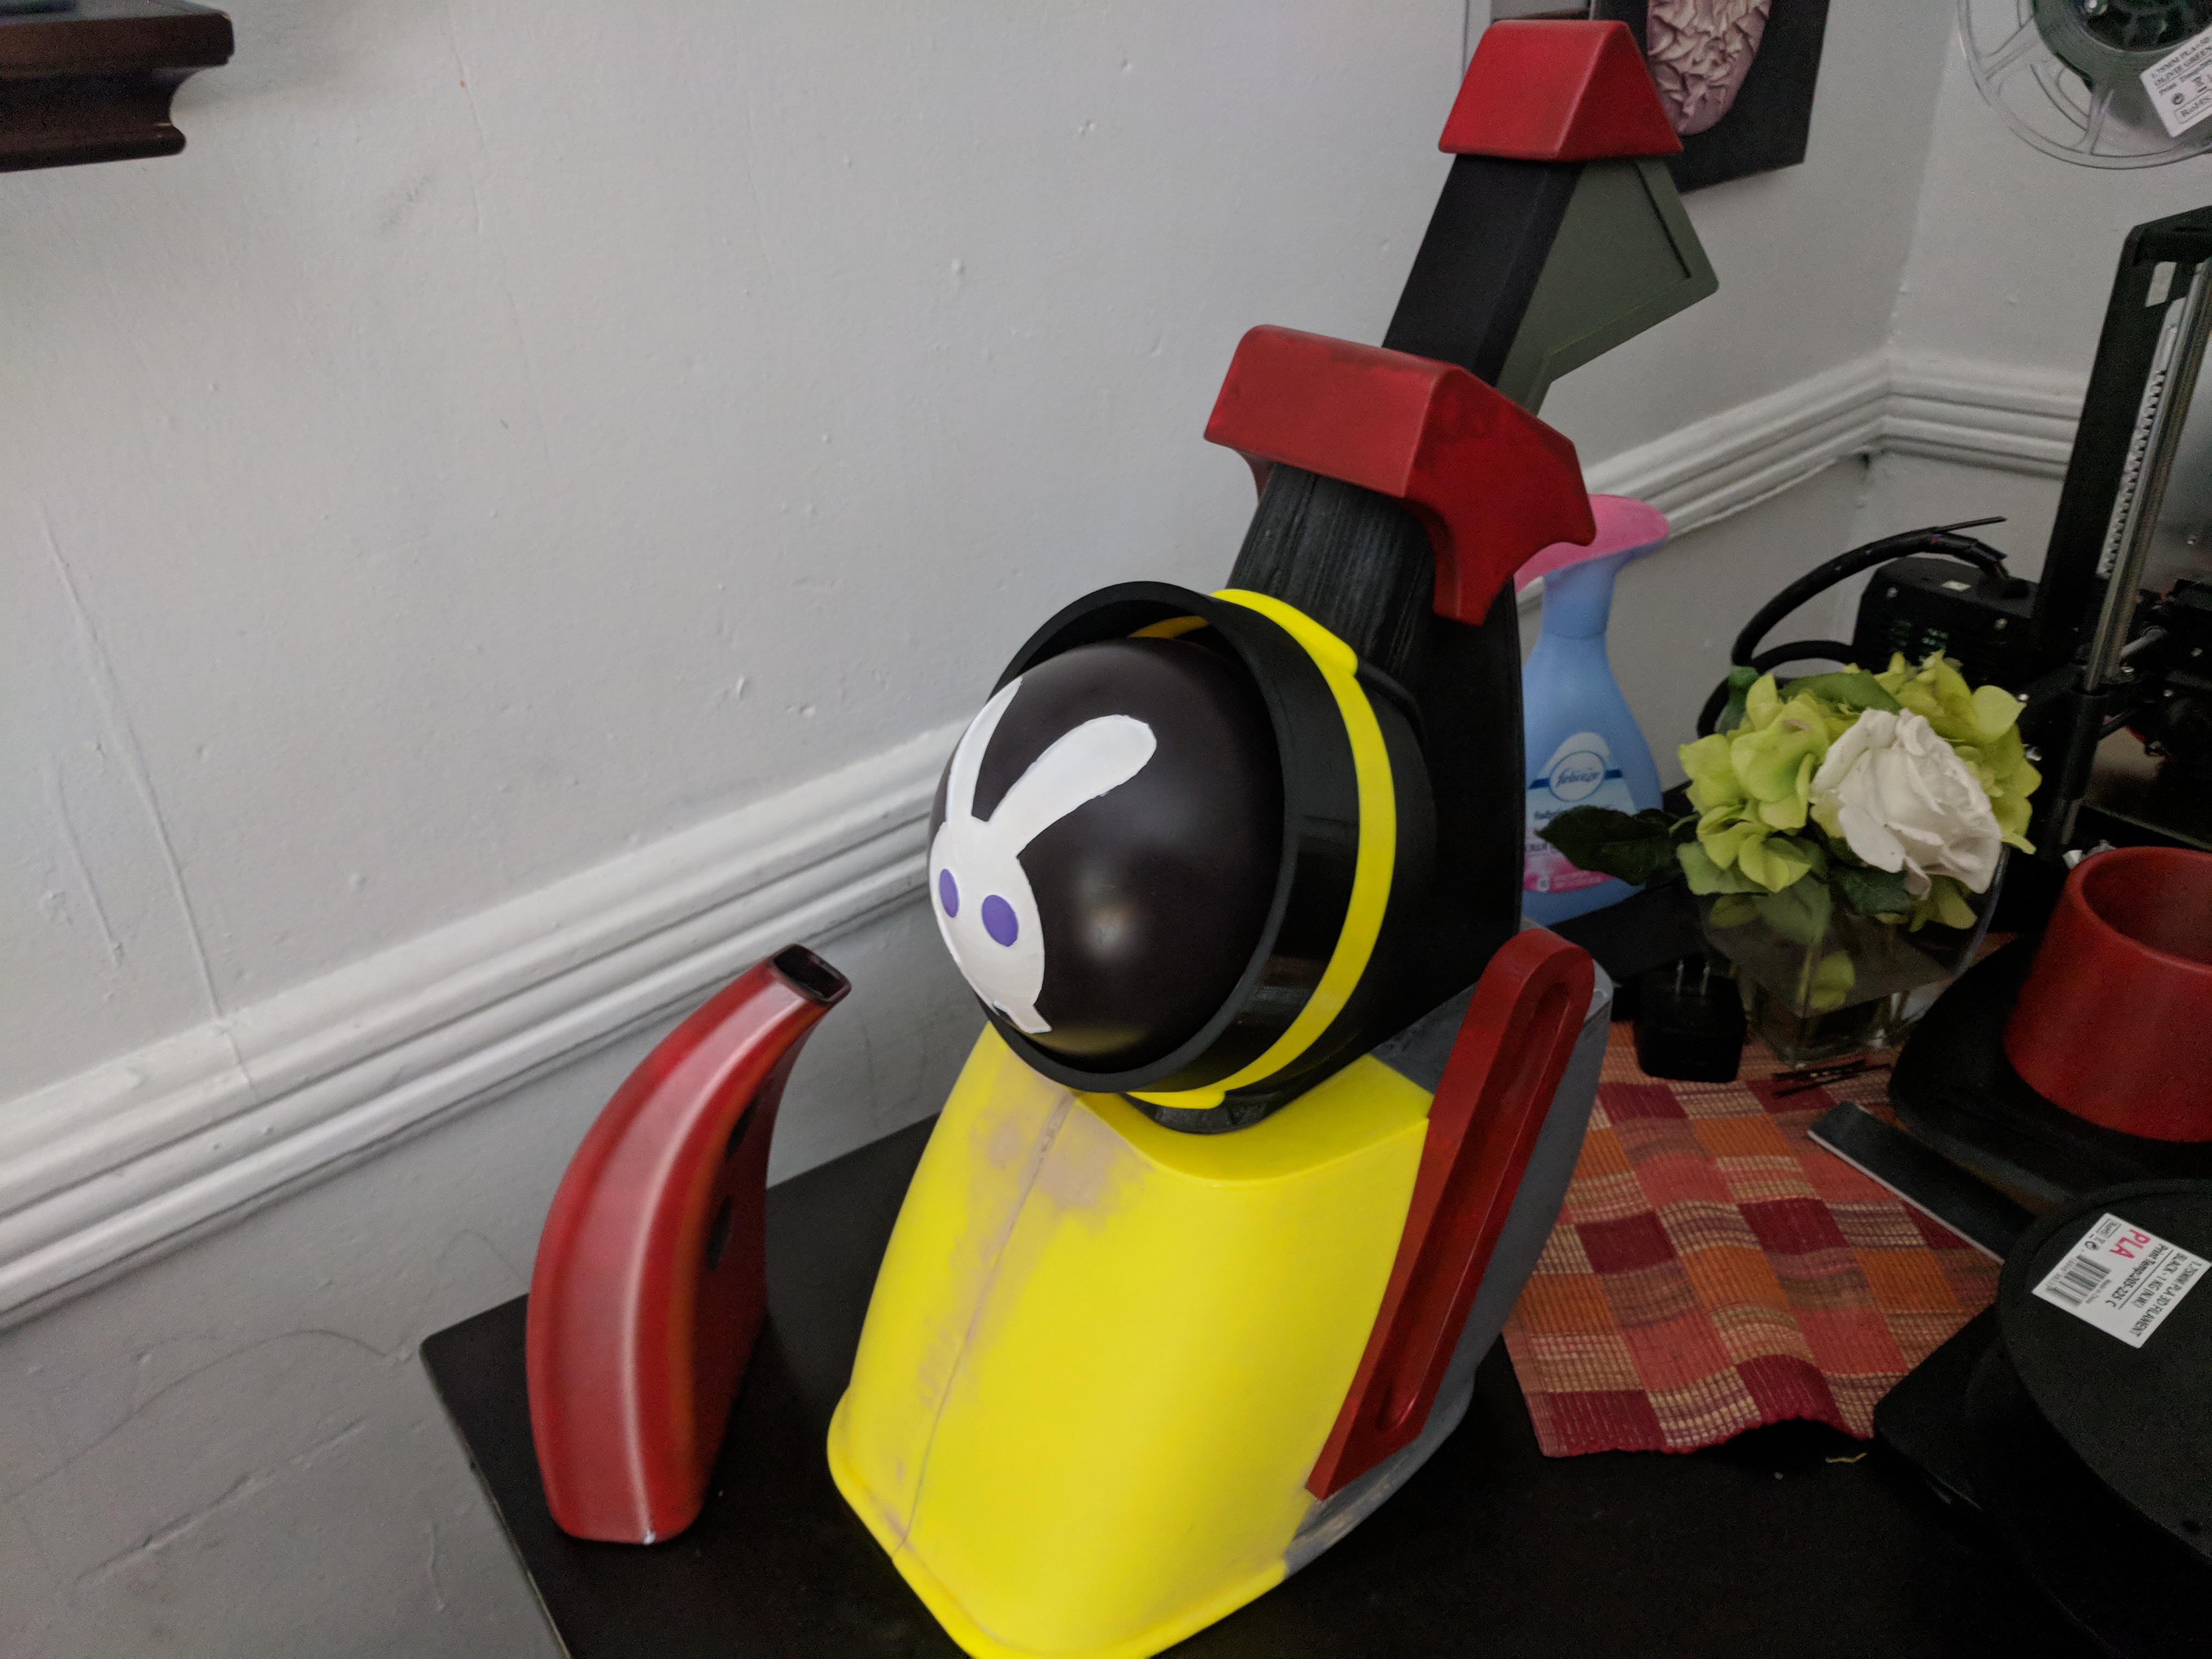
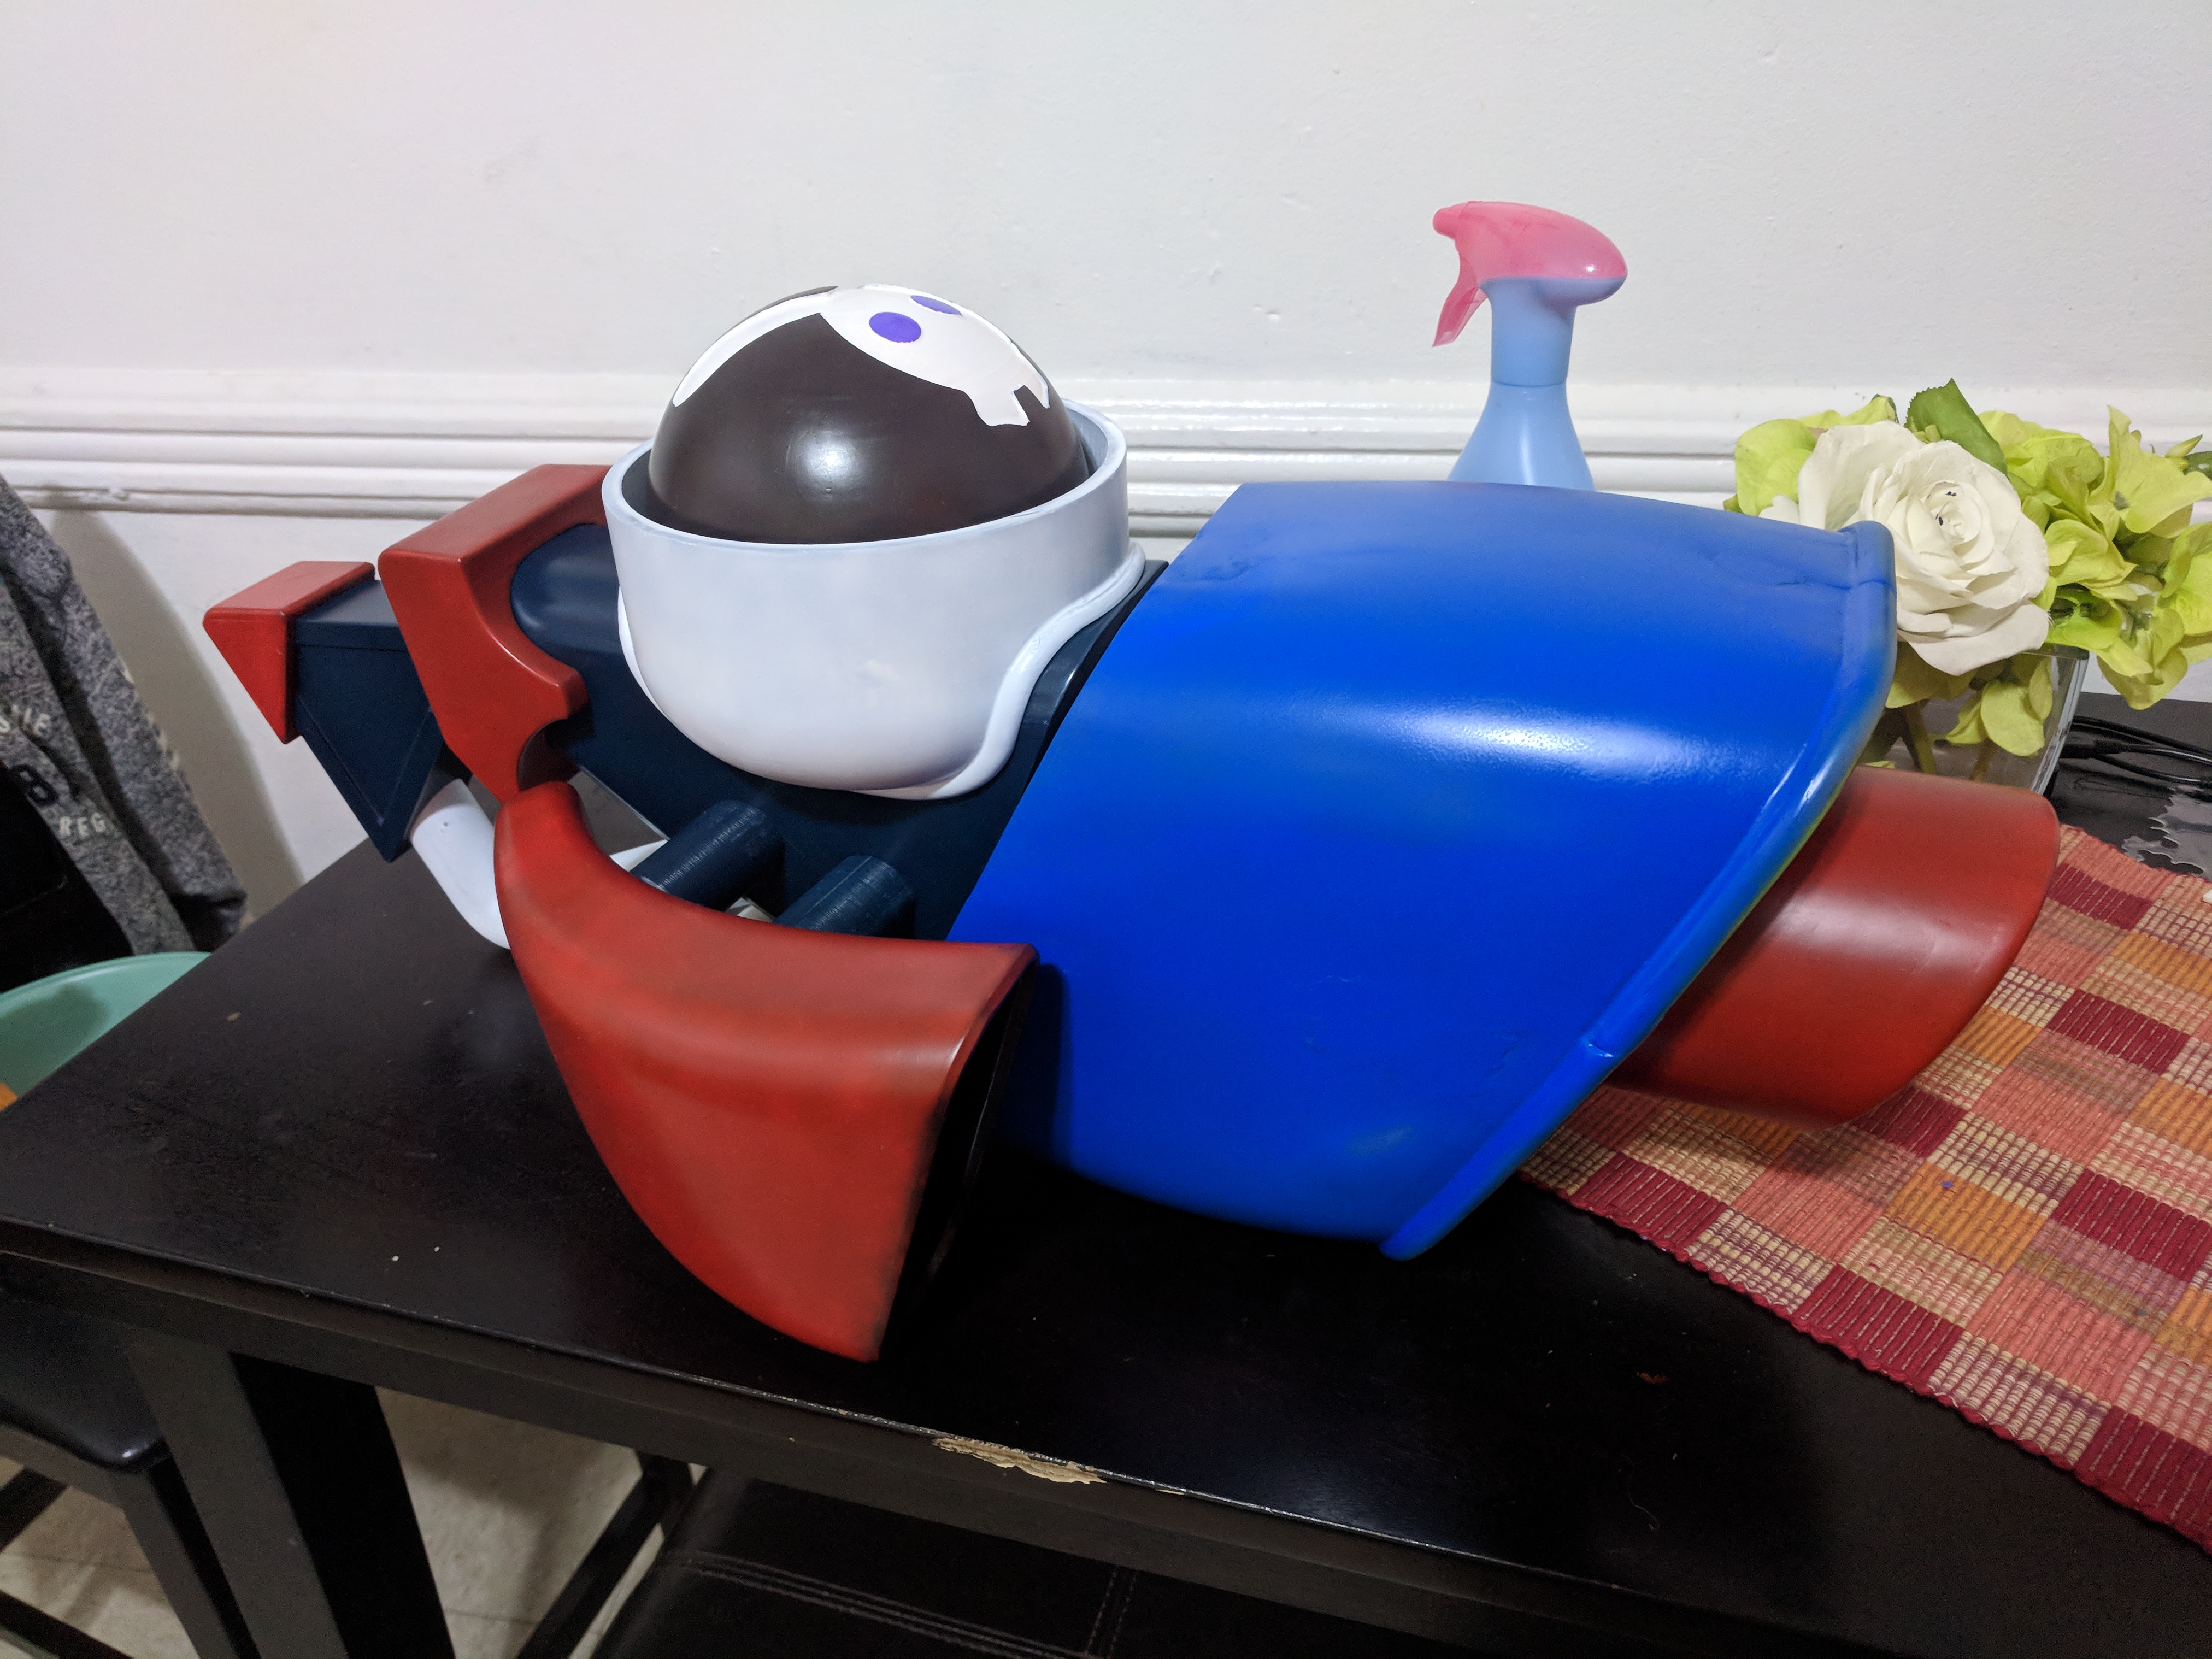
This is one of Mario Rabbid's Boomshots in game. This version is called the Plumer's Helper as it looks like Mario.
The pictures above are after I has glued, covered in epoxy, sanded, primed, sanded, painted, sanded, painted, and finished in a clear coat.
It took me about a week to design this in fusion 360.
I did it from screenshot taken with my phone from in game when viewing the weapons.
Unfortunately you cannot rotate the model fully when viewing in game so I did my best to recreate the prop.
Printer Brand:
Prusa
Printer:
Supports:
Yes
Filament: Hatchbox PLA Multiple
Notes:
The front body parts will need supports to print. After printing combine the left parts together and then the right. Then the half's can join together.
You will need to print 1 of every parts with the exception of the following parts, you will need"
4x Pegs
4x Vent 2
2x Handle Caps
2x Inatke Hold
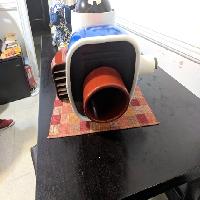
I suggest you print the back pipe hollow as you may need it to flex a bit when assembling the back. I did mine with 2 perimeters.
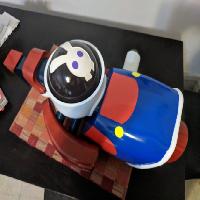
If you can print the ball with the rabbid face either hollow or with little infill to keep the gun light.
The front body pieces should be printed with the rounded edges pointing up and supports enabled.
The mid body parts have large flat areas that should be put in the bed, you will need to rotate the parts to make them fit.
The rest should be printed as you see fit best for your printer.
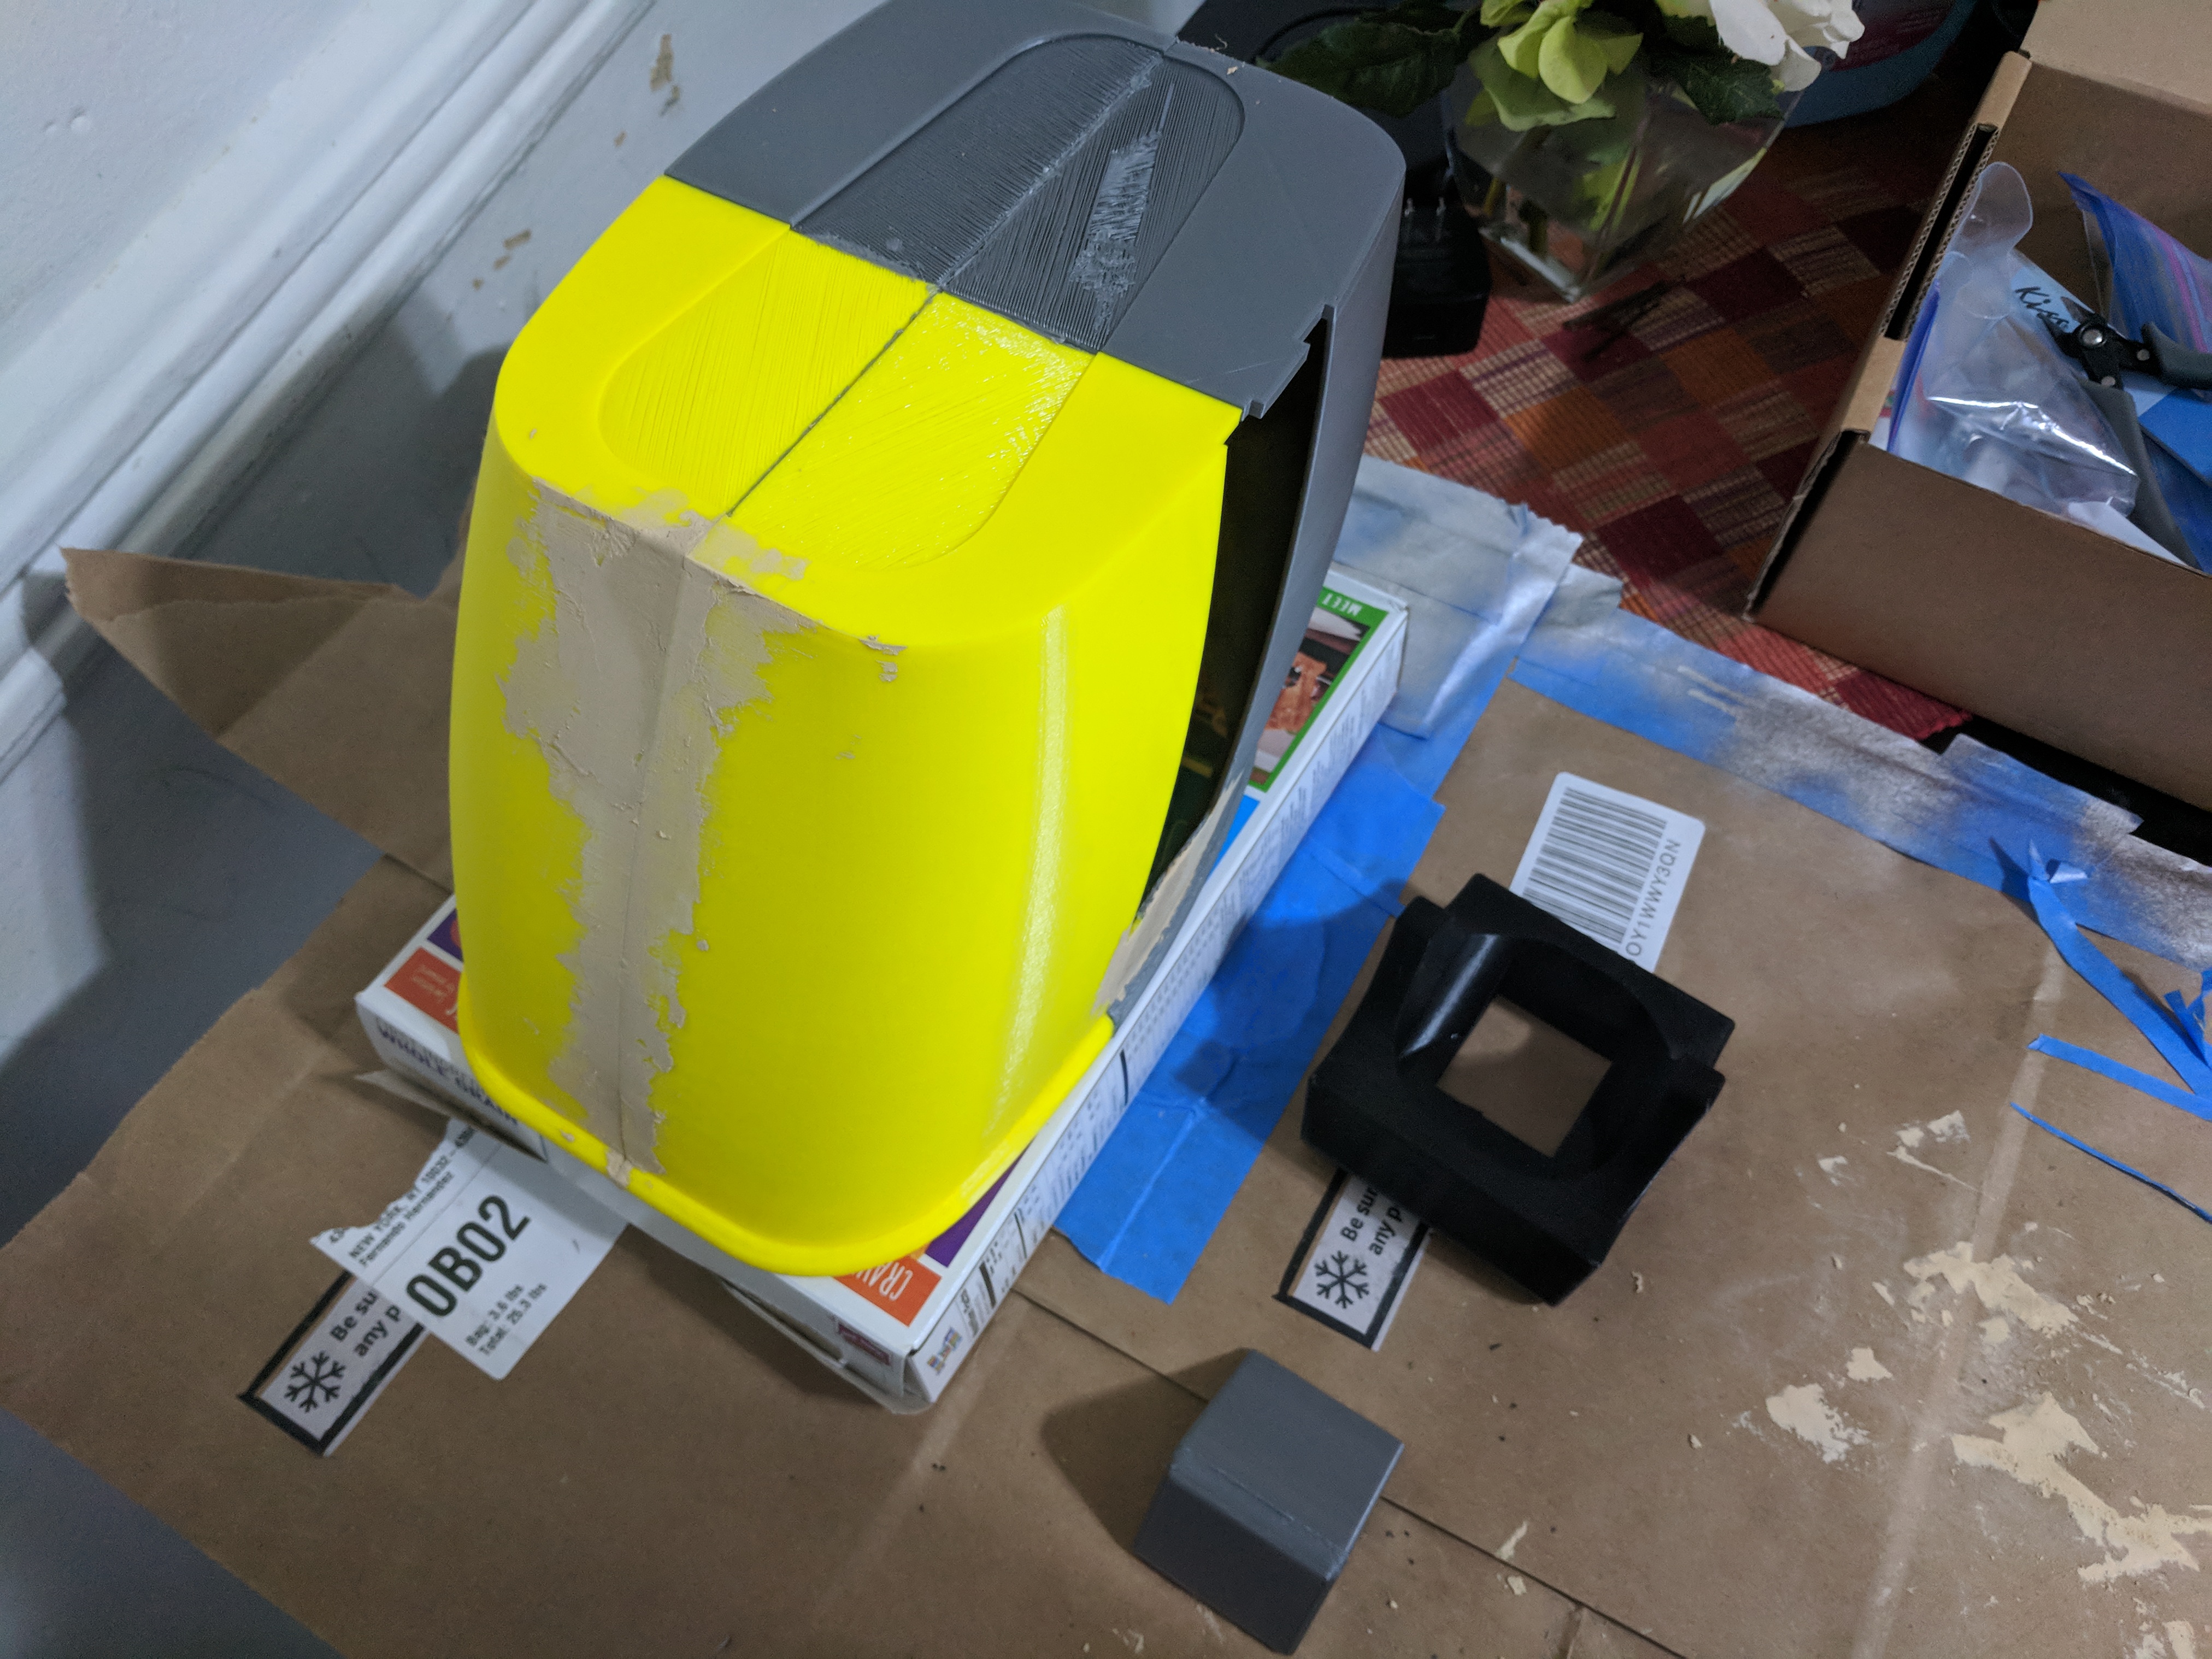
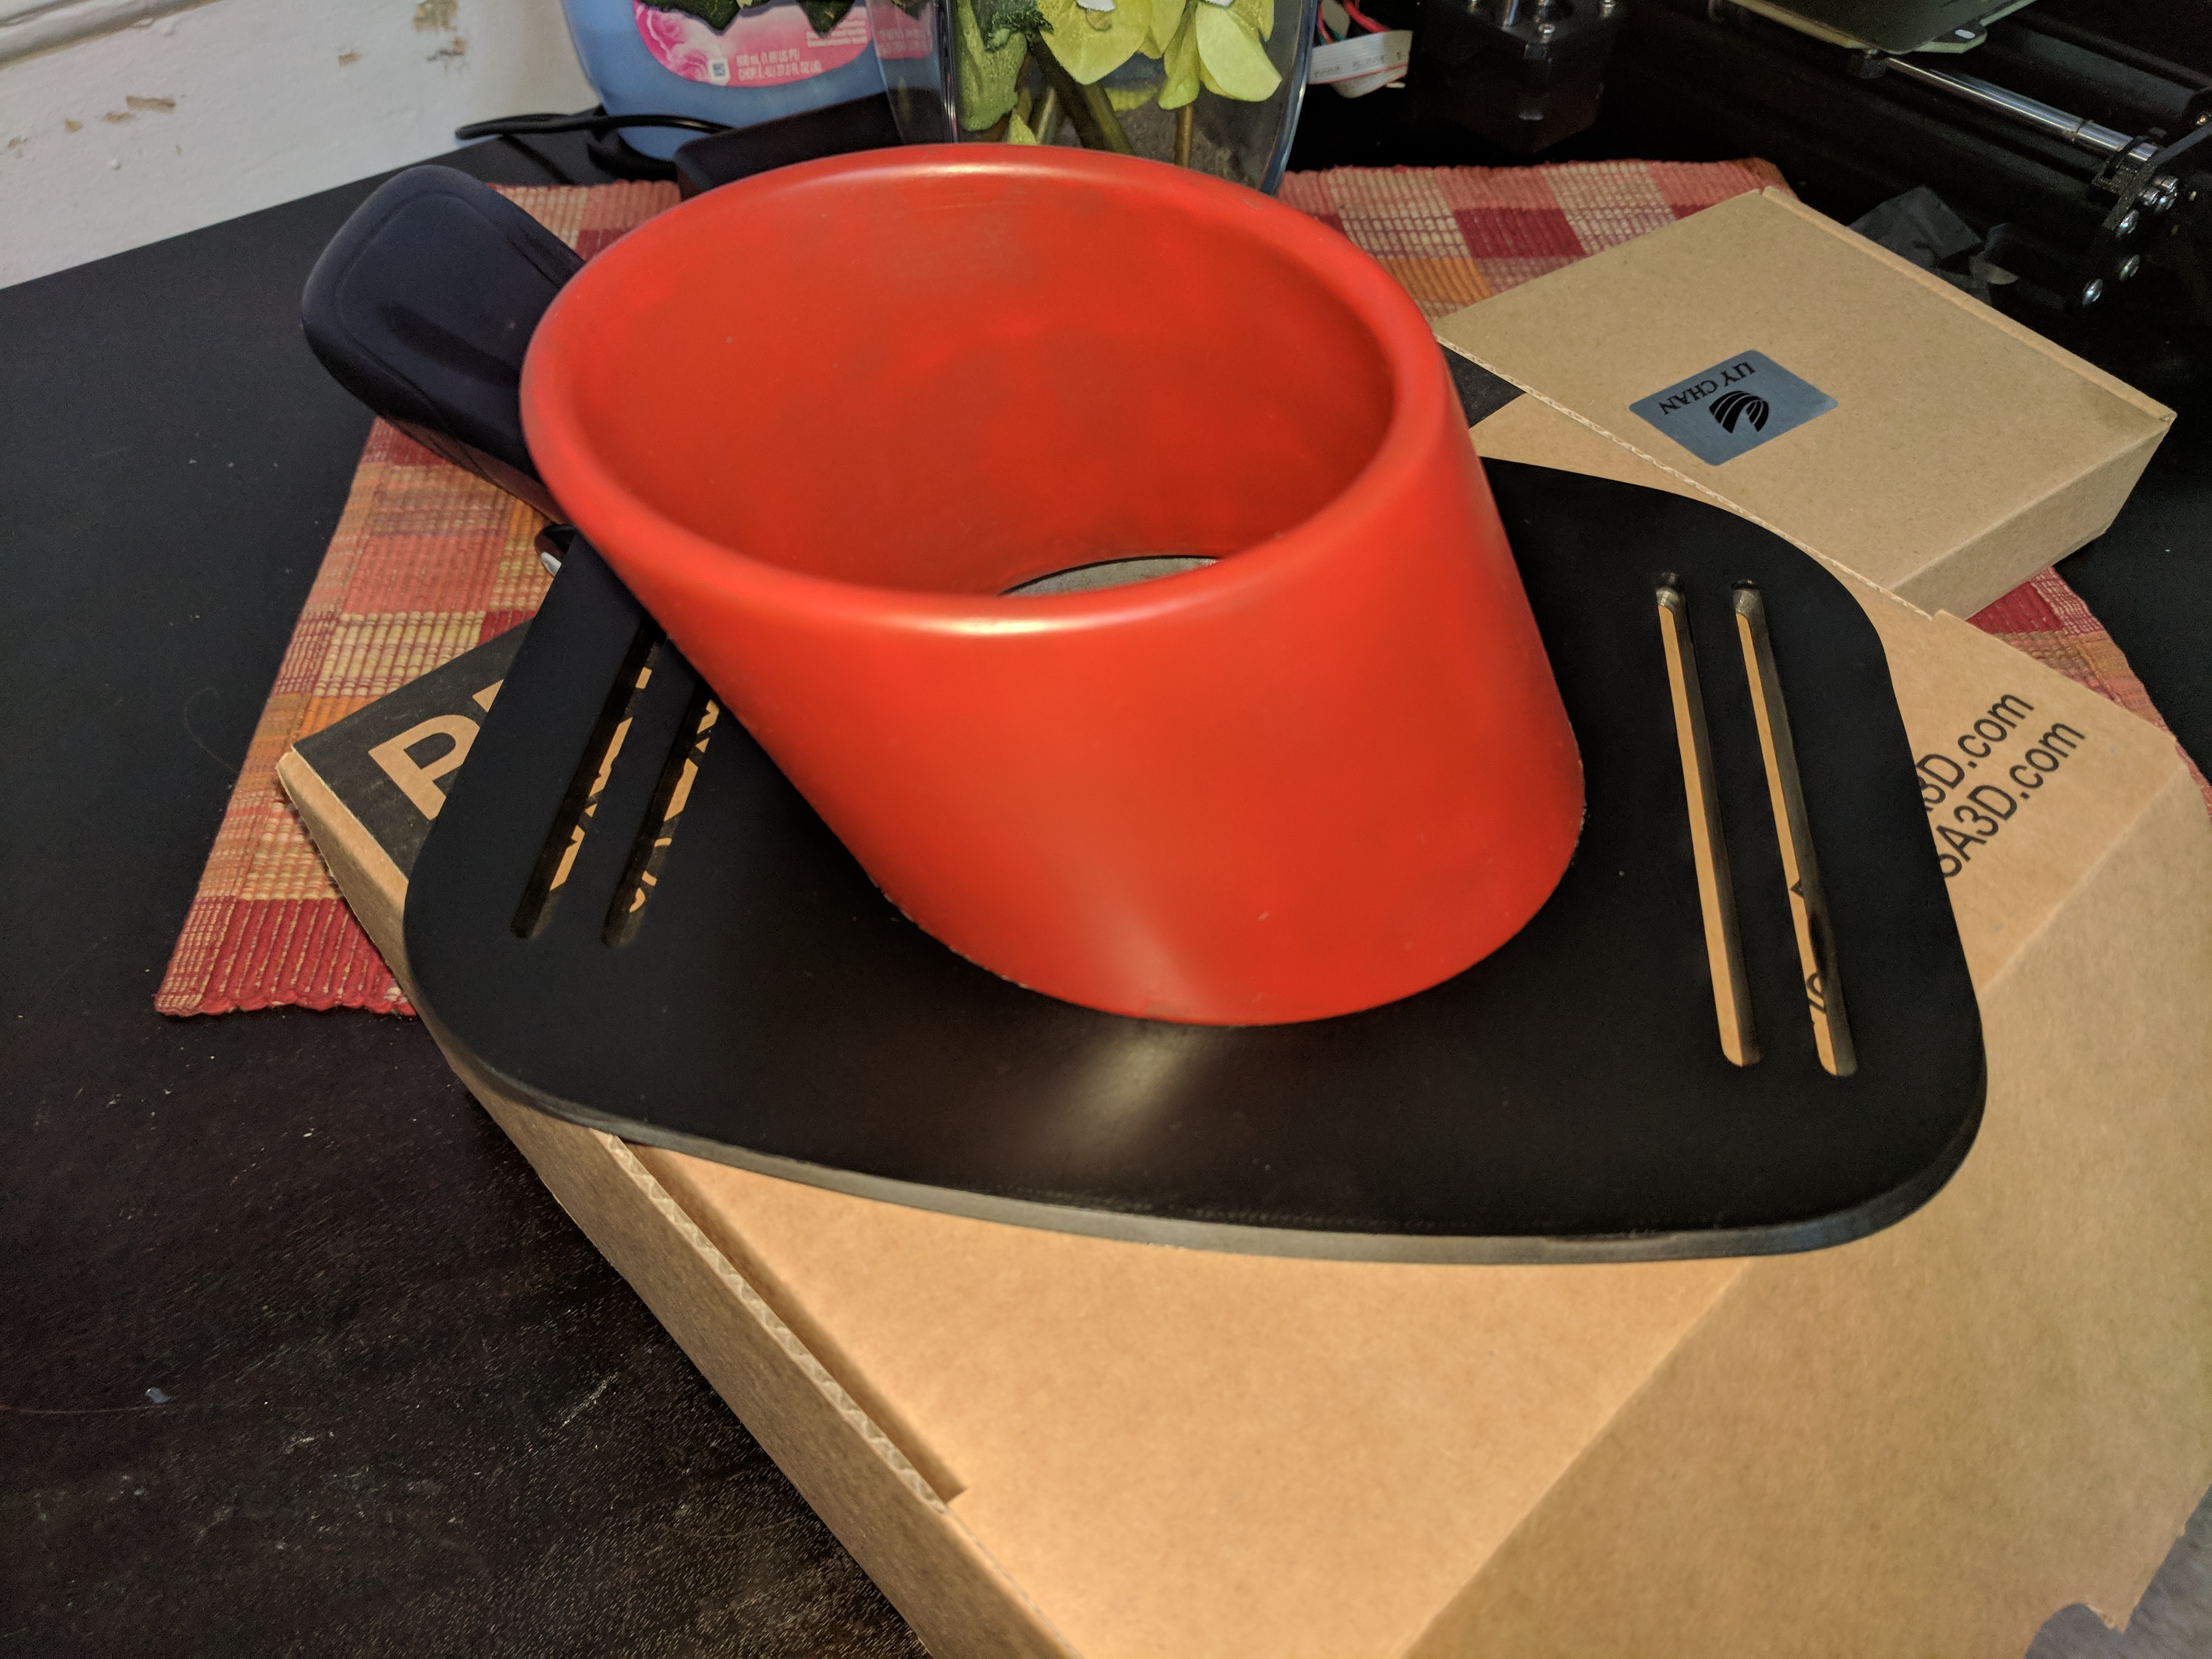
Adding glue and some filler to the front body pieces, You will see some differences between my printed parts and the ones available online as I have made improvements before sharing the files.
Covering the parts in XTC3D.
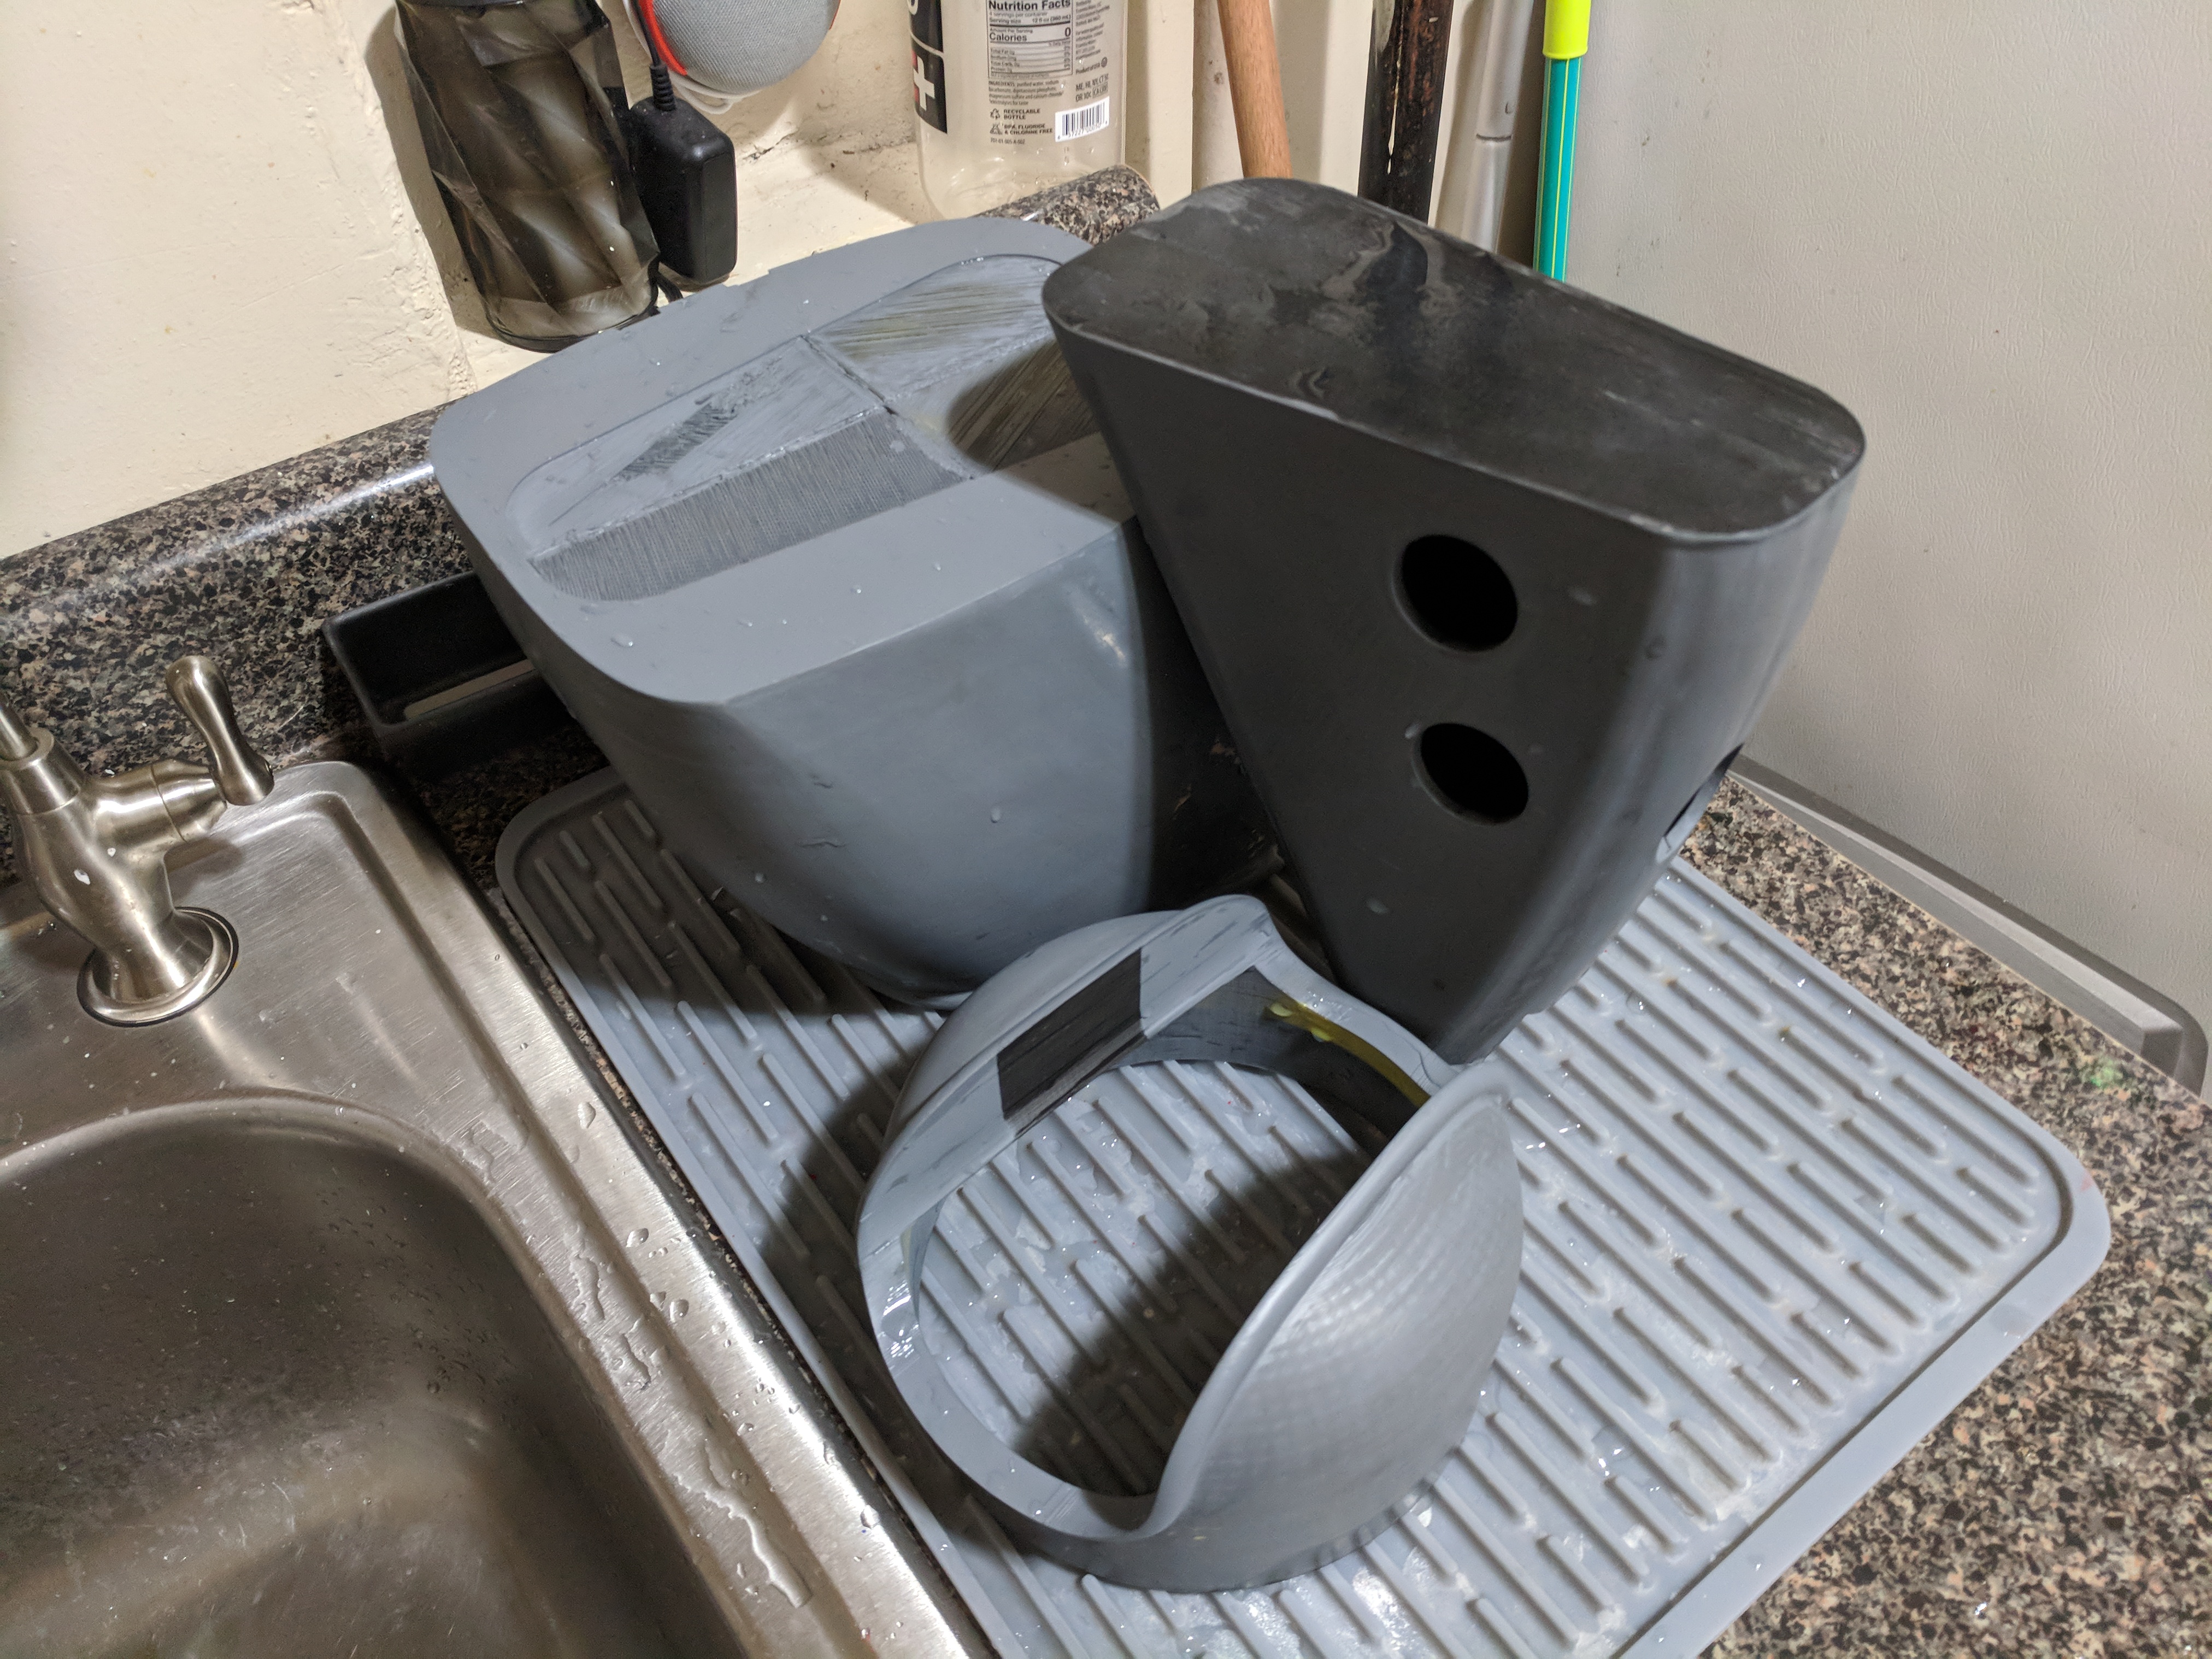
Parts covered in primer.
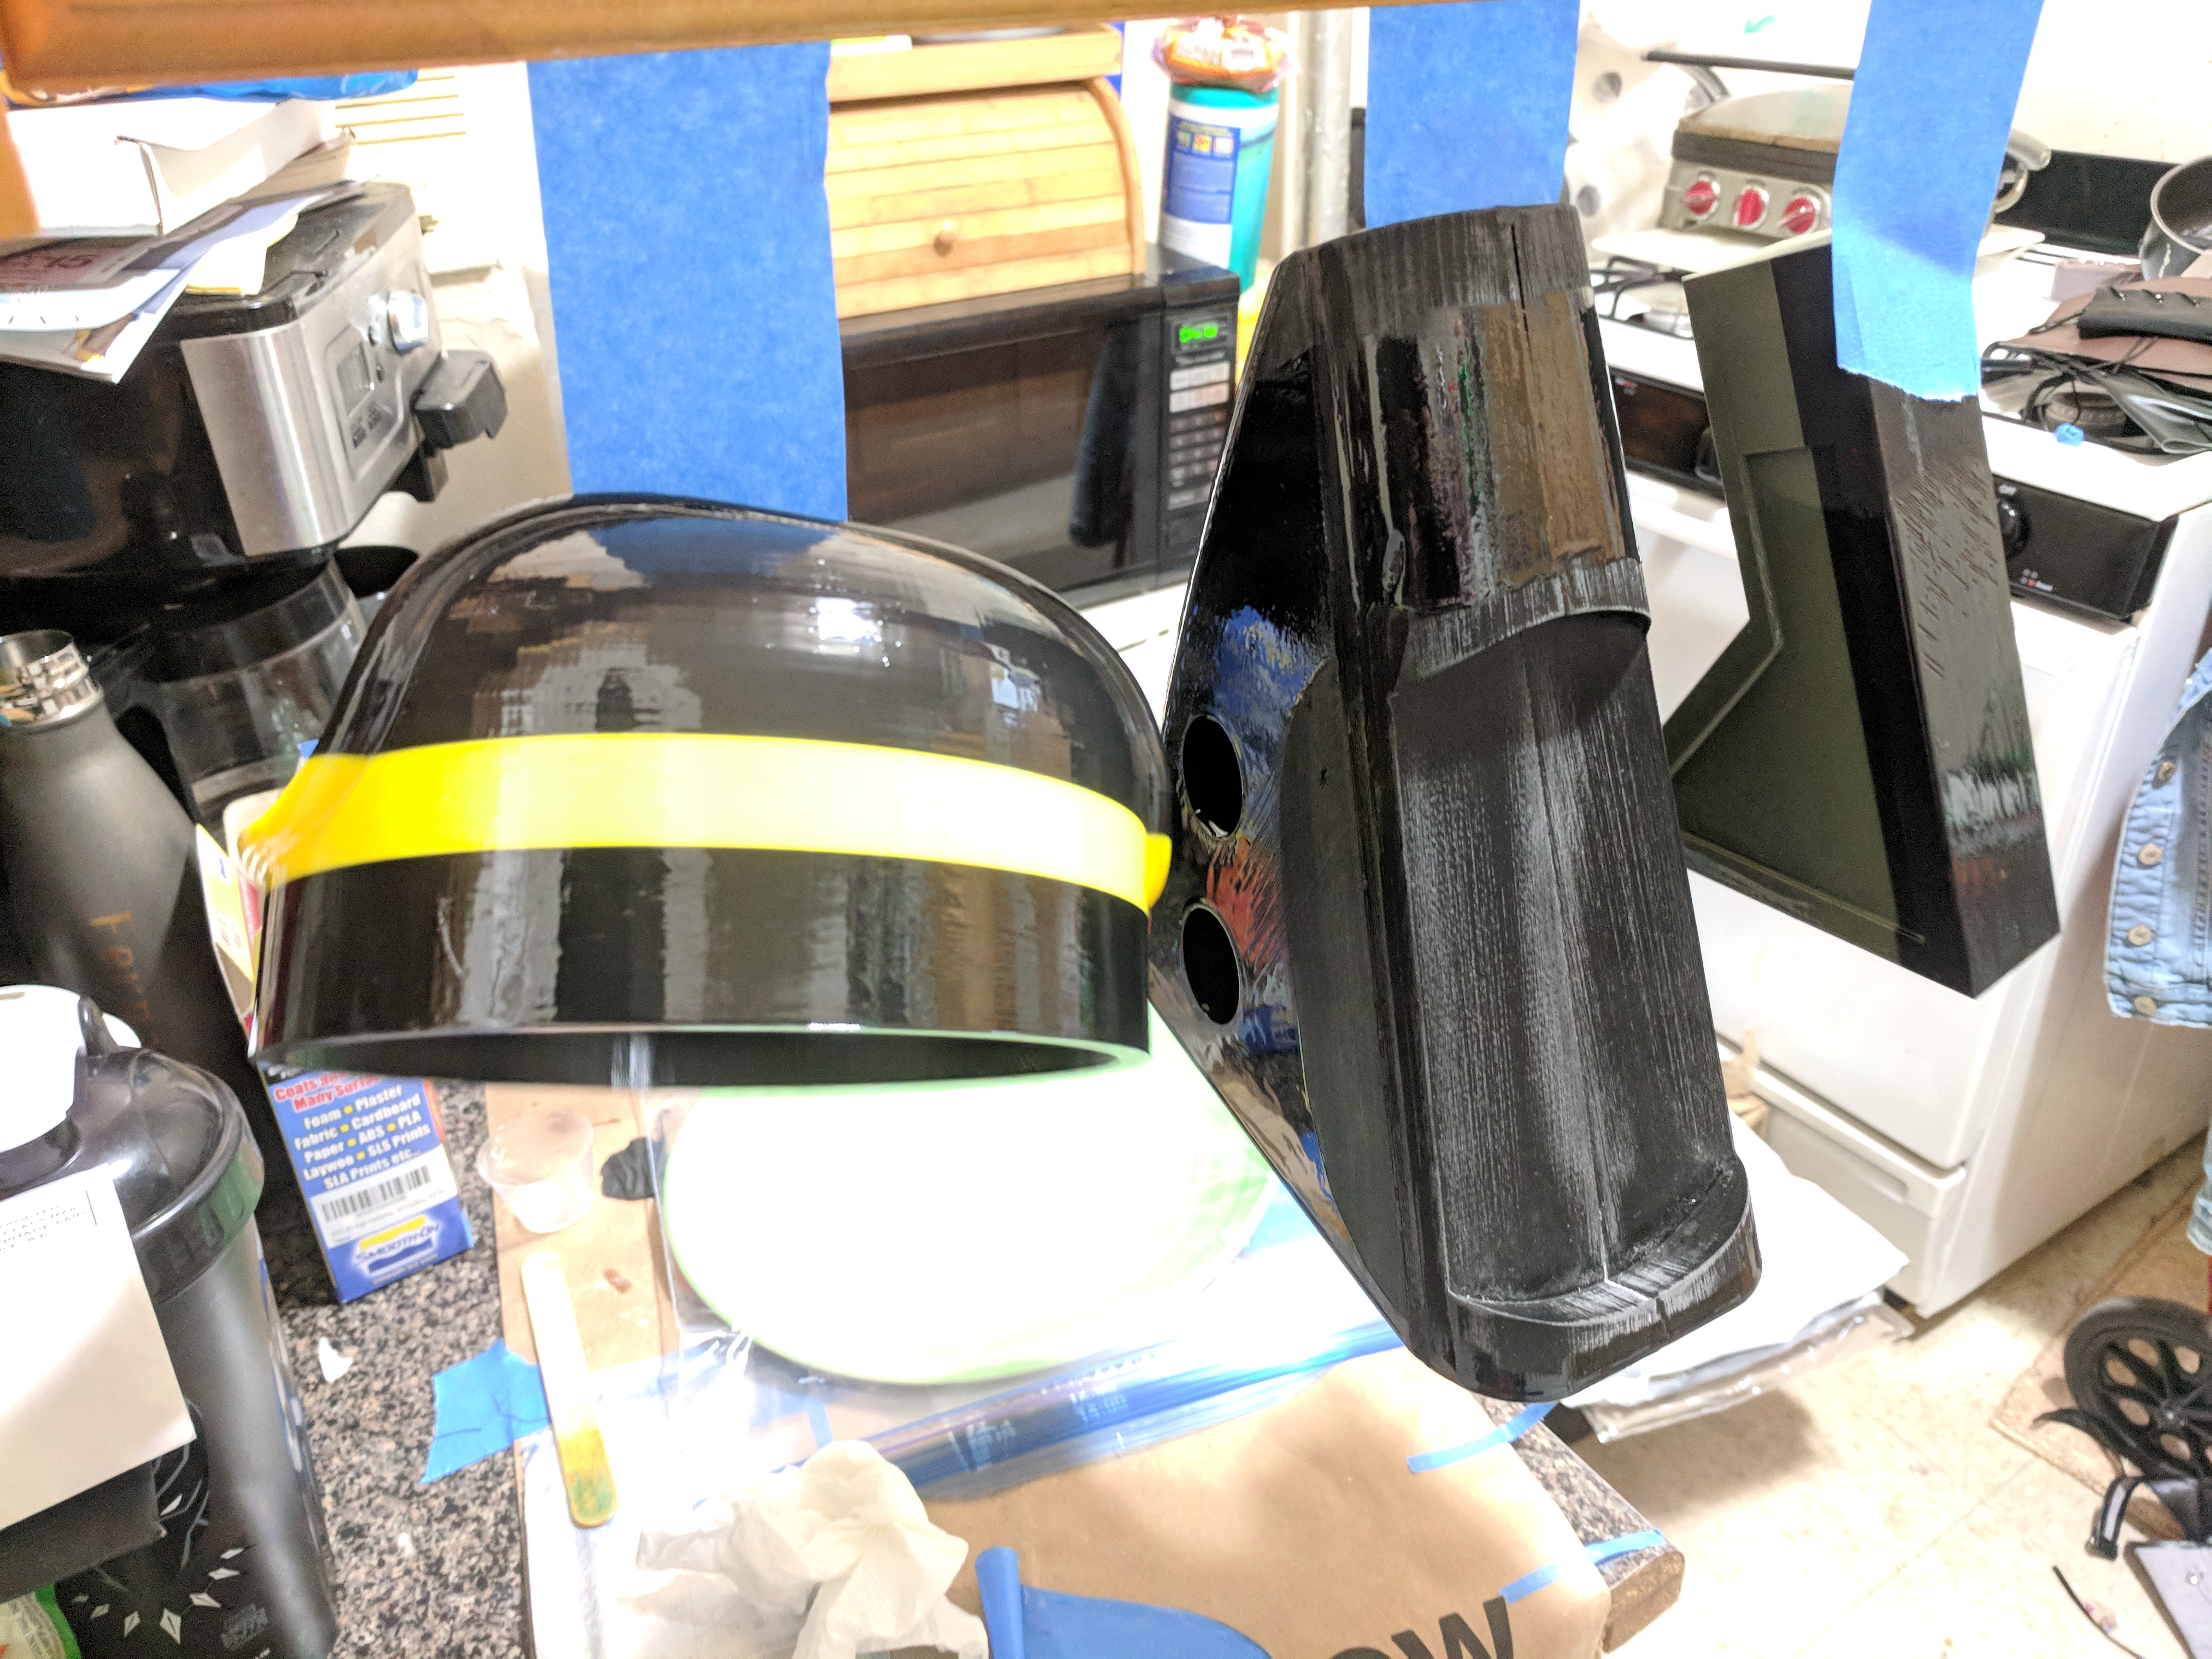
First parts painted
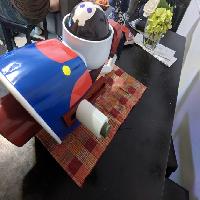
Test assembly. I was working with a deadline for the MakerFaire prop contest so as I printed some parts others were being finished.
Second test with more parts painted.

Added laser cut vinyls, and clear coated