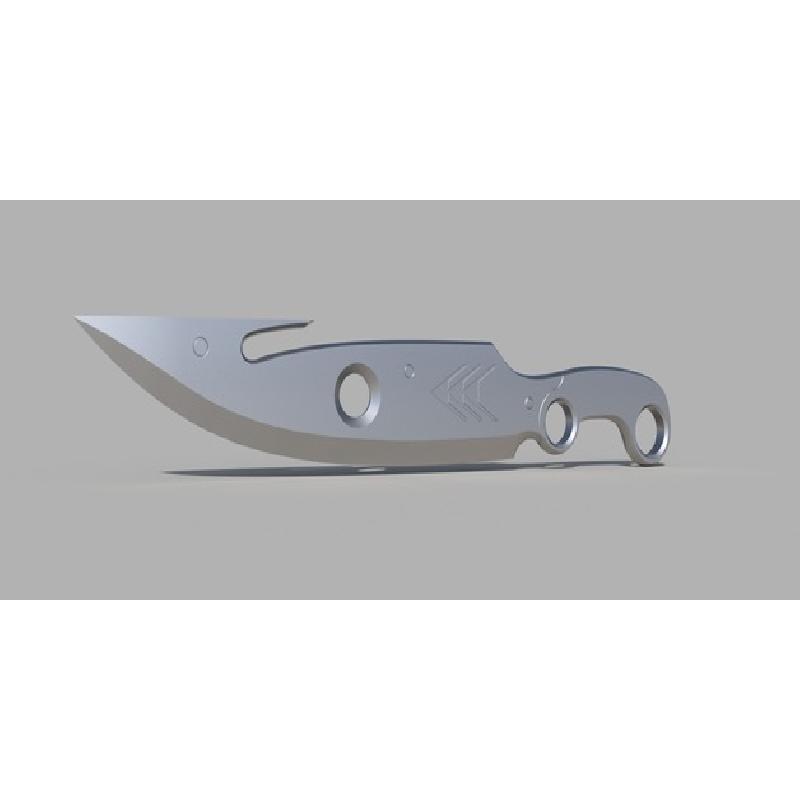
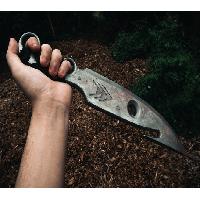
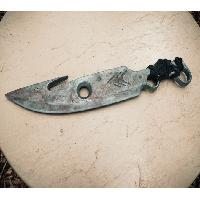
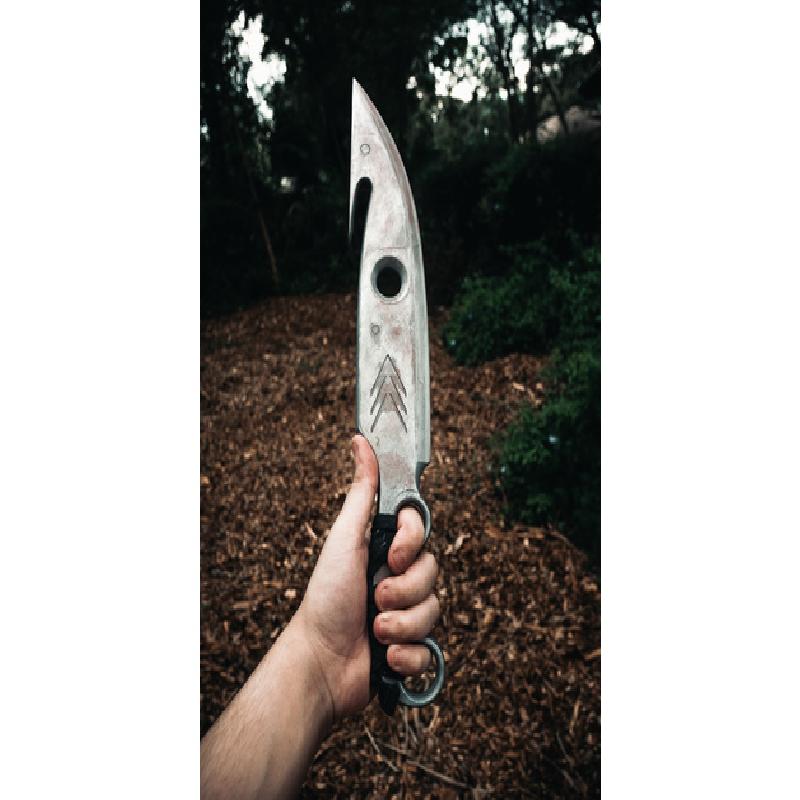
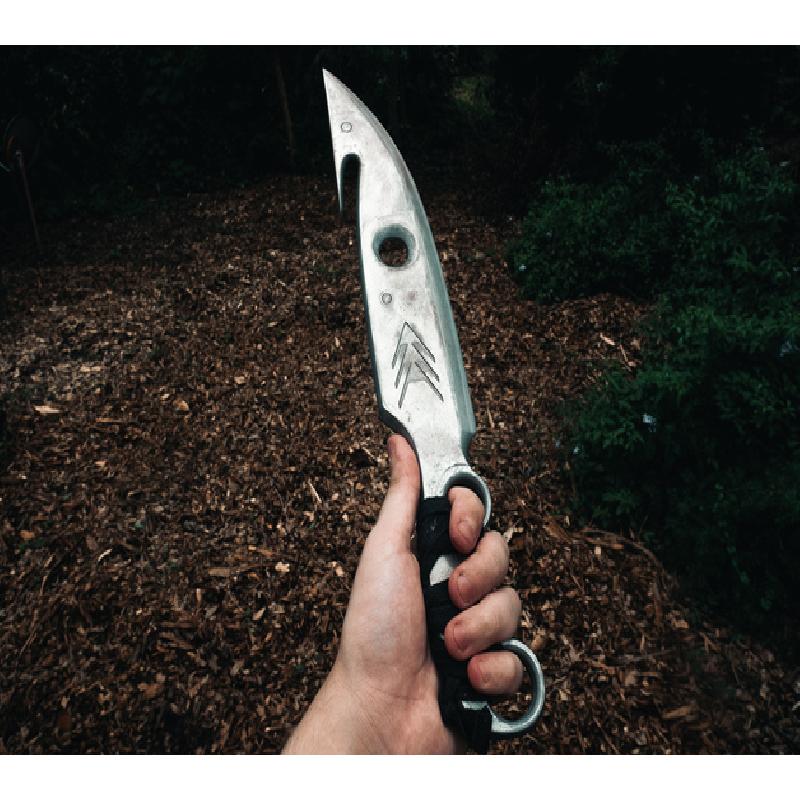
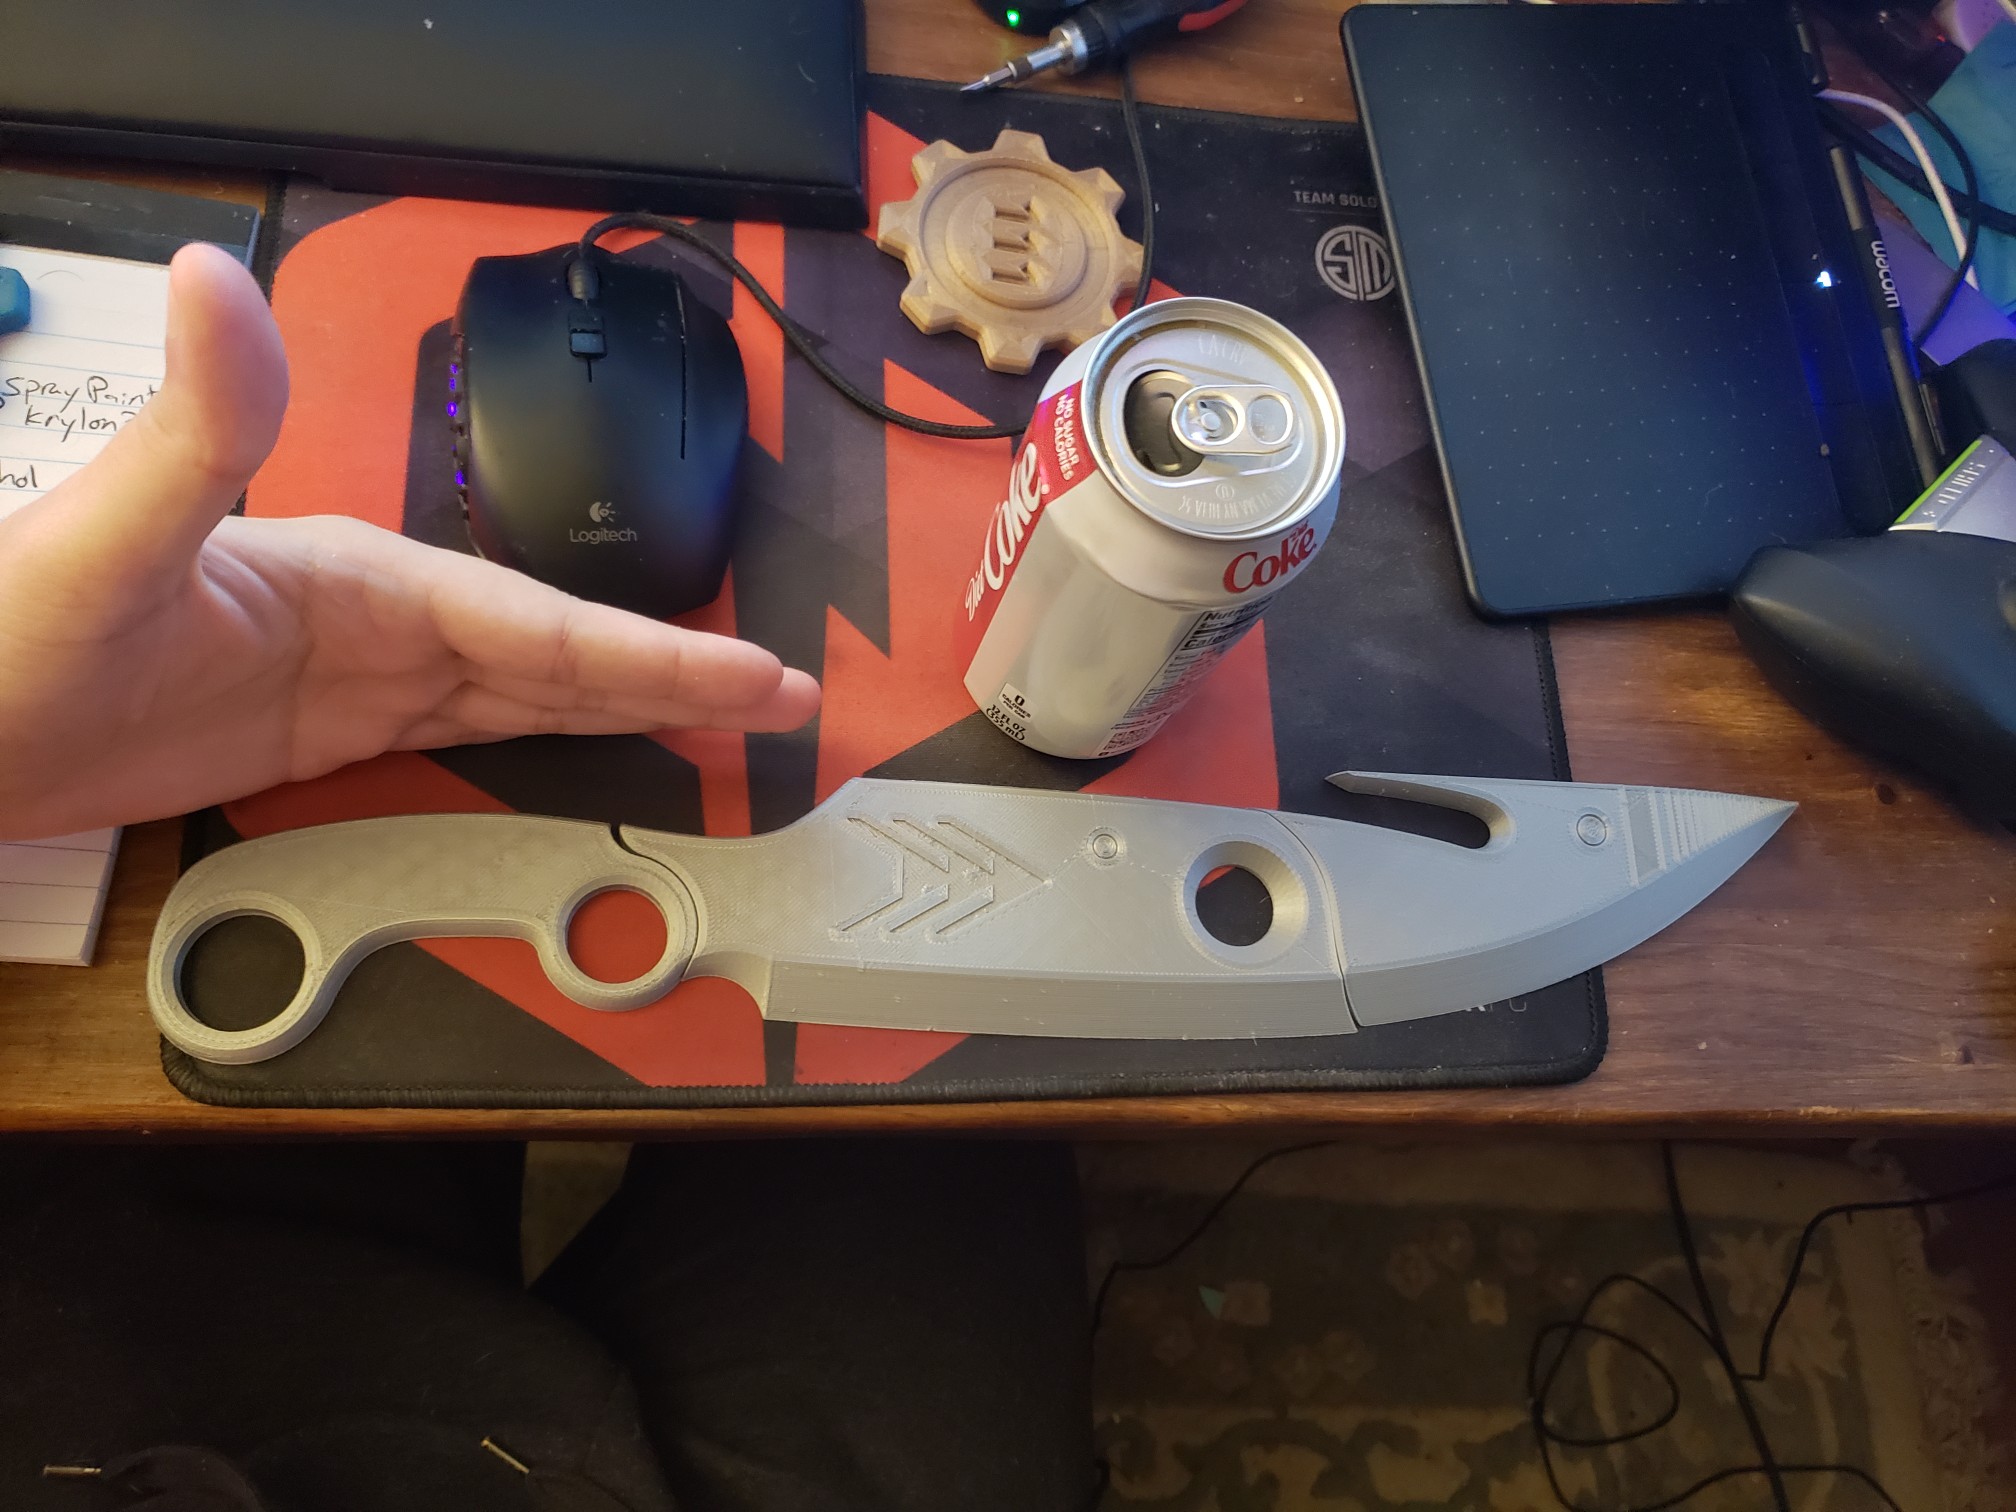
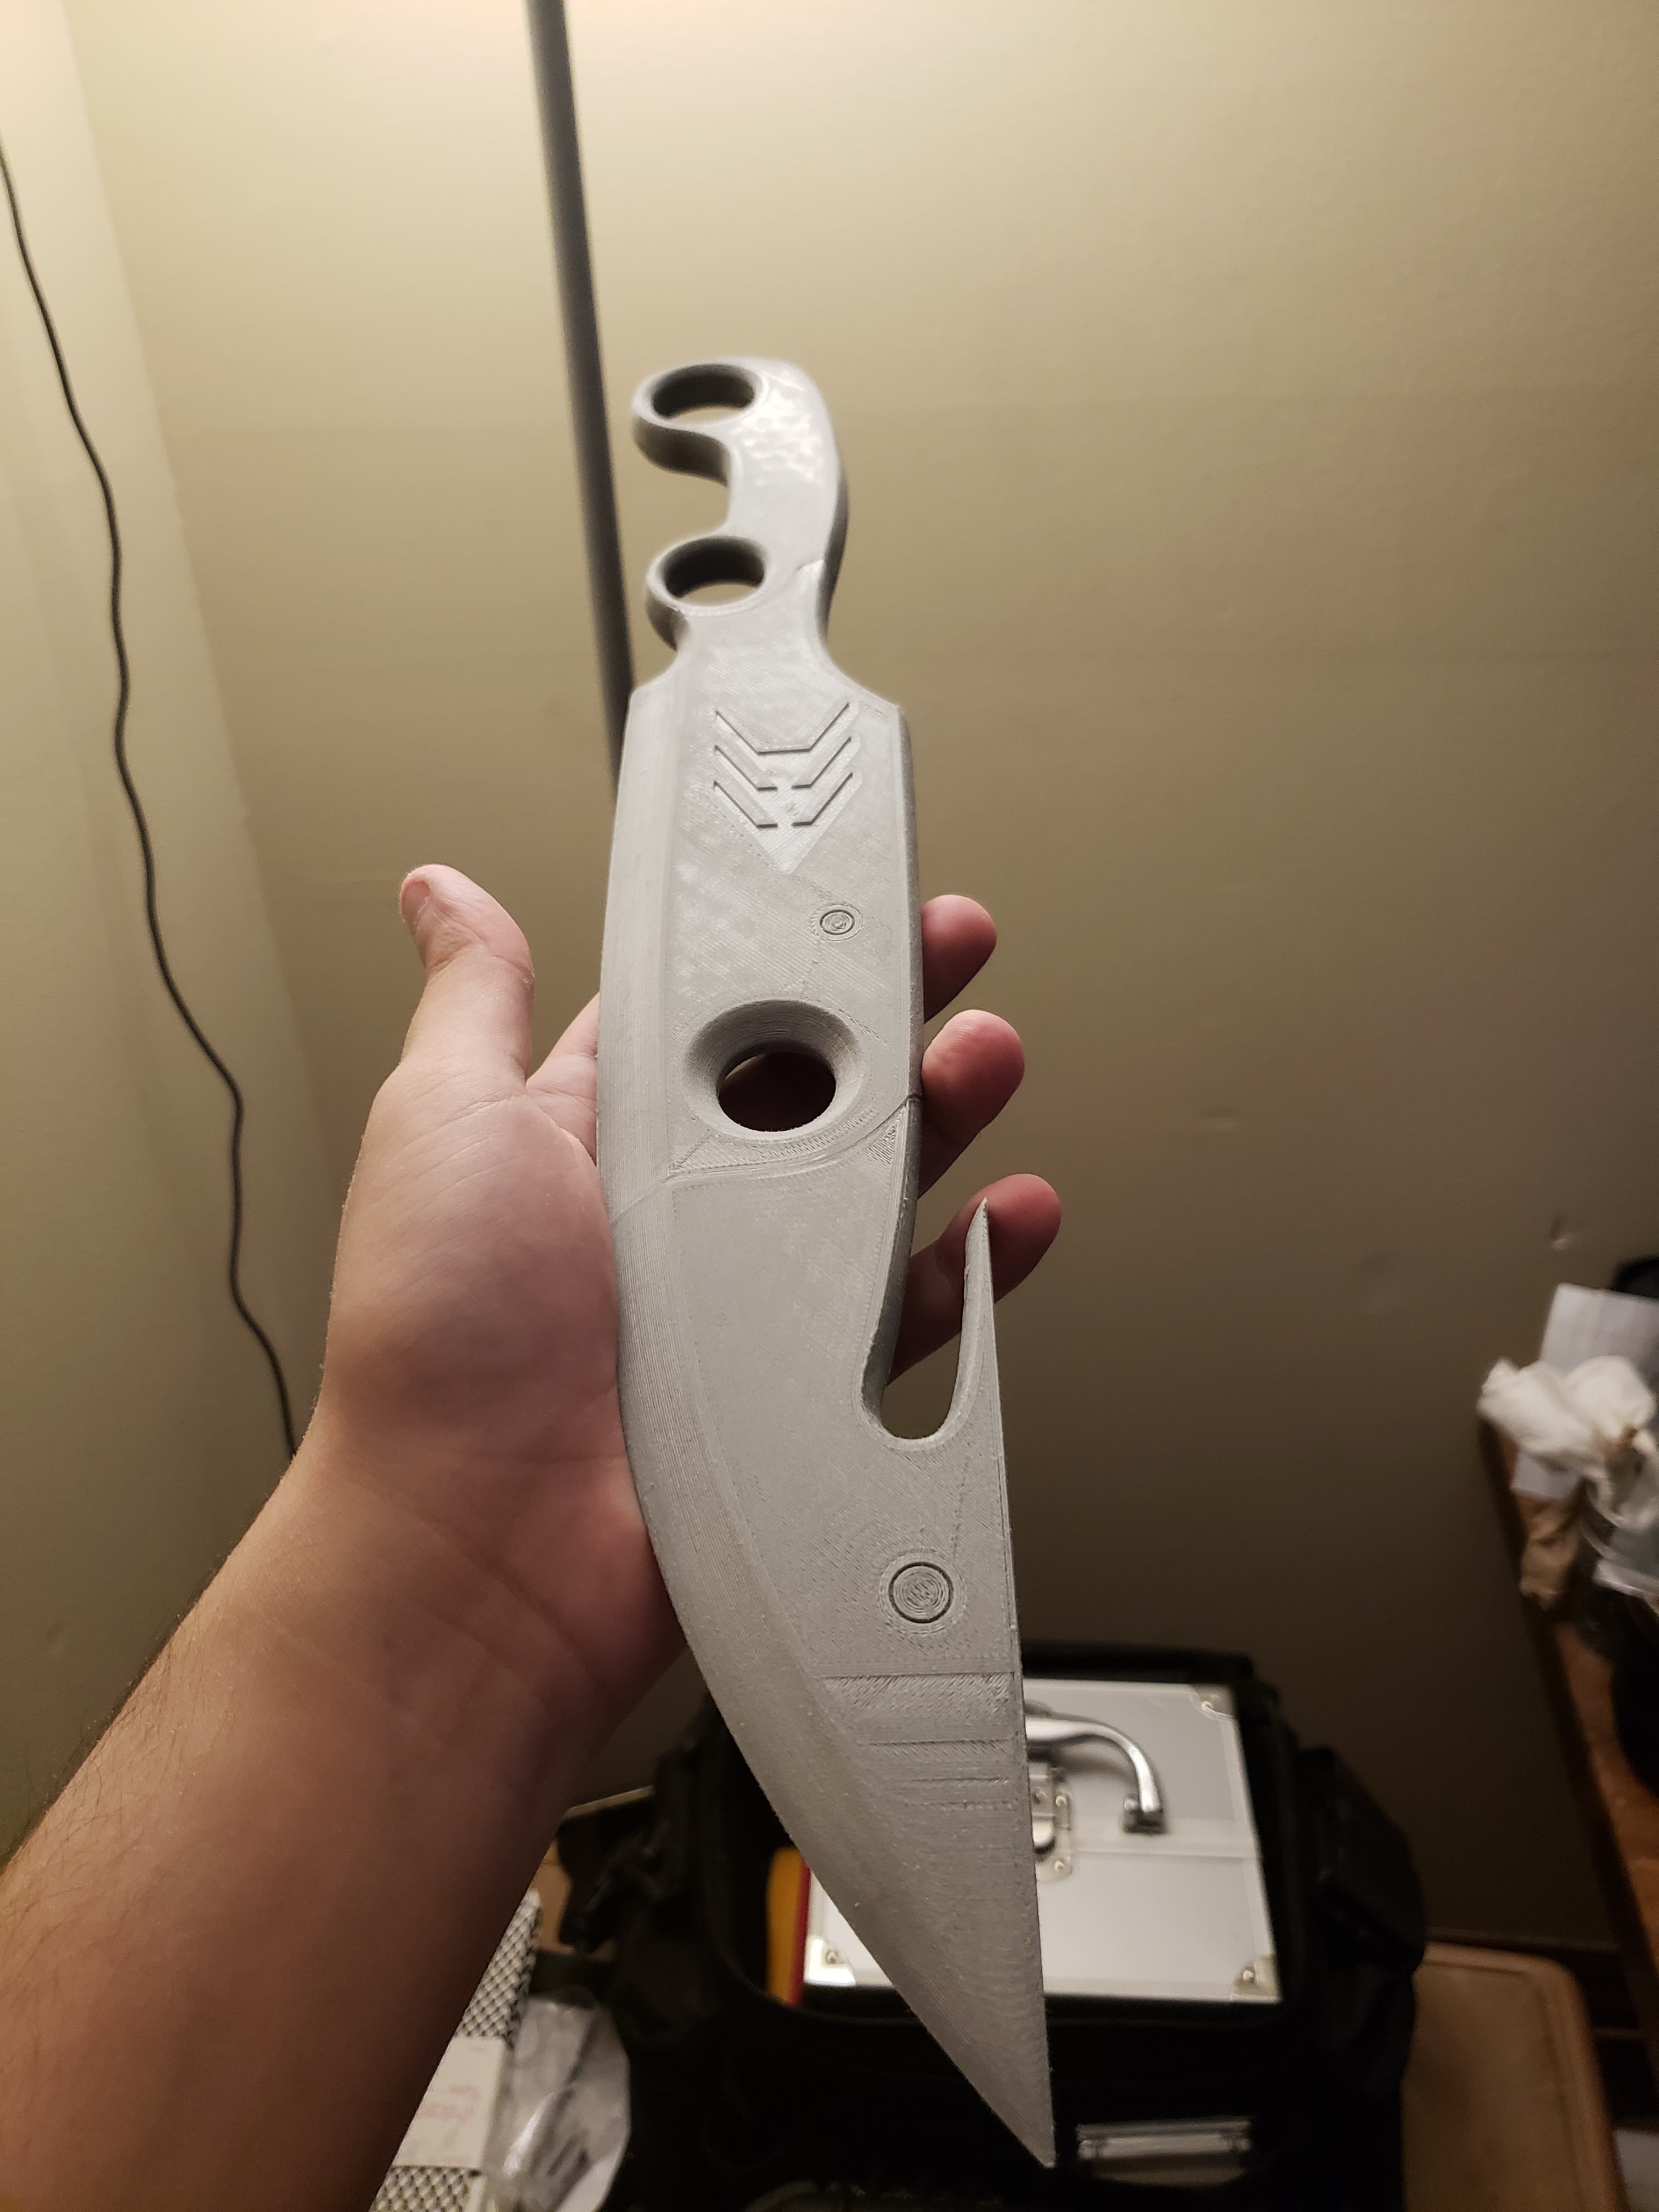
This is my take on the Destiny 2 Hunter's Knife drawn up in Fusion 360 to scale of the in-game asset.
The model is broken into 2 halves- left and right. Each half is broken into 3 sections- fore blade, mid blade, and handle. This comes to a total of 6 parts, each of which is just short enough to fit on a standard 200x200mm Duplicator i3 style bed. You should be able to bring each half of the blade in a single print, two prints total.
No support materials are required, you can place the inside of each section of the blade flush to the bed for best results.
For the handle wrap, a simple cord such as a shoelace from an old pair of shoes or from the local dollar store should suffice.
Step 1) Print and Connect Parts
Assembly is fairly simple.
I printed each half of the blade in one print, so after they were off the bed I just arranged them, and use CA (super) glue to join them. In my 3D model I made sure to "key" the joins by giving them a swooping curve, which helps to align the parts better than a straight cut would.
Make sure to take a file or some sand paper to rough up the edges before attempting to super glue- roughing the edges gives the plastic some "tooth" by increasing the surface area and giving the glue more to bond to for a really sturdy join.
You may find that the first 1-2 layers of your print will have a bit of "flashing" on them. The first layers of a print tend to "squish" and flare out a tiny bit, giving it a bit of a lip around the perimeter of the object which can make it difficult to glue the parts flush. I've found that an automotive deburring tool is excellent for removing this excess material. Run the tool along the edge to get a smooth flush edge to glue the parts snugly together. If you don't have a deburring tool, a knife should do as well, but you need to be more careful to avoid slipping and cutting yourself.
Left half parts printed and laid out for assembly.
Step 2) Join Halves
Once both halves were printed and their parts glued together, I mixed up a small amount of a 5 minute epoxy to join the two halves into the full blade. I knew that I didn't want to use CA glue for this because I needed time to adjust the parts to make sure they lined up nicely. CA glue sets in 10-15 seconds, and will often become stiff seemingly instantaneously and at the worst possible moment. An epoxy adhesive will give you some work time to move the parts around on each other, and then clamp them in place to dry once you're happy they're aligned.
Halves joined, first pass of low-grit sanding.
Step 3) Smoothing the Print
At this point I got down to work with my sandpaper. I have a set of wet-dry sandpaper with grits from 120-3000, but for most print work 120-800 is just fine. I didn't spend too long with the 120 as such a low grit pulls away a ton of material, but I used it to quickly flatten the layer lines particularly those along the bevelled and tapered edges of the blade. From there I jumped up to a 220 grit and continued to sand smooth the parts until it felt pretty good in the hand- run your fingers over the parts and try to feel for rough patches and hit those until you have and even texture across the whole blade.
To further remove the obviousness of the part being printed, I used a wood filler spackle to help smooth the surface. Anywhere that you notice a gap in the top surface of the print, or where perhaps the sections you glued weren't perfectly aligned, or if you have a gap in the seam between the halves of the blade, etc... use the wood filler to plug the holes. A good sandable wood filler will dry quickly, and let you sand over these parts to make them look and feel seamless before painting.
After I was satisfied at 220 with my part wood filled and sanded, I took it outside and gave it a couple coats of an automotive filler primer. A filler primer contains material that further helps to plug the tiny variations and gaps between layer lines on the print, and should be sandable. Once my first batch of priming finished I bumped up to a 320 grit, sanded the whole part down once more, and then primed one last time. At this point I was sufficiently happy with the smoothness of the print to go to painting.
Step 3) Painting
For my painting I used an airbrush and Vallejo metallic model airbrushing paint. In particular I used their Steel paint. This is a great airbrushing paint that really needs no or minimal thinning, and is infused with fine metallic dust that gives the part a realistic metallic finish. An alternative here could have been to use a metallic spray paint, but as much as I can I prefer to avoid the mess and fumed of spray painting. Primers you basically need to use a rattlecan of automotive filler paint to get the right results, but your top coats can be much more nicely done with an airbrush.
Once I coated the whole blade and was happy with the metal finish, I moved on to wet and dry brushing the part with weathering washes. I used a combination of raw and burnt umber to produce a lightly dirty/rusty look, rubbing it all over the part wet and then quickly rubbing the whole part down with a rag. This process pulls most of the paint off the surface, but leaves the grungey colours trapped in the corners and recesses of the model where you would expect dirt to build up IRL.
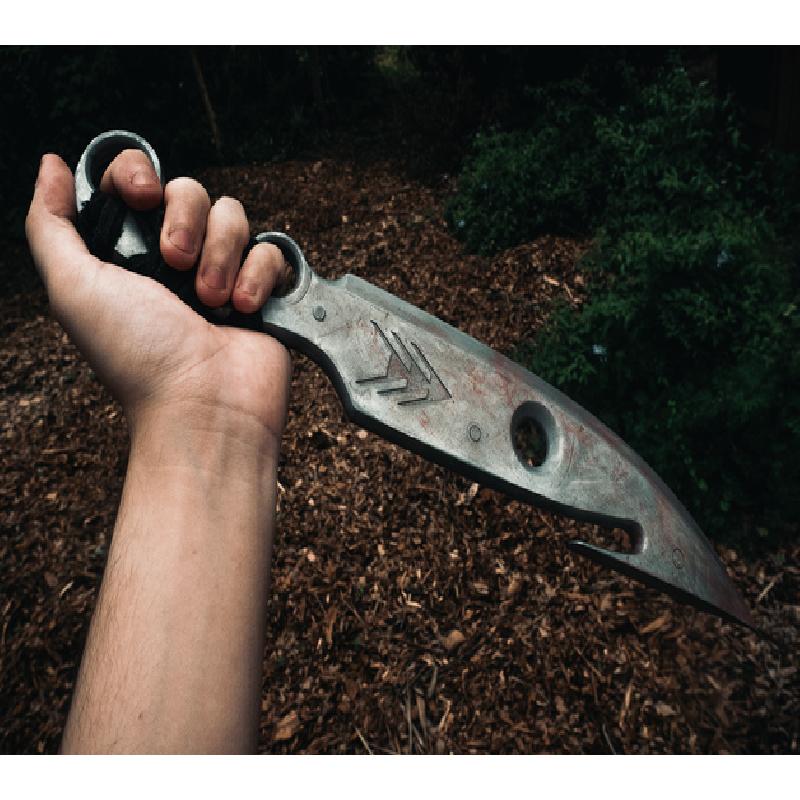
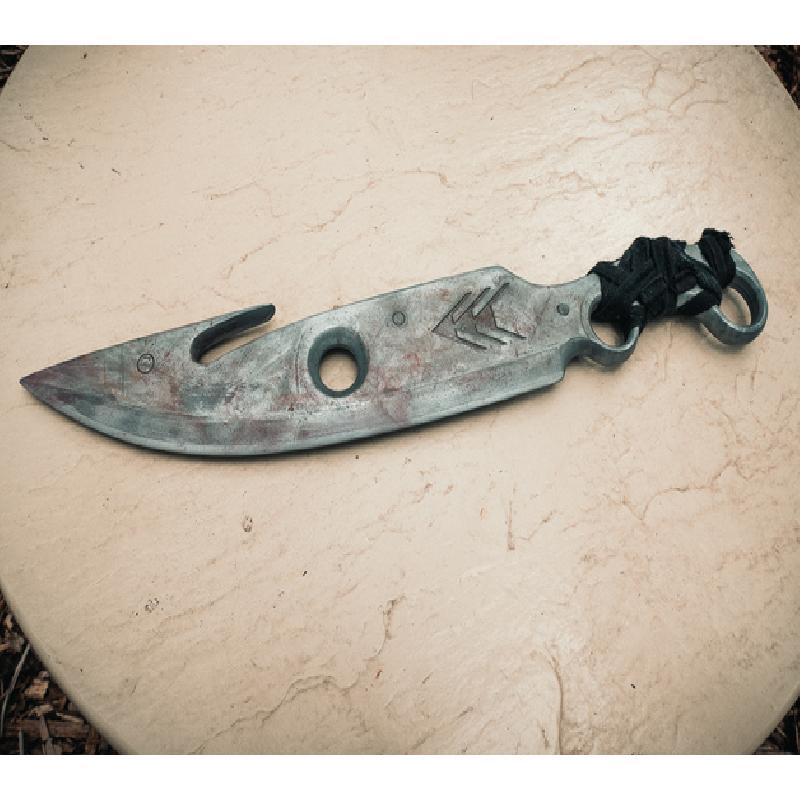
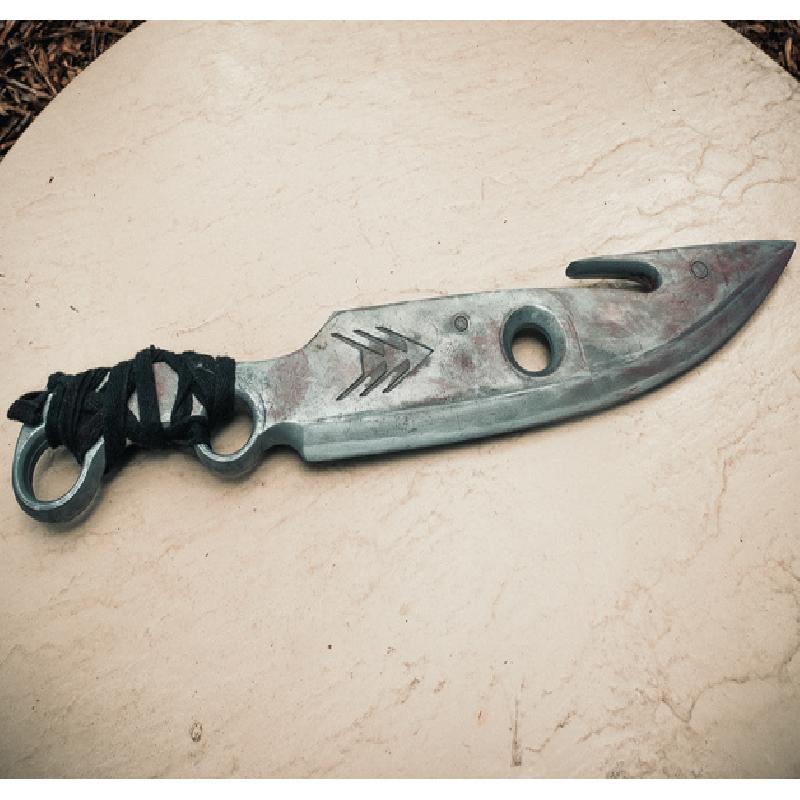
As a final pass of detail weathering I mixed some red with my burnt umber to great a dried blood colour, and flicked that all across the blade, brushing it across the tip and edge, and again dabbed and wiped this away. This gave me the appearance of a blade that had seen plenty of use in battle.
Step 4) Finishing
To finish this model I hung the part outside and covered the whole part in a generous coat of a gloss lacquer automotive spray paint. This helps to seal in the paints and protect the prop from the elements. After giving it a few hours to dry, I hit this coat with a gentle 800 grit sanding to rough up the coat a little bit so it didn't feel so much like a slick smooth toy.
For the handle wrapping I just took some old shoelaces I had lying around, dipped them randomly in my left over acrylic paints from the weathering washes, roughed them up a bit with some sandpaper, and then wrapped them back and forth between the two finger holes in the handle. I tried to have the wrapping crisscross as much as possible, but knife wrapping clearly isn't my forte. However, all together the effect is pretty good IMO.

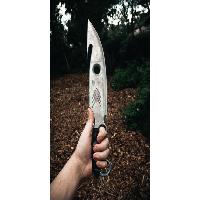
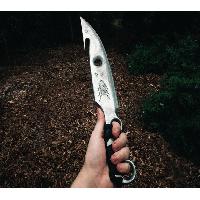
Final prop!