by pcgear
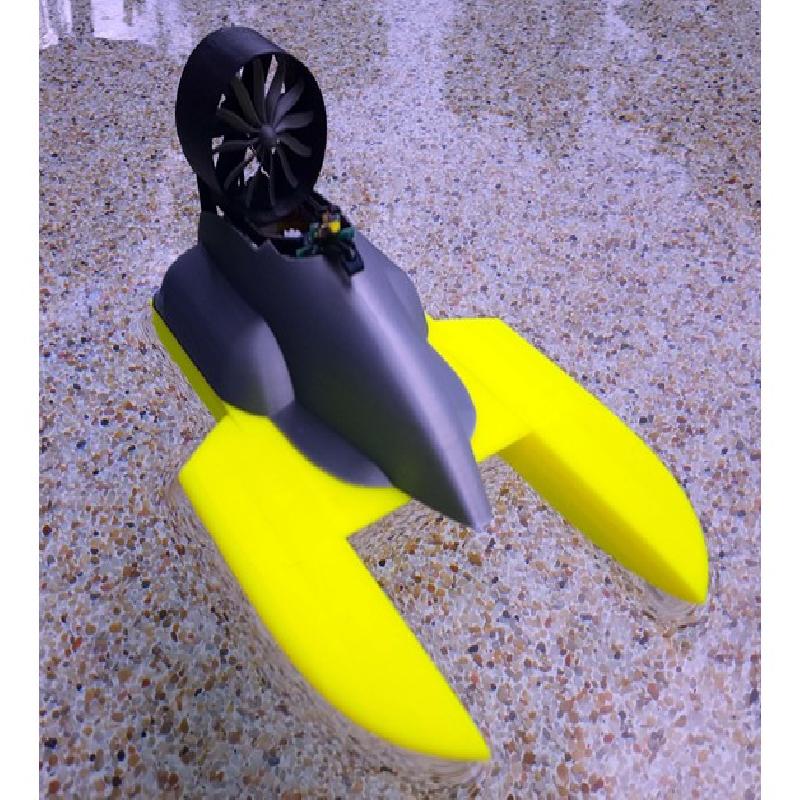
For the build, I used a donor helicopter for the controller, motors, and battery. The helicopter was $5 new from one of the local chain stores. My total cost to build this project was under $10. The idea for this project came to me after having a couple of these helicopters break and wondering if there wasn't some way to recycle the working parts.
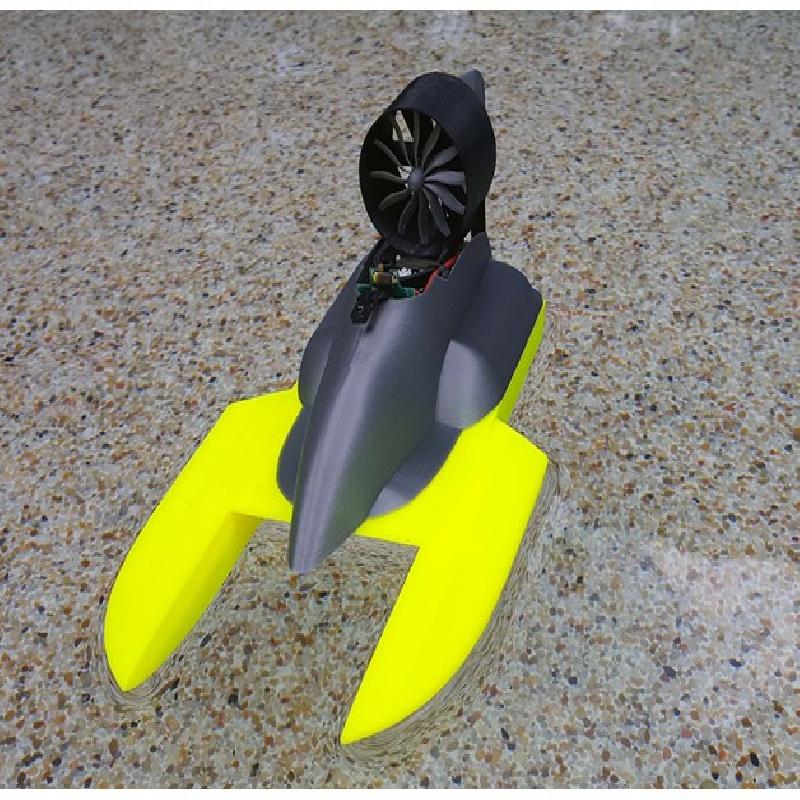
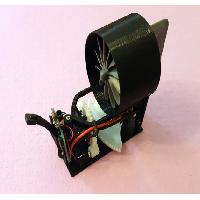
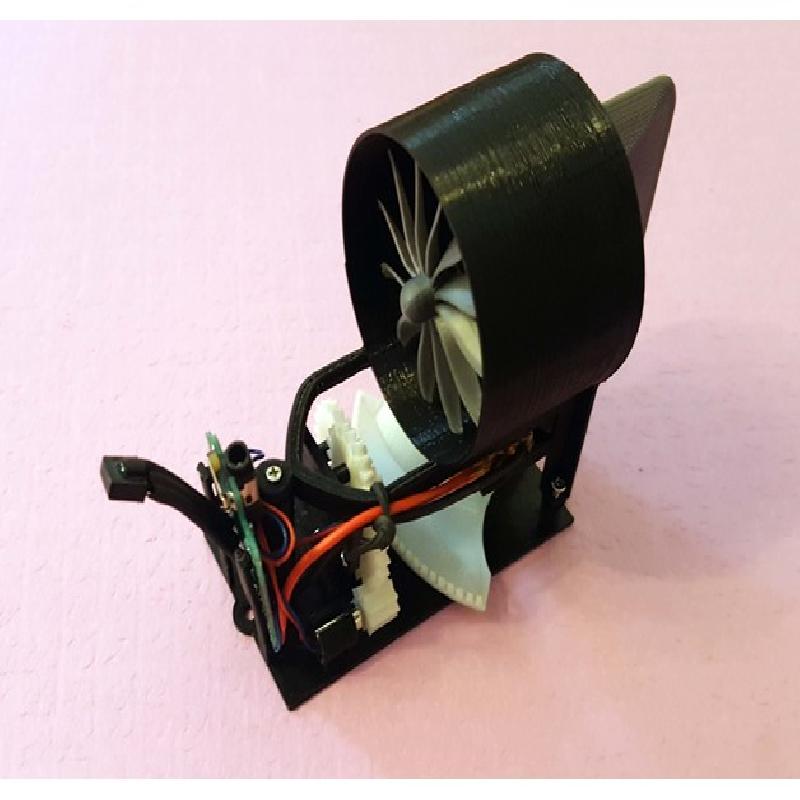
The motor assembly is setup as a stand alone module and can easily be reused for other projects or other boat designs. It has enough power to push itself around a table or counter top.
All the parts were printed without support I had trouble with the canopy warping and ended up printing it with build plate adhesion turned on. The turbine spins at a very high rate. Print this at the finest resolution your printer supports. The propellers with higher resolutions measured the highest output when tested.
The gears are by far the hardest part of the project to get right. The small motor has very low torque and spins too fast. It needed to be geared down to reduce speed and increase torque. There must be no catches in the gears when assembled. Inspect them closely and clean up any stray burs. The gears are held in place with push pins. They must be loose enough to spin freely but not so loose that they wobble. Wobbly gears catch on each other. The gear assembly slides into place next to the small motor. Some fine tuning is required to prevent binding with the motor gear.
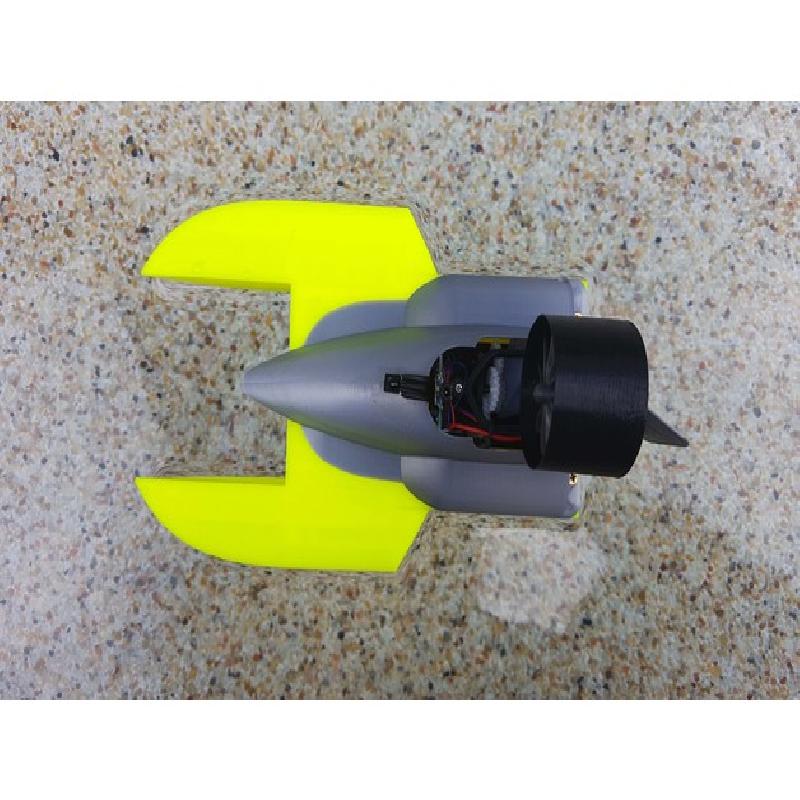
Great care is needed when attaching the propeller and gear to the motors. Too much pressure will blow out the back of the motors. For the small motor and gear, I used a push pin to open up the hole a bit. The bottom was a little tight were the plastic met the build plate during printing.
The propeller kept flying off of the motor shaft. To correct this issue the propeller uses the factory nylon gear that came with the motor. Round the nylon gear tip slightly with sand paper, remove the nylon gear from the motor, and then insert it into the propeller. Then, slide the propeller/gear combo back on the shaft of the motor.
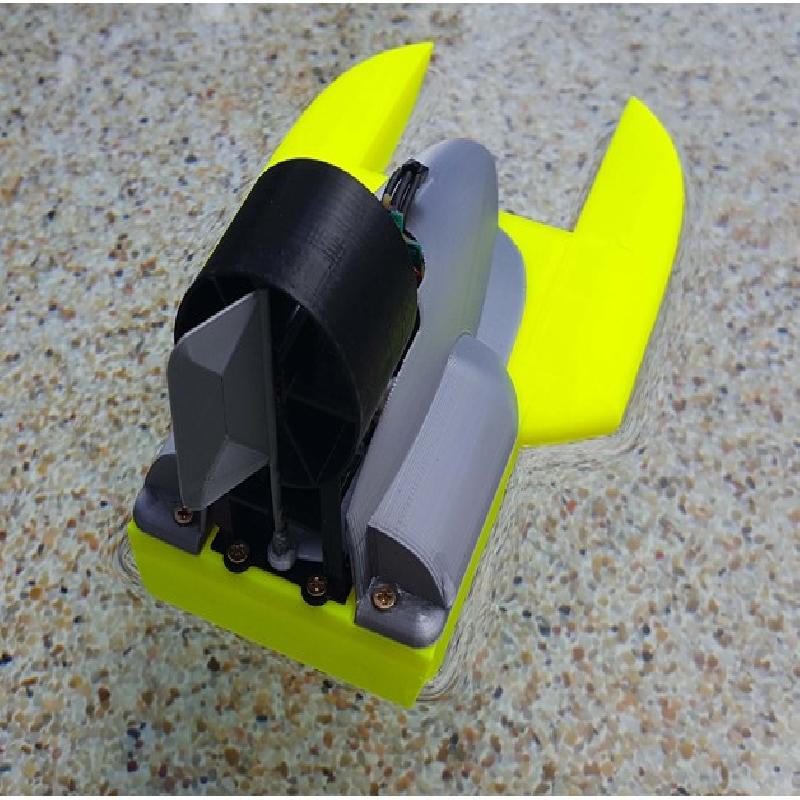
Three small screws are used for the motor assembly. Screws that were part of the original helicopter should work for this part. The boat canopy and motor-to-boat assembly also require some slightly larger screws. I used #4 x 1/2" L here. Shorter screws could be used but these were the shortest #4 screws I had on hand.
All parts were created in Adobe 123D Design.
https://www.youtube.com/watch?v=1-p4s5PVl0Y
https://www.youtube.com/watch?v=jDrgtaf3O0s
Printer Brand:
Creality
Printer:
CR-10S
Rafts:
No
Supports:
No
Resolution:
.1mm or .2mm with .4mm nozzle
Infill:
20%
Notes:
Most of the parts are printed at .2mm and 20% infill. The turbine blades are printed at .1mm and 100%. The boat hull was printered at .2mm with 10% infill to keep weight down. You might consider increasing the wall density to 1mm to prevent leaking.