by stylesuxx, published
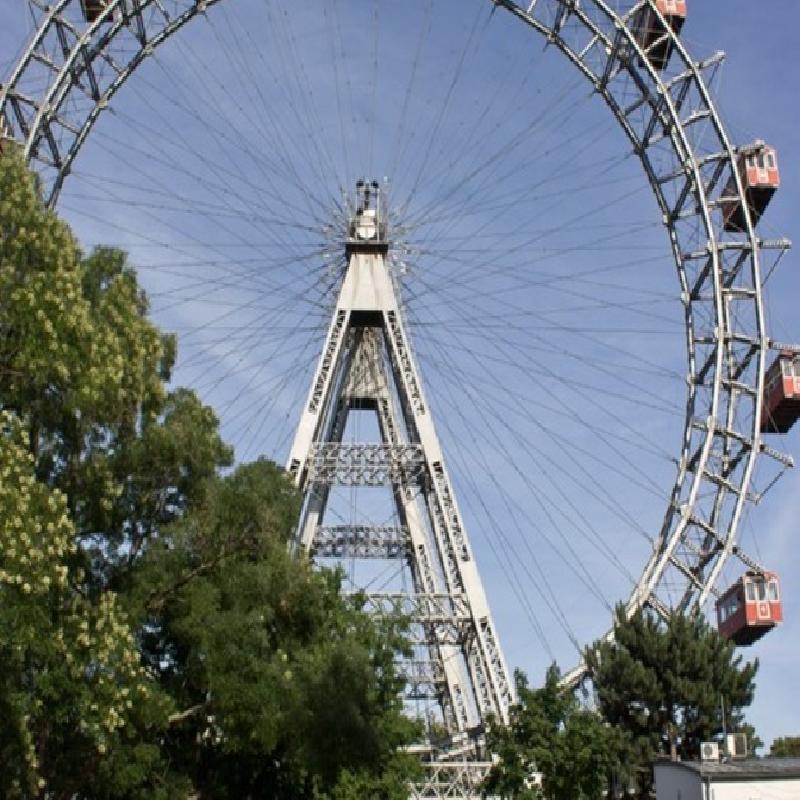
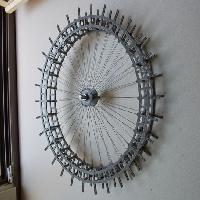
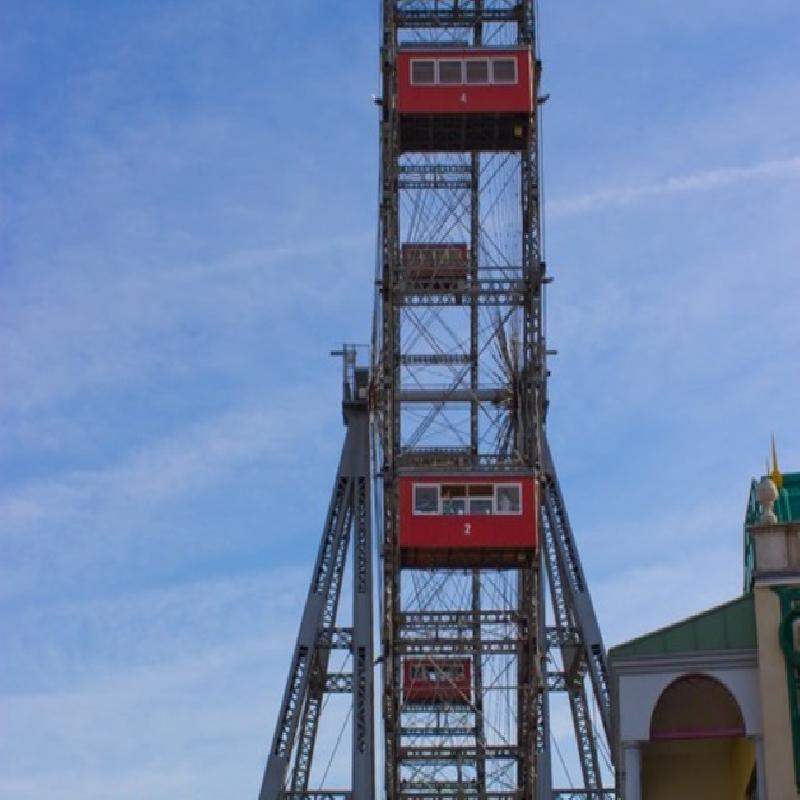
The Riesenrad ("giant wheel" or Ferris Wheel) is one of Vienna's many beautiful and best known landmarks. It is located at the entrance of the amusement park "Prater" in Vienna's second district.
The wheel was built in 1897 and was the worlds tallest wheel till 1985 (Now it is the Cosmo Clock 21 in Yokohama). Originally the wheel had 30 gondolas, but in the second world war the wheel was severely damaged and only 15 gondolas were rebuild to keep the cost of maintenance low. Since then it is still operated that way.
The Riesenrad is 65m high and you can ride on it most of the year andoverlook at the beautiful city of Vienna. The Riesenrad moves with a whopping speed of 2,7 km/h and thus takes some time to ride. The whole construction weighs in at 430 tons.
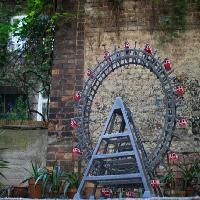
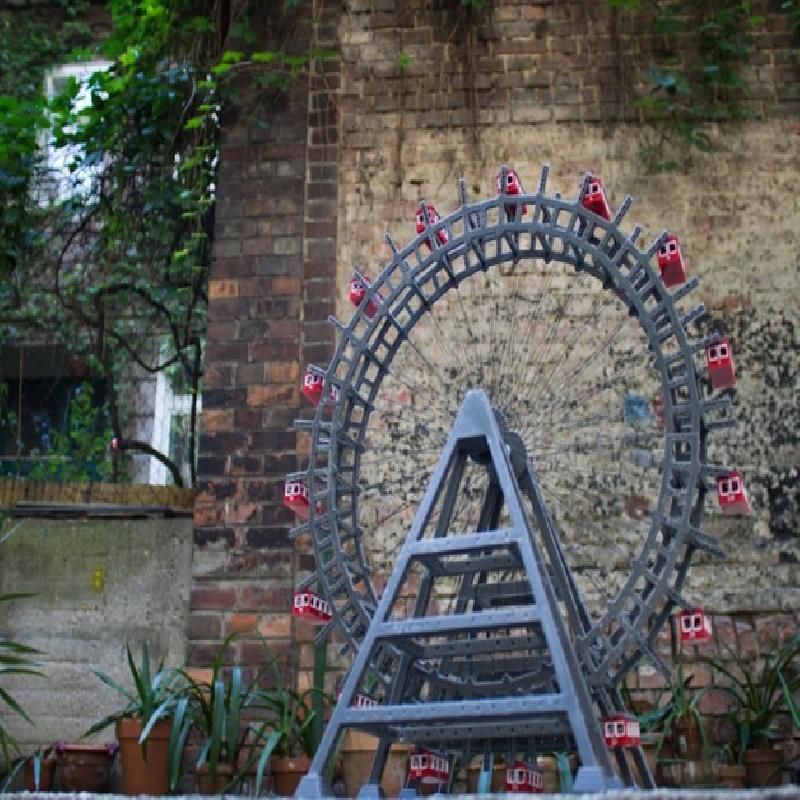
My motivation was to rebuild the giant wheel in such a way that it may easily adapted for a different sizes, that is why I chose to construct it in OpenScad.
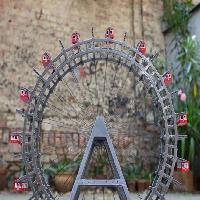
Also, I wanted to design the wheel as near to the original as possible but with print-ability in mind.
I think that building the giant wheel at the time it was originally constructed was quite an accomplishment. A massive steel construction, that is round and moves, how could one not like and admire it?
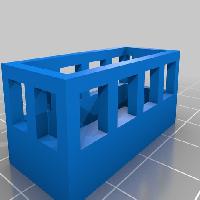
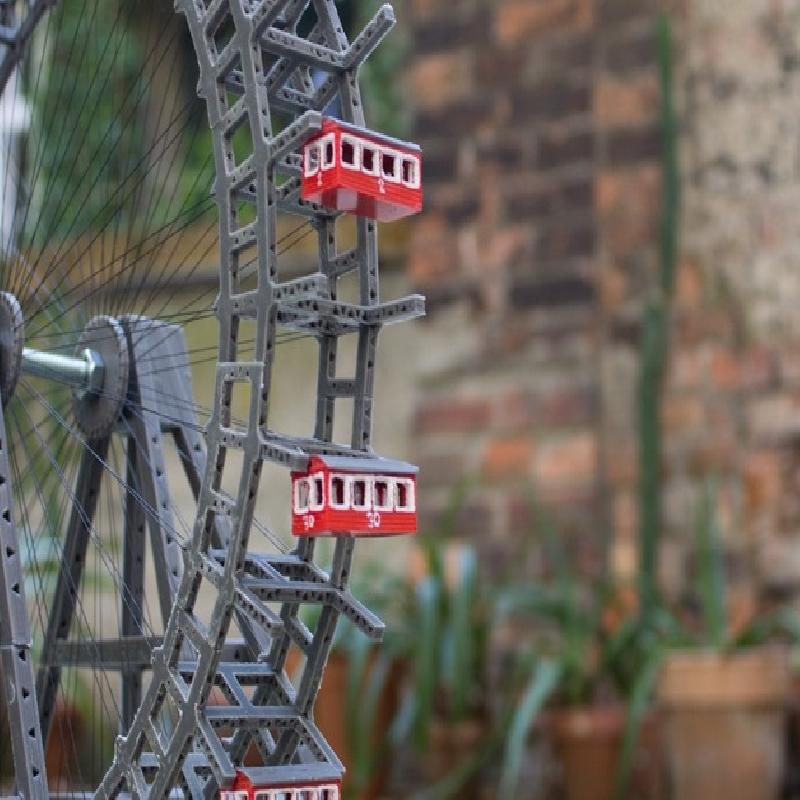
Gondolas: The 15 gondolas with body and roof took about 6 hours to print.
Wheel: The complete wheel with the gondola holders and the wheels themselves took about 16 hours.
Stands: The two stands, front and back took about 12 hours.
I joined the challenge a week before the deadline and knew from the beginning that I will need to use time for printing effectively. The print times mentioned above do not account for prototypes I had to do for every part, just plain printing time of the parts.
After prototyping the single parts I arranged them in such a way that allowed me to print all or at least a considerable number of them together.
Before leaving home in the morning I started printing a batch which allowed me to do other things in the mean time. In the evening I used the time to quickly prototype the parts so I could do one or more batches overnight.
I use OctoPrint as my host software, which allowed me to send Push Bullet notifications when a print job is done.
I set an alarm for the notification coming from the printer to wake me up and remove the parts from the printing bed and start a new print job before going to bed again (or in my case the couch, since my girlfriend was not all too amused about waking up every couple of hours, and me coming back smelling like hairspray).
Each gondola took about 15 minutes which makes a sum of about 4 hours for all gondolas, not counting the dry time between each painting stage.
Assembly took about 8 hours, the most time consuming part was lining the wheels which took about 3 hours, because you have to be very careful to align the wheels to the center.
https://www.youtube.com/watch?v=GKYewbndmj4
Depending on how you want your wheel to be, to the printed parts you will need some additional materials. I will list the mandatory items first and the optional materials later.
An M8 Bolt, about 10cm long
6 M8 nuts
Some strong string, for example twine or fishing line
Super glue or plastic glue, make sure that it will not dissolve your filament
Red and gray filament
If you want to apply a paint job you will need the following colours:
brown for the inside of the gondolas
white for the windows, doors and numbers on the gondolas
grey for the roof tops
If you want your wheel to turn you will need:
Two 608 bearings
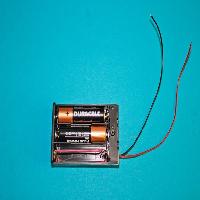
A slow turning motor, I used the Igarashi 20G-380
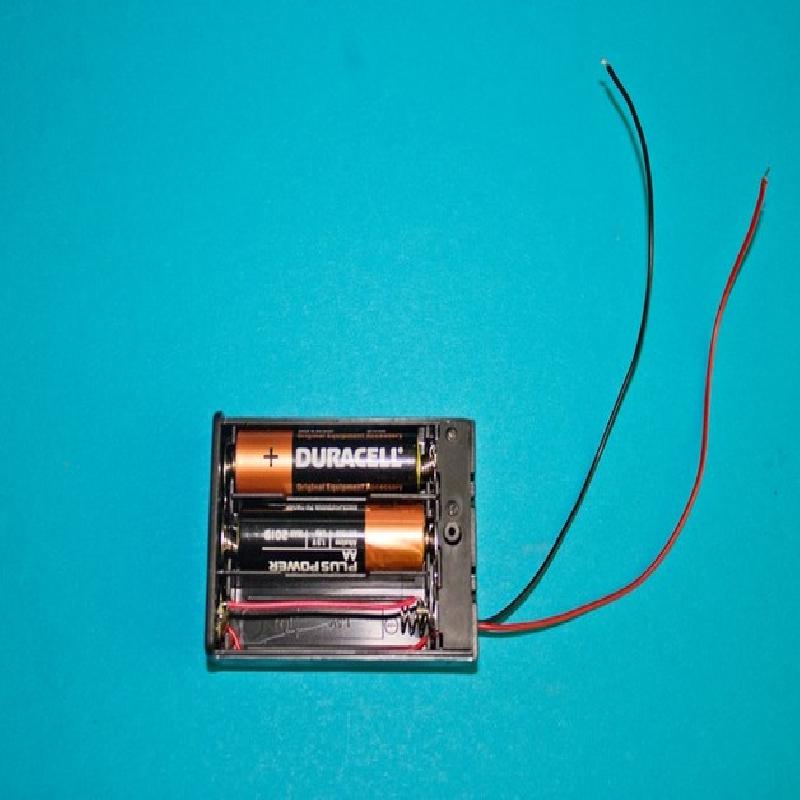
Batteries to power the motor, 2 x AA Batteries give good speed to the above mentioned motor.
Battery holder to house your AA batteries. The only one I had available is for 3 x AA batteries, so I just shortened one battery space.
For the sake of time efficiency I suggest to print and assemble in the following order:
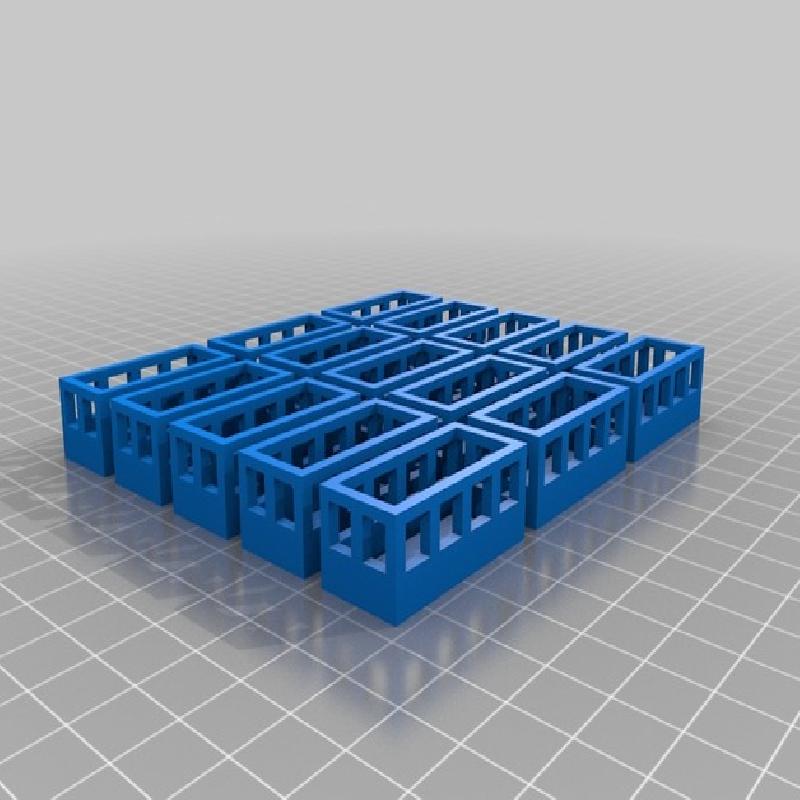
Print 15 gondolas, printing them first gives you some time for painting while waiting for the other parts.
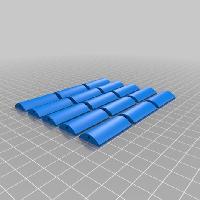
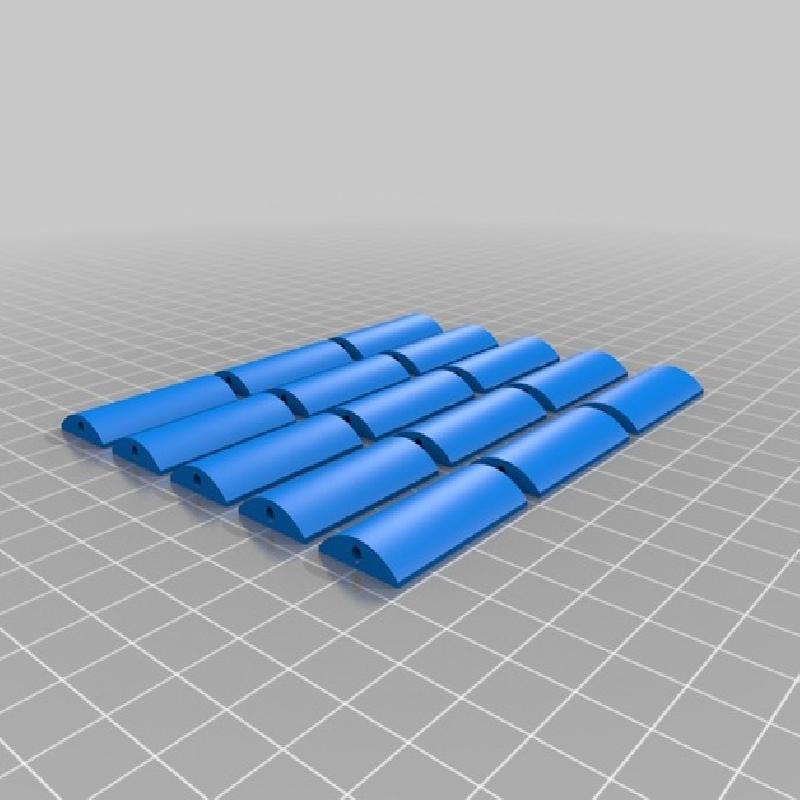
Print 15 roofs
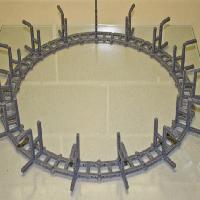
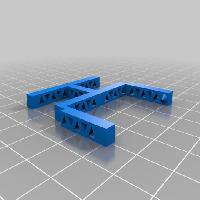
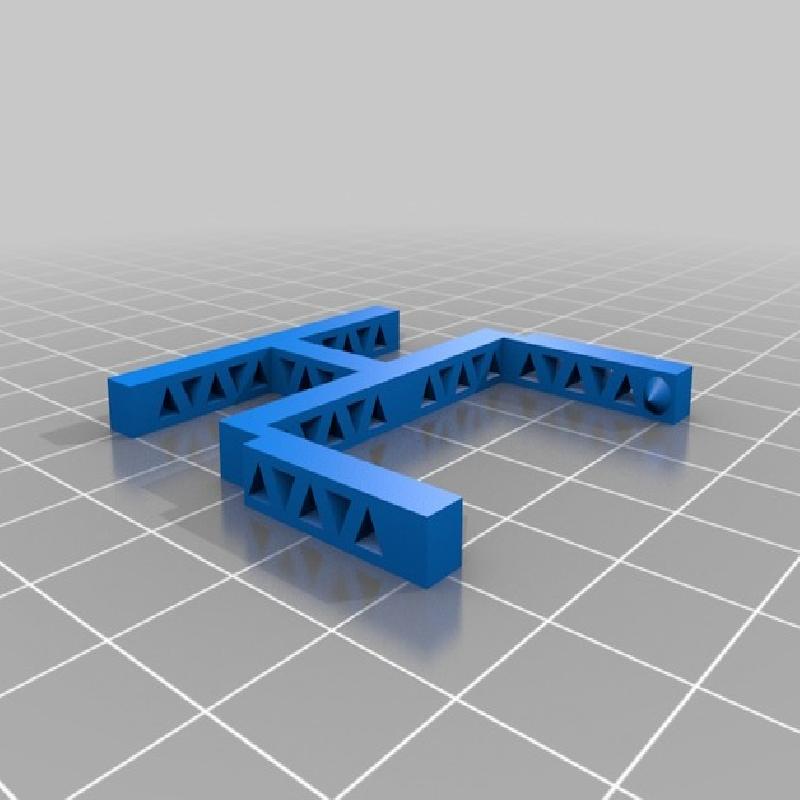
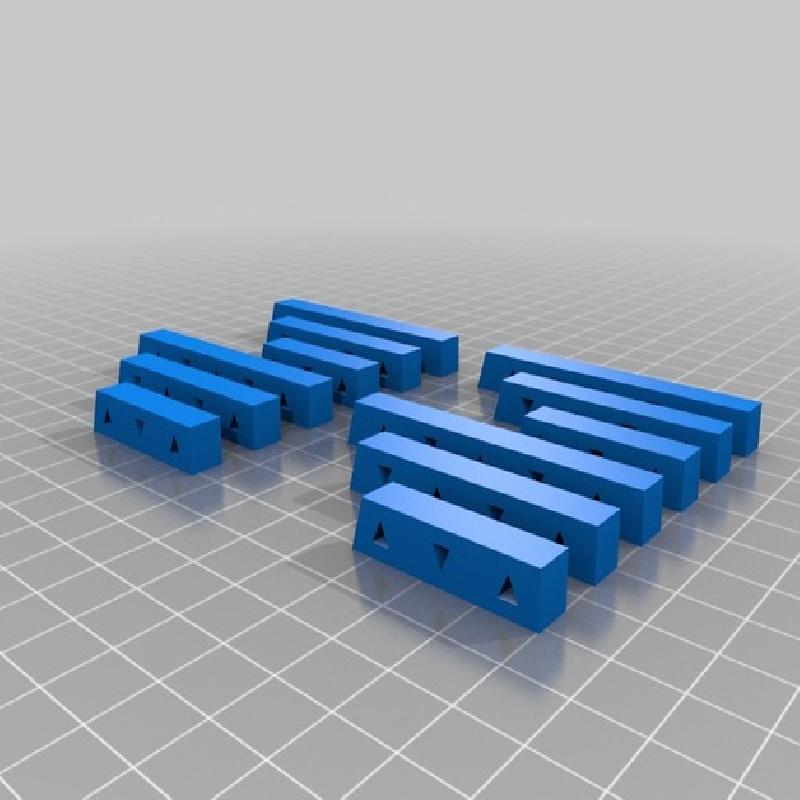
Print 15 pod arms to attach the gondolas
Print 15 free pod arms no gondolas will be mounted on those
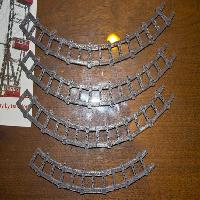
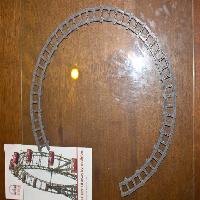
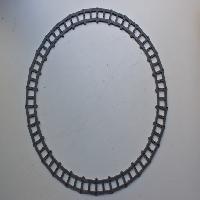
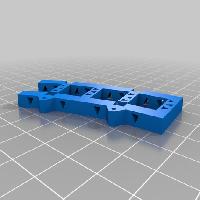
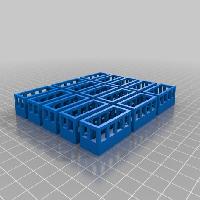
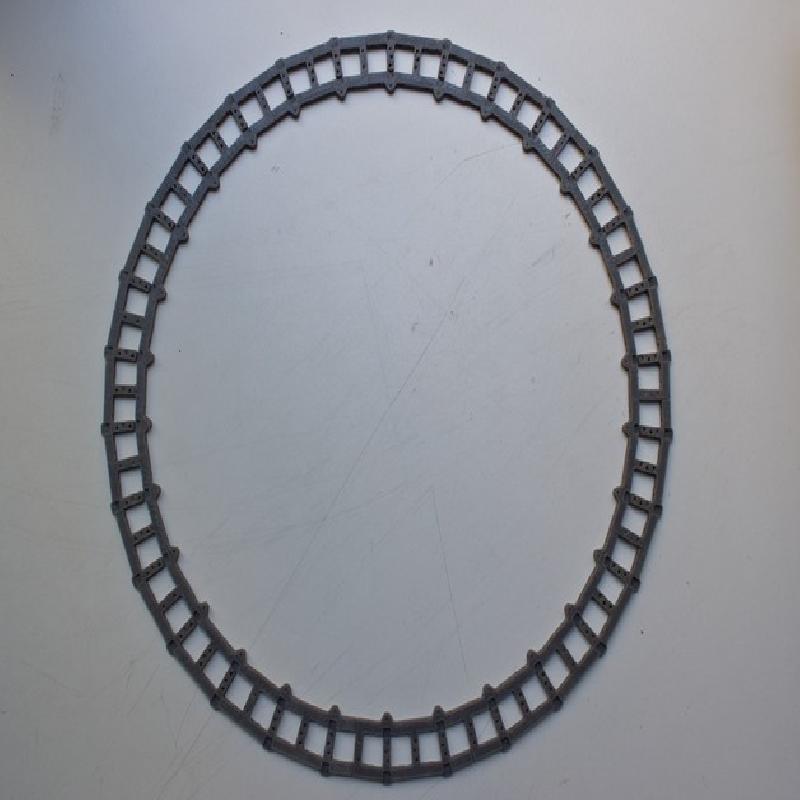
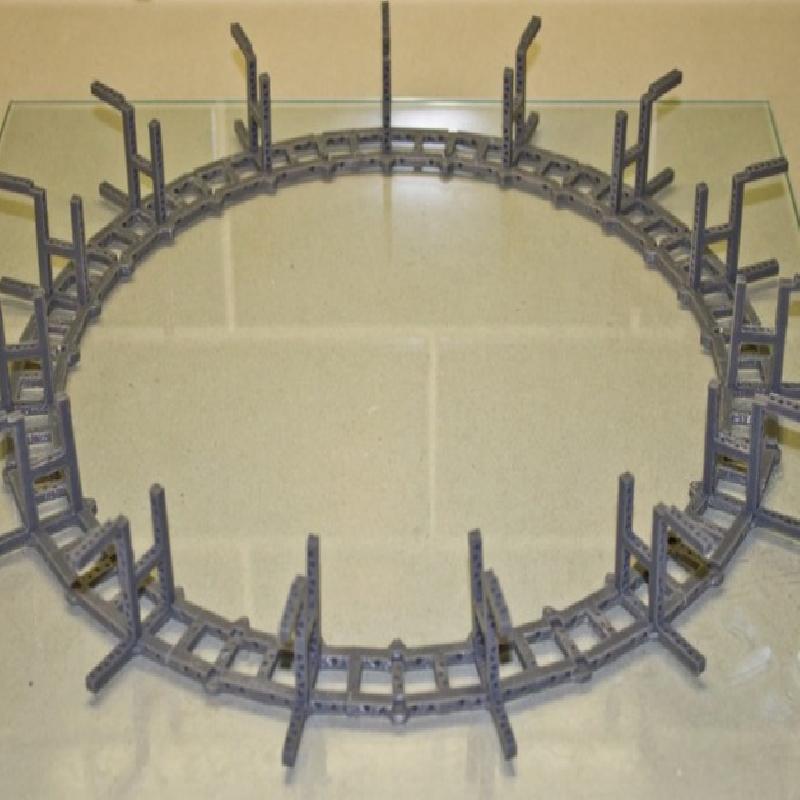
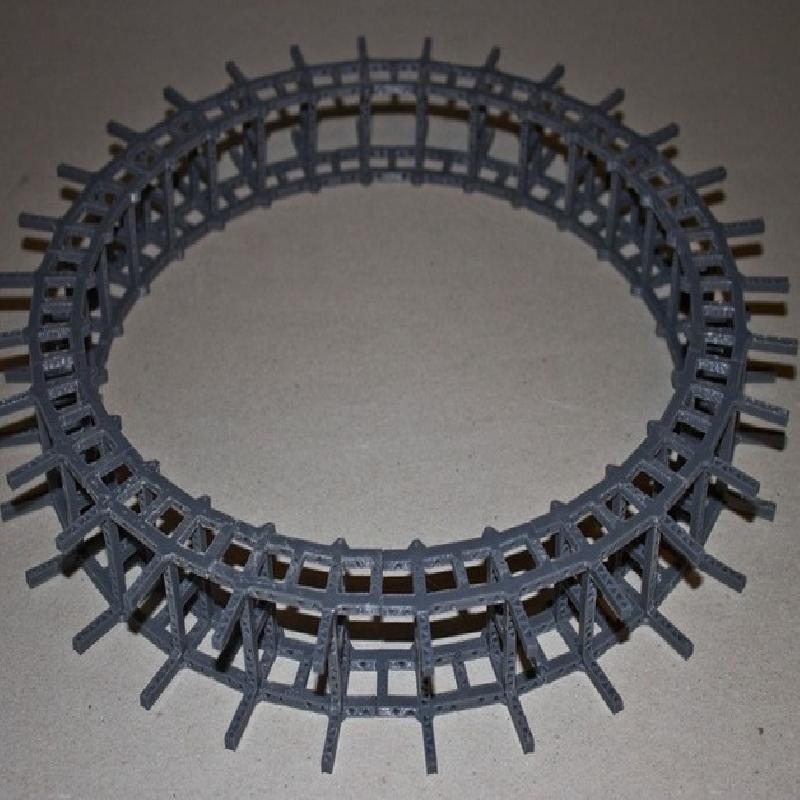
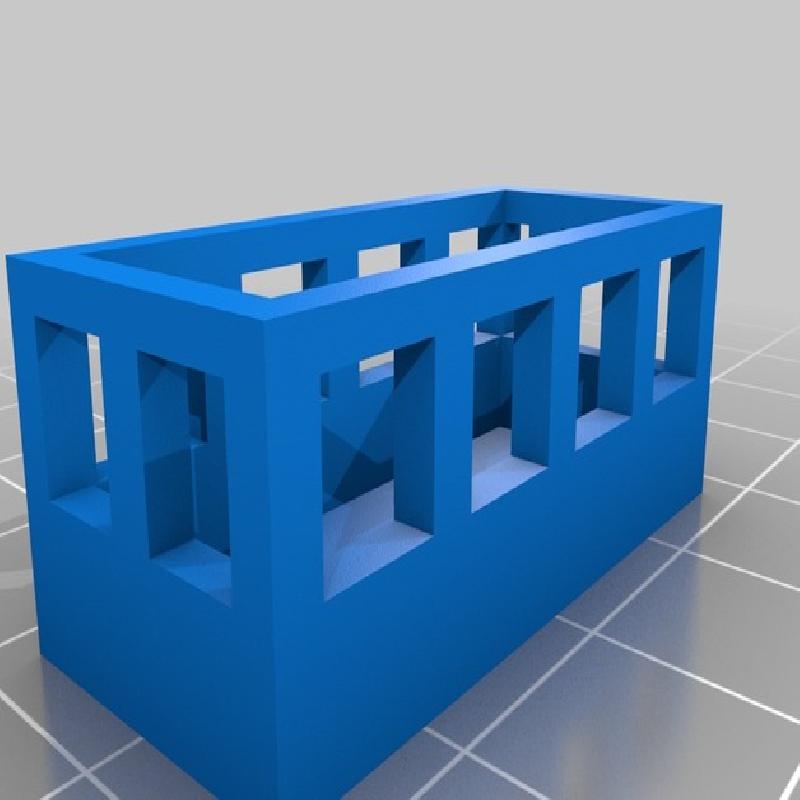
Print 10 ring segments, each ring consisting of 15 ring segments, in total, printing the mentioned file three times
Assemble the rings. Start by taking a ring segment, insert one pod holder in the cutout, insert a free pod holder in the other cutout, close up with a ring segment, the fit is tight but you better glue it in.
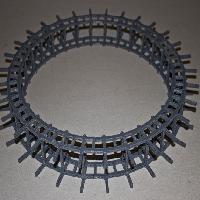
When you have 15 of those, assemble and glue to a full ring.
I made the mistake of first building both rings, then sticking in all of the holders in one ring and then attaching the second ring on top, which made some of the ring segments break and I had to glue them again. Avoid my mistake!
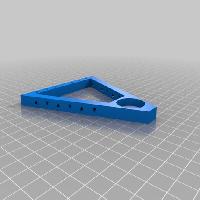
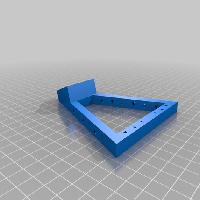
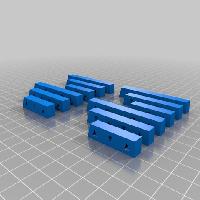
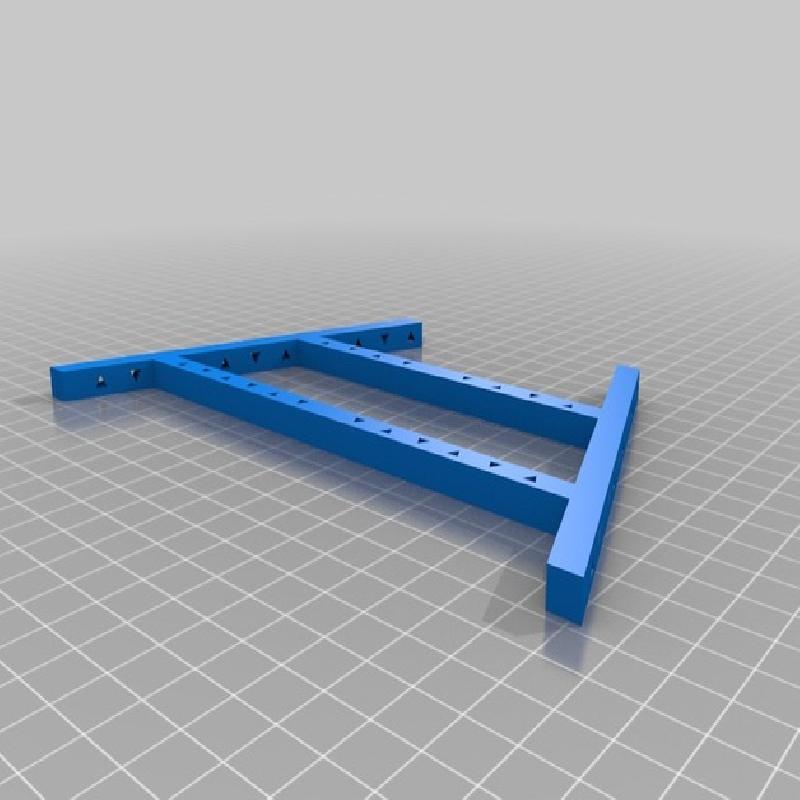
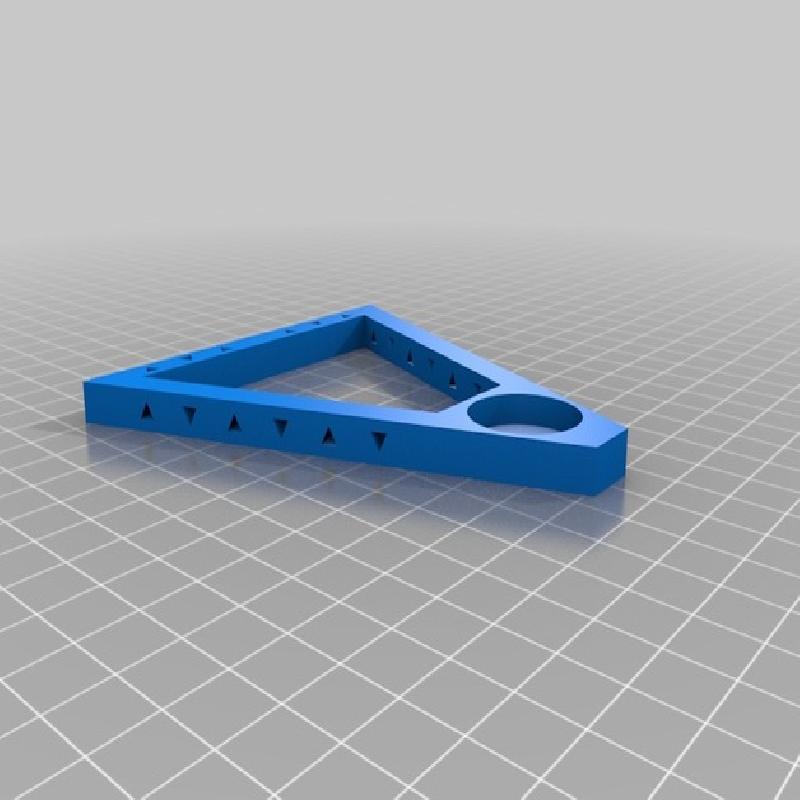
Print the top of the back stand, you will need to print this twice, once for each side.
Print the bottom of the back stand
Glue top and bottom of the stands together
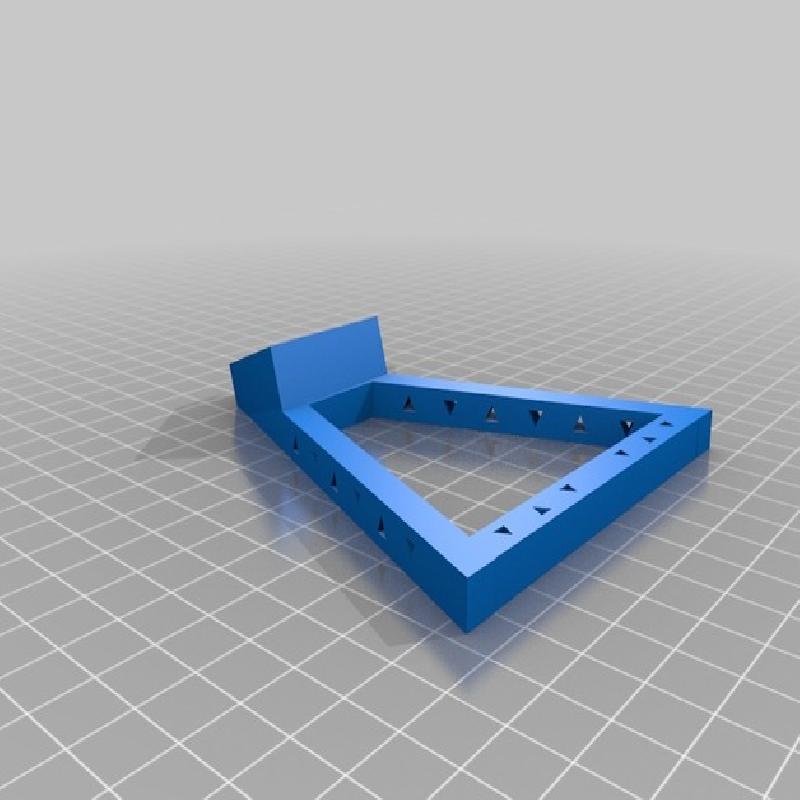
Print the top of the front stand, if you want to attach a motor you will need to print the top of the front stand with motor, otherwise just print the plain top twice.
Print the bottom of the front stand twice
Glue top and bottom of the front stands together
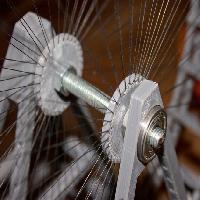
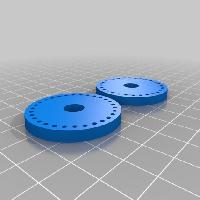
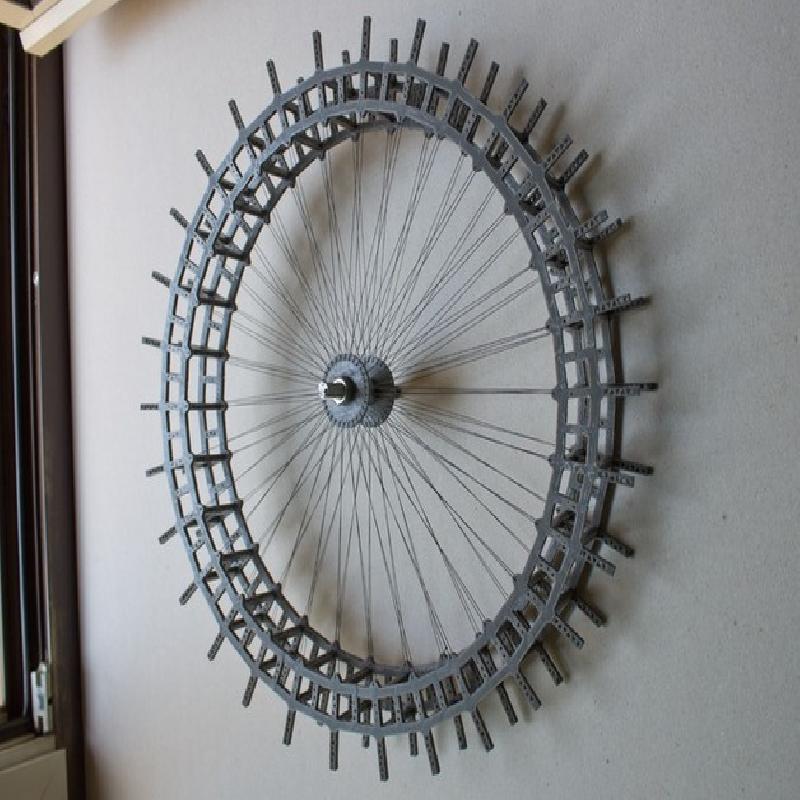
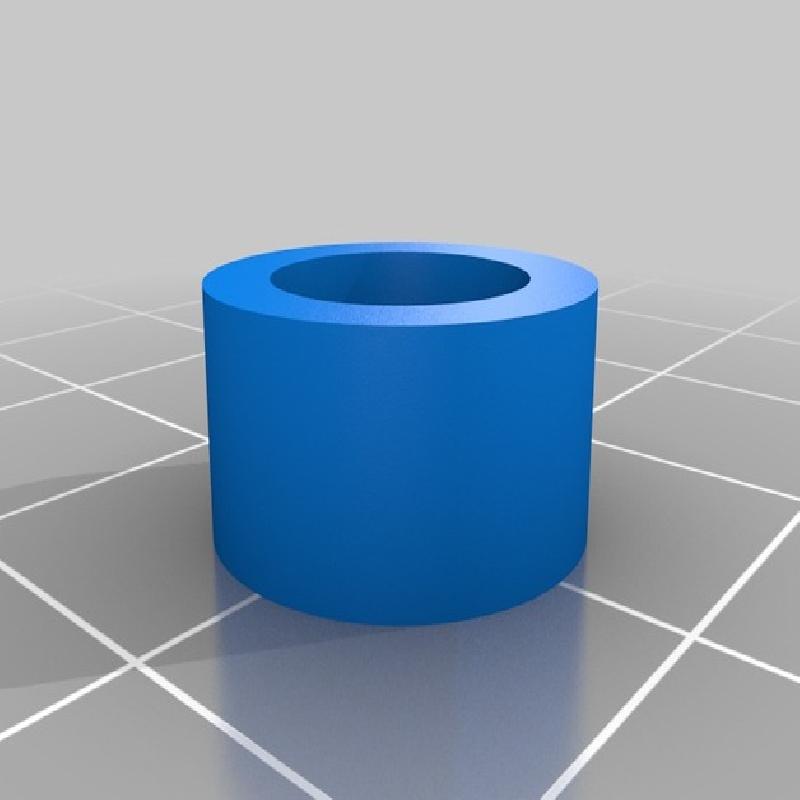
Print the wheels center pieces
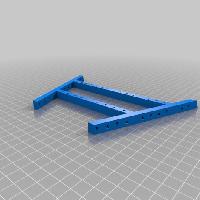
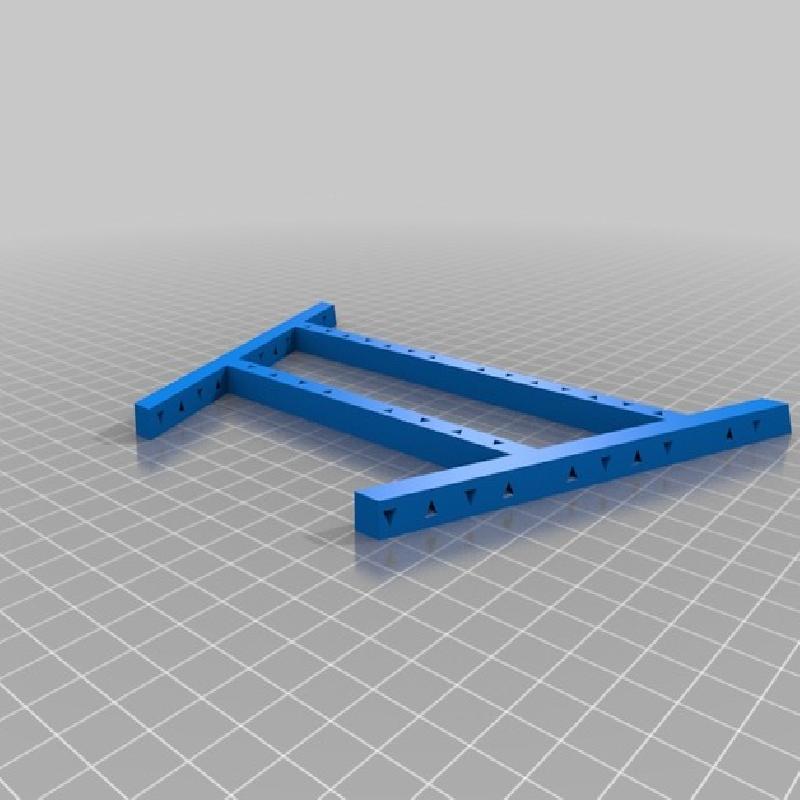
Print the cross beams
Now comes the tricky part, with your string you need to connect the rings to their center pieces. Do this slowly. Make the connection with a single string, so you can tension and move it a bit later on in case it is not centered perfectly.
Mount the M8 screw with four nuts on the wheels center plates. Two from the inside and two from the outside. Make sure the center plates do not move on the screw, you may need to glue the center rings to the nuts, or tighten the nuts really well.
Insert the bearings into the back stands, and attach them to the wheel, screw on the nuts from the outside.
Glue the front stands to the back stands. In case you opted for the motorized version attach the coupling to the M8 screw and then to the motor, then glue the front stand to the back.
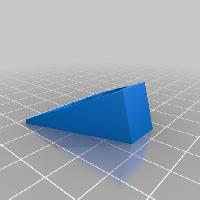
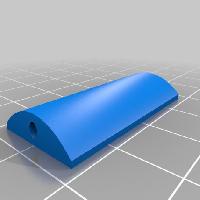
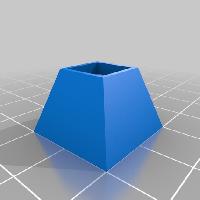
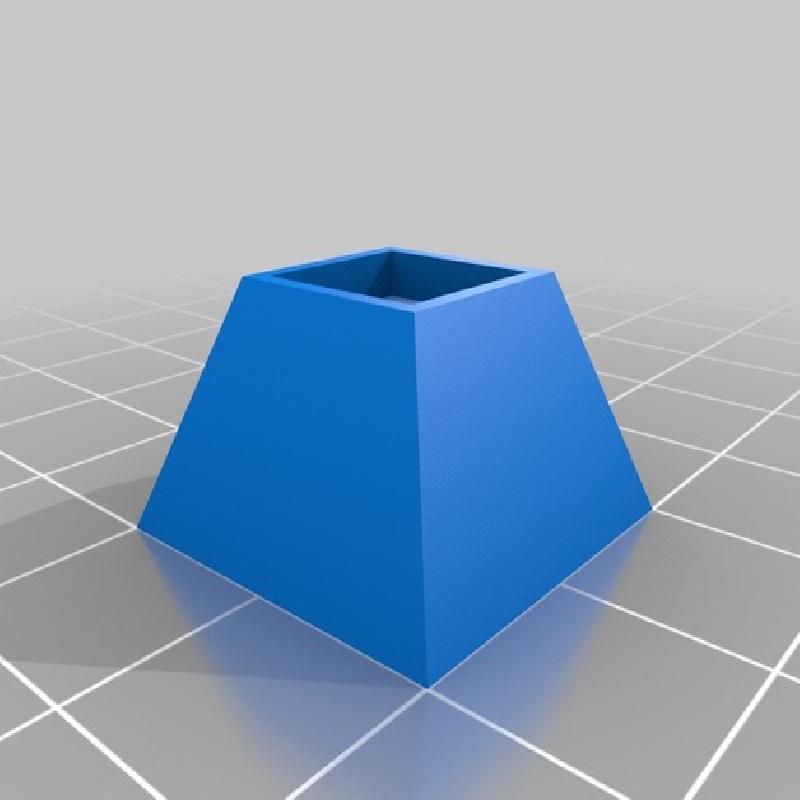
Also print the motor wedge and glue it to the front top stand with the hole for the axle.
Glue the cross beams between front and back stands
Insert the gondolas into the gondola holder. Now you are done
I uploaded all of the parts as singles so in case not all parts of a batch come out as you would like them, eg. they warp, you can print them one by one until they all look good.