by F_Lab_TH, published
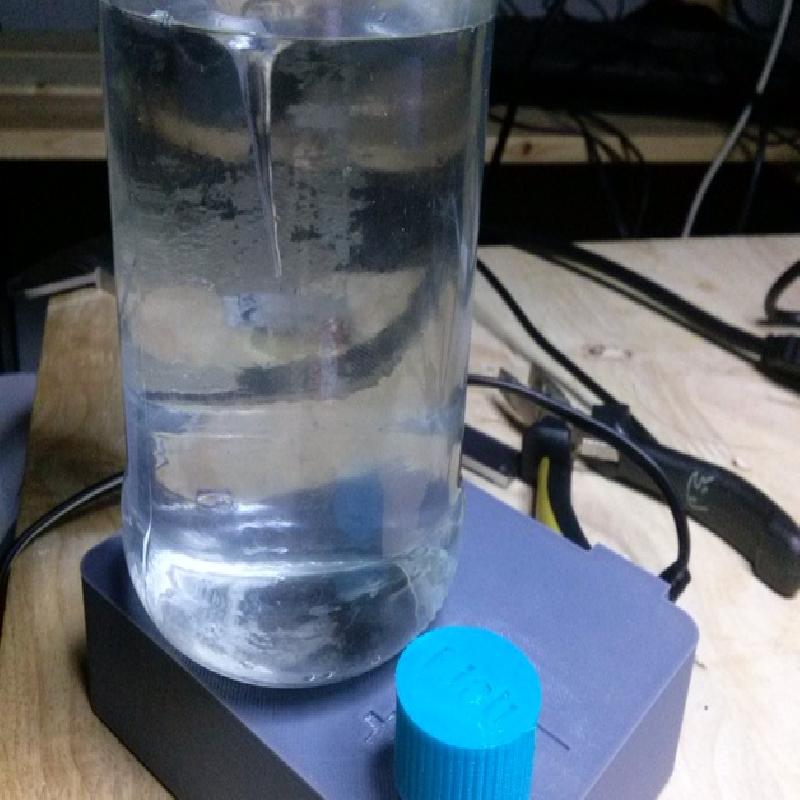
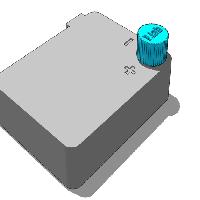
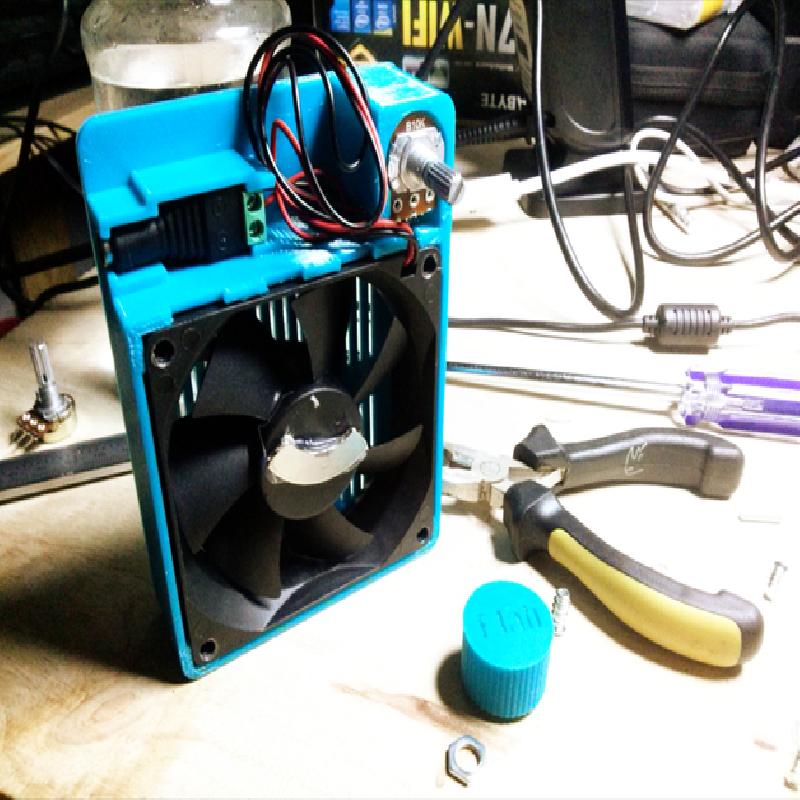
This is our DIYbio 3D printed magnetic stirrer.
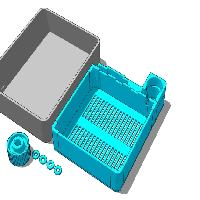
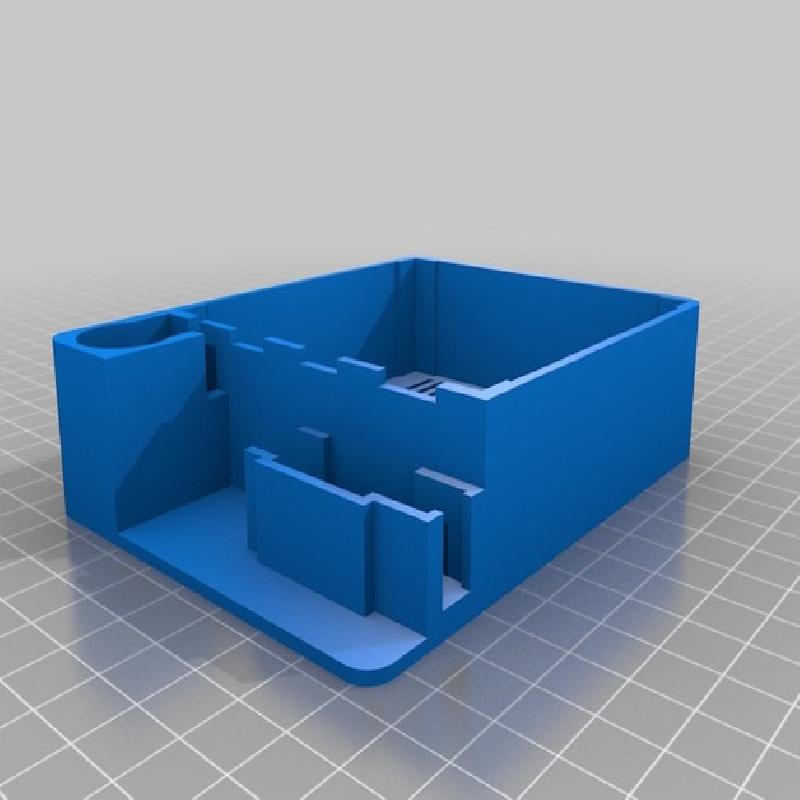
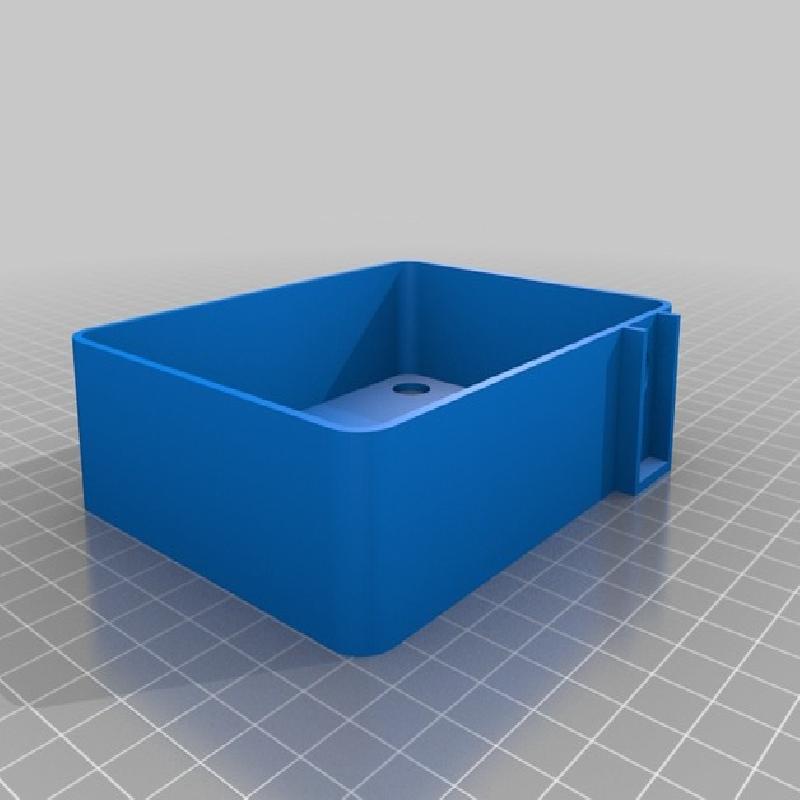
This simple project uses an 80x80mm computer fan, potentiometer, DC jack, and magnet taken from an old hard drive to make a magnetic stirrer.
We've also included a SketchUp 8 file so you can easily edit it to meet your requirements.
See it in operation here: https://www.youtube.com/watch?v=wsxzPzaD56w
Printer Brand: MakerBot
Printer: MakerBot Replicator 2
Rafts: No
Supports: No
Resolution: Low
Infill: 10%
SktechUp Design Tips
We use SketchUp almost exclusively. It is easy to teach, intuitive, and very flexible. With experience there is almost nothing you can't do.
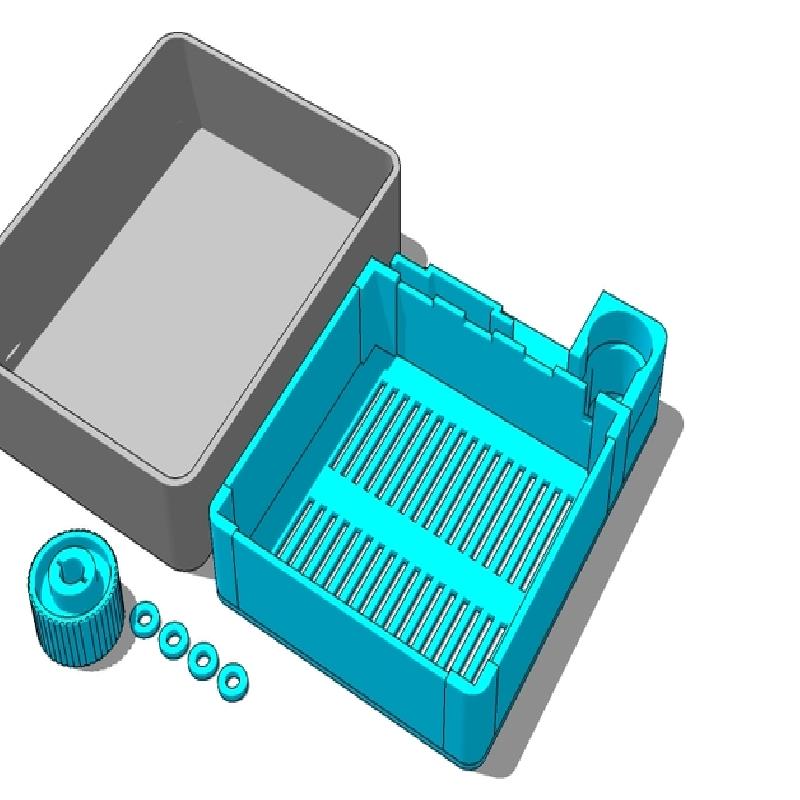
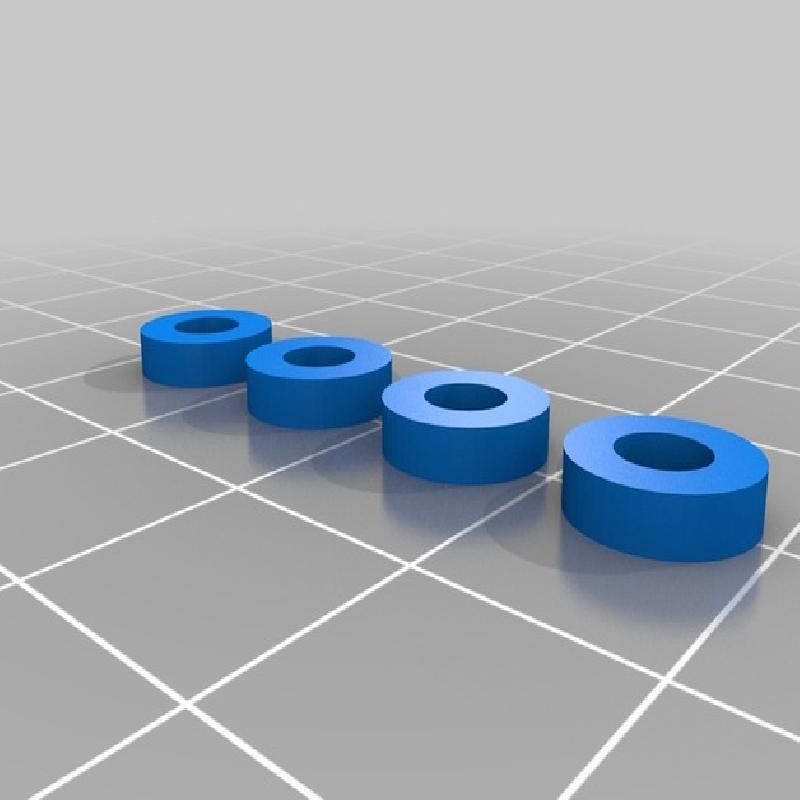
For this project, we used a caliper to carefully measure the parts. We gave each part 0.3mm tolerance to fit together. That means if you are using an 80x80 mm computer fan, you must create a space that has an extra 0.3mm on each side, or an 80.6x80.6 mm space.
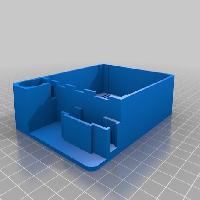
When designing anything, especially a case for electronics, it helps to build a case-less prototype to see how everything is assembled.
Our centrifuge project had two versions. The first failed to account for how we would actually mount the motor. When it was printed out and in the process of assembling we realized it was impossible to do! The second version fixed this problem.
It is not enough to make a case that fits your components well, you must also consider what order and how it will be assembled! Keep in mind wire lengths and tolerances needed to account for pins, connectors, and other parts. Measure carefully and double check everything.
And remember -- it takes experience and lots of failures before you become good at this -- so don't be afraid to try, and especially don't be afraid to fail. We have a mountain of failed projects we use for spare parts and prototyping!
Project: Build your own DIYbio magnetic stirrer
Objectives: Learn how basic lab equipment works by building it yourself, and create your own lab in the process!
This is based on a more basic project here: http://hackteria.org/wiki/Magnetic_stirrer ...but with a 3D printed twist.
Audiences: High school and above.
Preparation: You'll need an 80x80mm computer fan. If you have one of different size, you may need to get into the SketchUp file provided above and make some changes. You will also need strong rare earth magnets. We sourced ours from an old computer hard drive.
Finally, have a DC jack for a 12V power supply, and a common hobby electronics potentiometer (see picture).
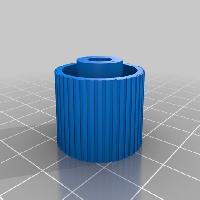
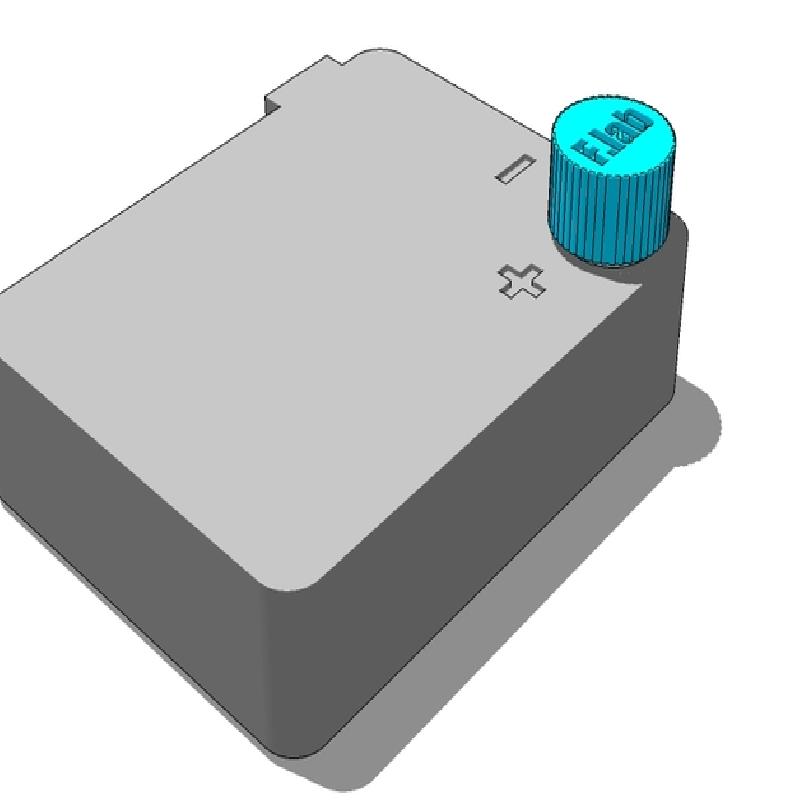
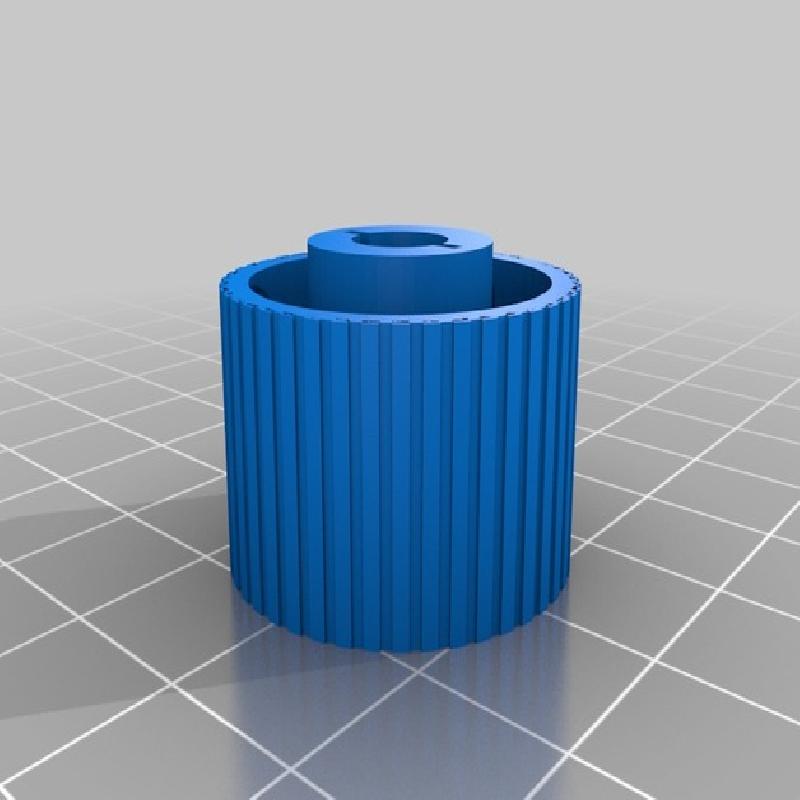
Steps: Print out the components. Place the fan, DC jack, and potentiometer into place after connecting the wires (as per the tutorial linked above). Connecting the knob should be done using a piece of cardboard fitted into the slot in the knob and then pressed down onto the potentiometer shaft. Gluing it will prevent you from taking the case off in the future.
To operate your stirrer, find a glass container with a thin, flat bottom. If it is uneven or too thick it may not work properly. Slowly turn the knob to get it spinning before turning it up to full speed.
Results: Once you are done, you will have your own magnetic stirrer. You can use cut-off steel nails, bolts, or other metal objects to create your own "tornado in a jar," but if you have serious laboratory work to do, make sure you source a proper lab or food grade magnetic stirrer bar (usually teflon coated).