by mrfochs
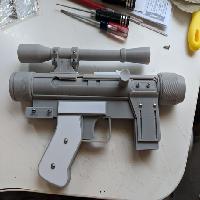
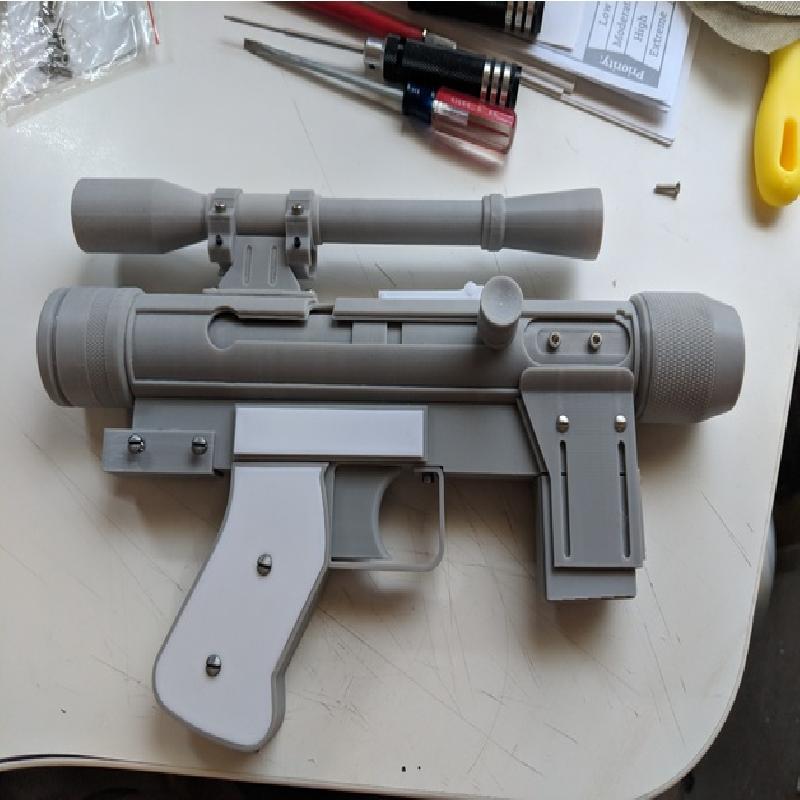
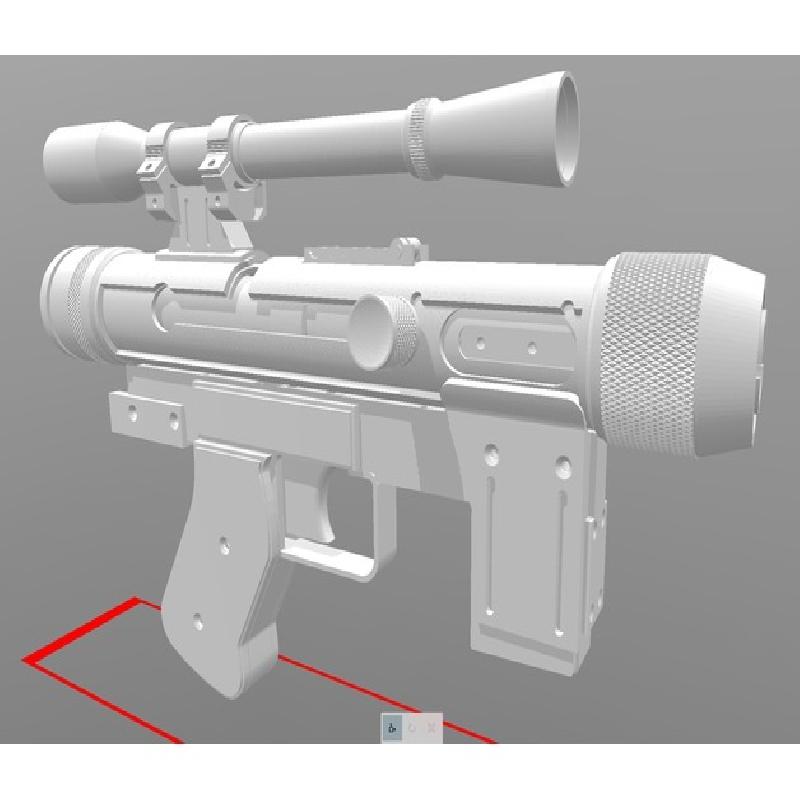
I still have some small tweaks I want to make to the "site" on the top of the barrel, but I think the files are ready for others to test print.
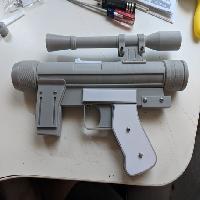
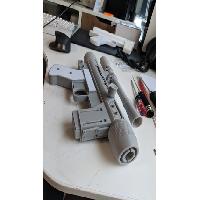
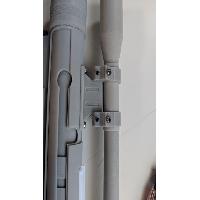
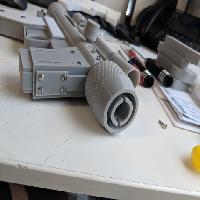
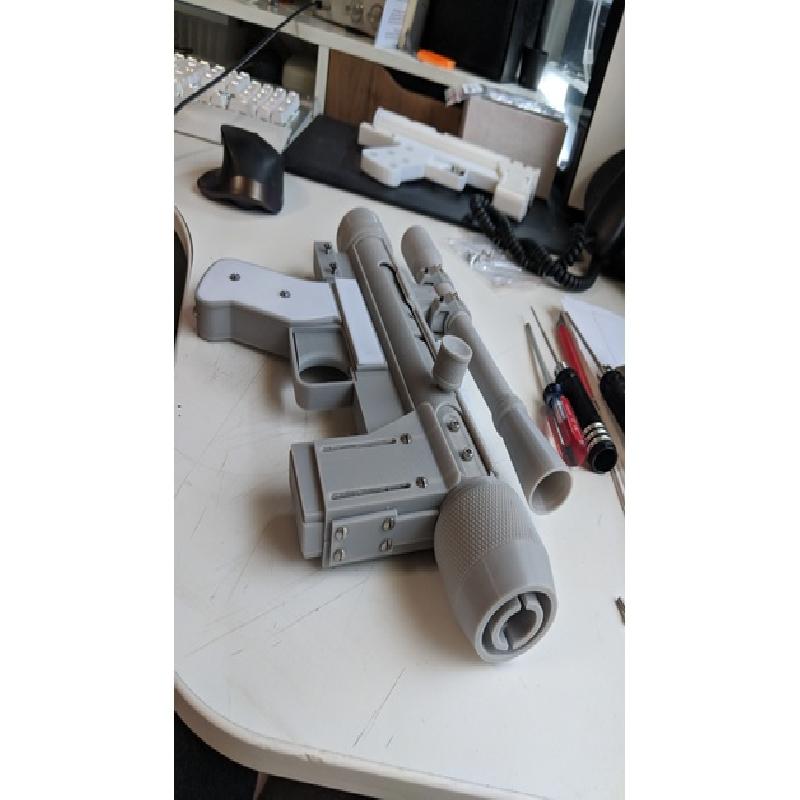
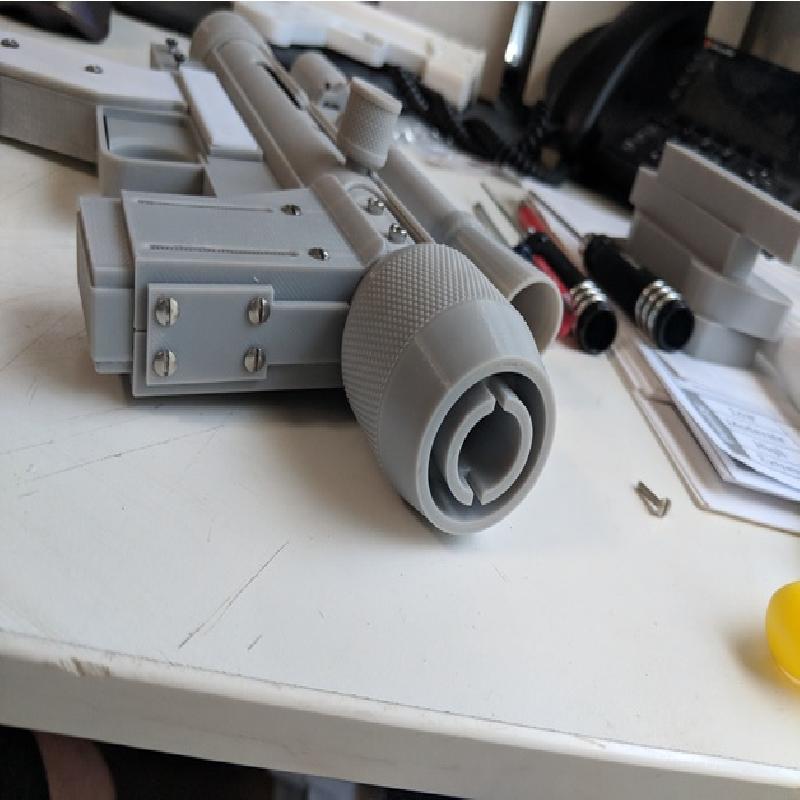
All pieces SHOULD work with any standard desktop 3D printer. Tolerances for the barrel pieces are VERY tight due to the need to sand away layer lines prior to paint in order to get smooth finish needed for chrome affect. The barrel will not slide together without sanding. Additionally, the scope barrel threads into the front scope nozzle. This too is a tight tolerance to prevent wobbling. Make sure you are not over extruding and print SLOW to prevent layer shifts and inaccuracies. Many pieces need support, but even with very high infill, this entire blaster can be printed in just over half of a 1KG roll of 1.75mm filament.
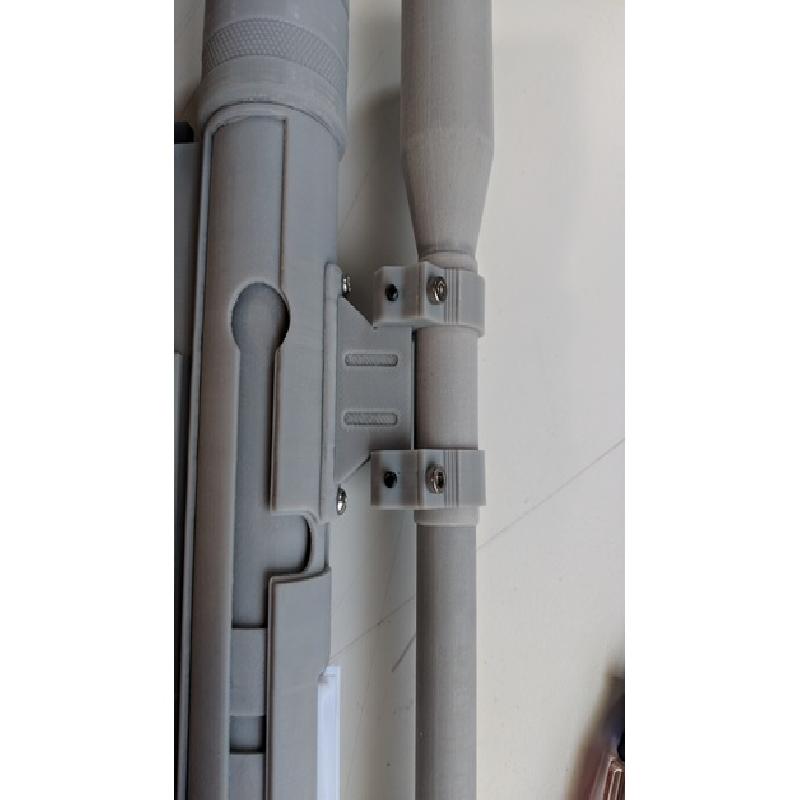
As a tip for printing some of the smaller items and the barrel sleeves: Use 1 perimeter with 99% infill. This ensures that there are little to no gaps in the prints, and things are as strong as possible (the out outer barrel sleeve is very easy to break if not careful and I recommend not sanding it until it is slid over the inner sleeves).
The entire model is designed to be assembled with actual hardware and no glue is required with exception of the knob for cocking the barrel (still working on a different design to make this part work without glue). It currently has a small hole to allow for a finish nail to be inserted with a small amount of hot glue or CA Glue to attach to the moving part once the barrel is fully assembled.
I have not tested printing this with the intent of simply putting together without sanding. I would guess you need to scale (only in X and Y) by 1-2% for each barrel piece inside the "Outer Sleeve."
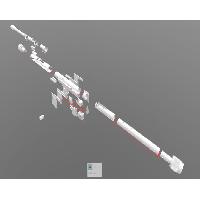
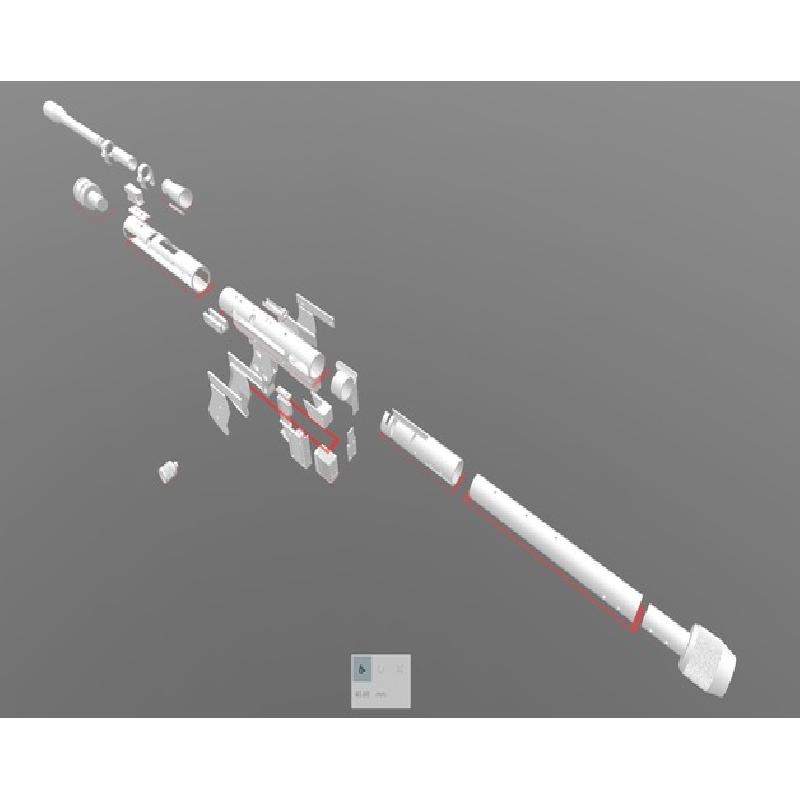
I will take everything apart and then take pictures of the proper assembly process, but for now, I included a fully assembled and an "exploded assembly" file that is saved in 3mf format (can be opened in the free "3D Builder" app on any Windows 10 computer.
Everything was designed to make sanding as easy as possible and be assembled with actual mechanical fasteners. In addition to the 3D printed parts, you will need to have:
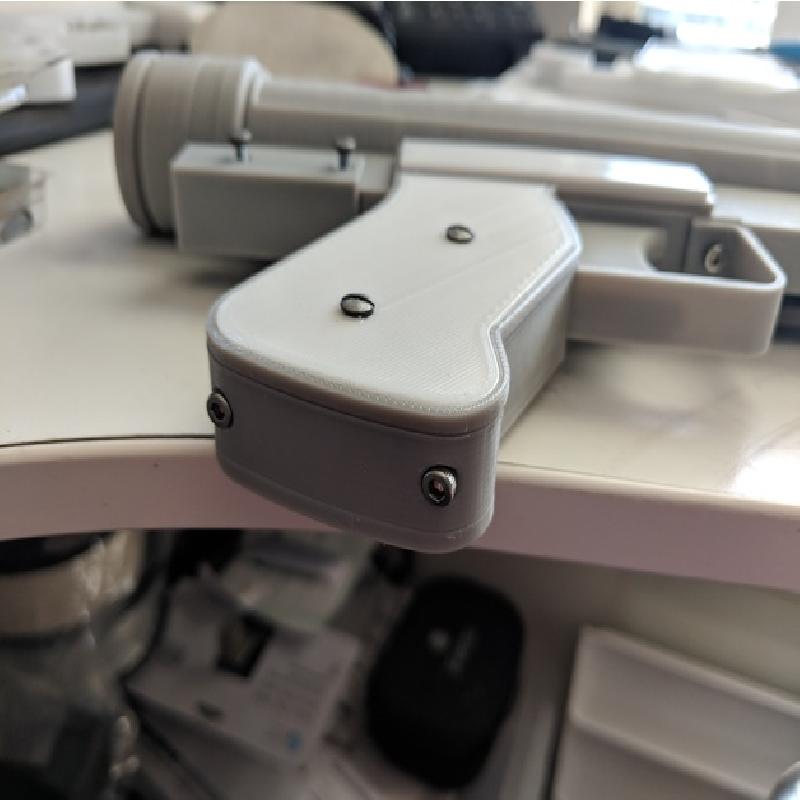
8 Switch plate cover screws (oval head, standard/flat head/slot): for handle plates and back frame attachment piece (you may need to cut down the length depending on how long your switch plate screws are)
12 M3x8mm oval head, standard/flat head/slot screws: for magazine assembly and attaching top side plates to frame
4 M3 flat head screws (hex/phillips/torx/etc all work) at least 12mm in length: for attaching outer and second sleeve to frame, and scope mount body to base
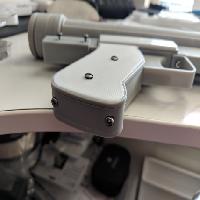
6 M3x8mm Hex head screws: for bottom of handle, scope clips, trigger guard, and site (guessed on this as no picture shows how actually attached to blaster)
2 M3x12mm Hex head screws: for side barrel/muzzle attachment
2 M3x8mm button head hex screws: for attached scope mount to barrel (can't tell if this is correct from pictures, but definitely a more rounded screw head)
2 M3x25mm hex head screwws: for attaching scope clips to scope mount
2 M2x10mm hex head screws: for attaching trigger rail to trigger
Spring from a ballpoint pen: to put in trigger spring print to allow the trigger to function
Optional 10 small bolt nuts: to be glued into the handle frame and give the blaster a more believable weight.
Optional Mother of Pearl pick-guard material (for guitars) to make grip insets (use inset print files to make templates)
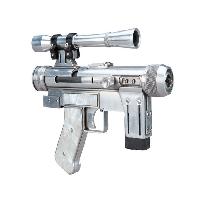
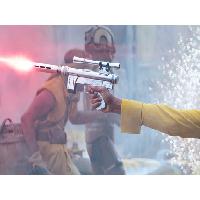
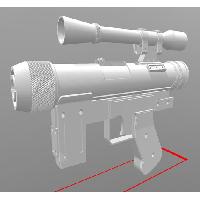
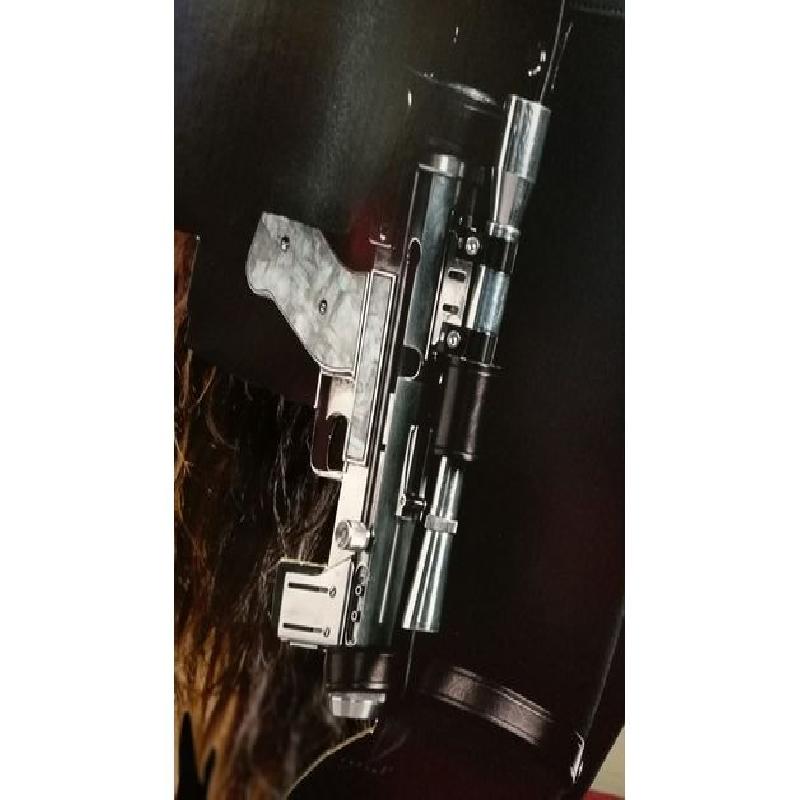
I also included all reference images I could find and used in the making of this model. I would say it is about 90% screen accurate, but limited screen time means limited source material to design from.
The final prop looks to have a 3.5mm headphone jack in the middle of the front muzzle. This does not make sense compared to other SE-14 blasters, but I will find a suitable piece and design an insert for it (look for that to be posted sometime in the future).
I also have started working on the silencer that is seen in the movie for 2-3 quick scenes and is included in the action figure. There are no good references for the from of the silencer so I am waiting for the move to release to Blu-ray in hopes of screen grabbing a shot or two.