by Ginger13
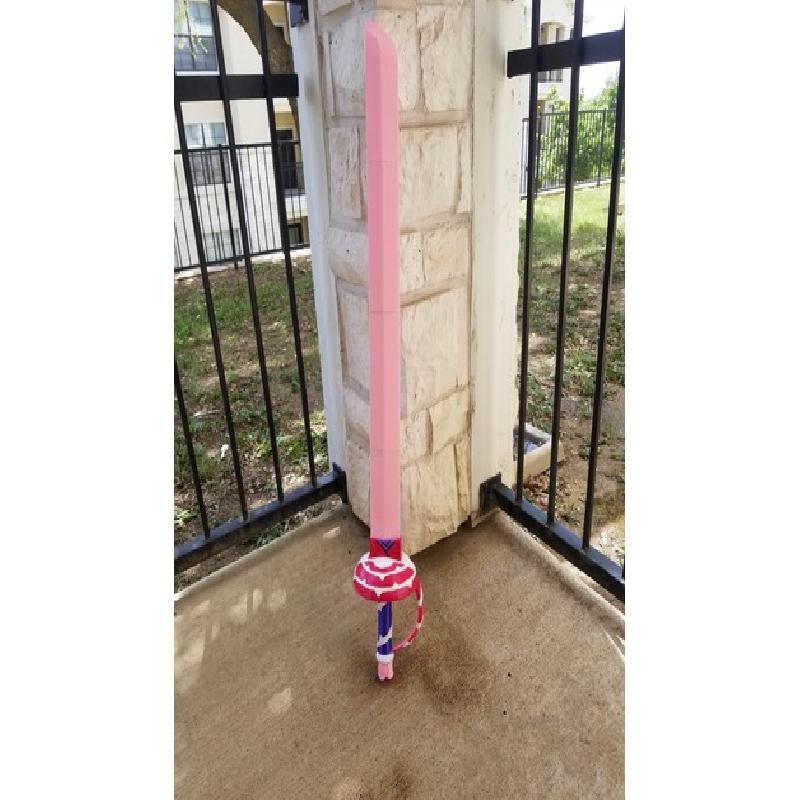
Fixed some of the files from the original that had errors. Remixed to remove the blocks holding parts together (this is the big difference between this post and the other remix, i removed the old joints). some rebar from a local store should do fine, maximum width ~11mm. My rebar was nominally around 9mm, but actually measured 10 at the thinnest and 11mm on those lines at the side, so make sure you know what you've got. Hole goes through to the handle since I disliked the idea of only attaching the handle via glue and epoxy.
The hole through Blade parts 2/3 and 4 are /VERY/ slightly elliptical for this reason, shouldnt cause any problems. Depending on your Printer's tolerance you may need some force to slide them onto the rebar, but hey if it works that way you wont ever have to worry about it coming apart eh?
The total length of the hole within is 908 mm. You can add to this without making larger parts by stretching the handle a tad, since thats the smallest part with the hole, or shrink it by shrinking the large center blade portions or omitting them altogether
Printer Brand:
Prusa
Printer:
Rafts:
No
Supports:
Yes
Resolution:
0.1
Infill:
10-20
Notes:
Largest parts in case you're not sure you've got space:
Blade 1 (base): 180 mm,
Blade parts 2&3: 212 mm
Blade 4 (tip): 194.44 mm
Everything else is no larger than 150 mm in any dimension.
If you have shorter rebar or a smaller printer, the easiest files to scale will be the tip and the middle sections (2 and 3). I printed my base standing up, but the other parts of the blade on the flat side so the layer lines wouldnt be orthogonal to the blade direction, which thinking back probably wasnt necessary due to the rebar.
You can also easily make this longer by a lot with more middle pieces, or shorter by omitting one or both, or even mixing the Base into the Tip for an extra short blade.
Infill can be low if you rely on the inner rebar for strength, dont keep it too low though, for obvious reasons. I had a 20$ base, 15% middle, and 10% tip, to help distribute weight closer to the hilt, but thats really up to you.
Post Processing:
WARNING:
depending on how you print it the tip CAN CUT YOU (oops. ouch) if it has any weight behind it (like when its all put together and has a few pounds of rebar in it).
That said, i've had worse dropping a swiss army tool knife, so just be careful and dont swing it at anything you dont wanna break. Should be blunt enough for most convention rules, but you may still need to peace tie it if you cosplay. You've been warned.
If you go for the rebar, make sure you print a test piece, perhaps the first few mm of one of the middle parts, or the handle, to test your tolerances. I literally had to hammer my plastic onto the rebar the first time, and then it was stuck, so dont do that :P
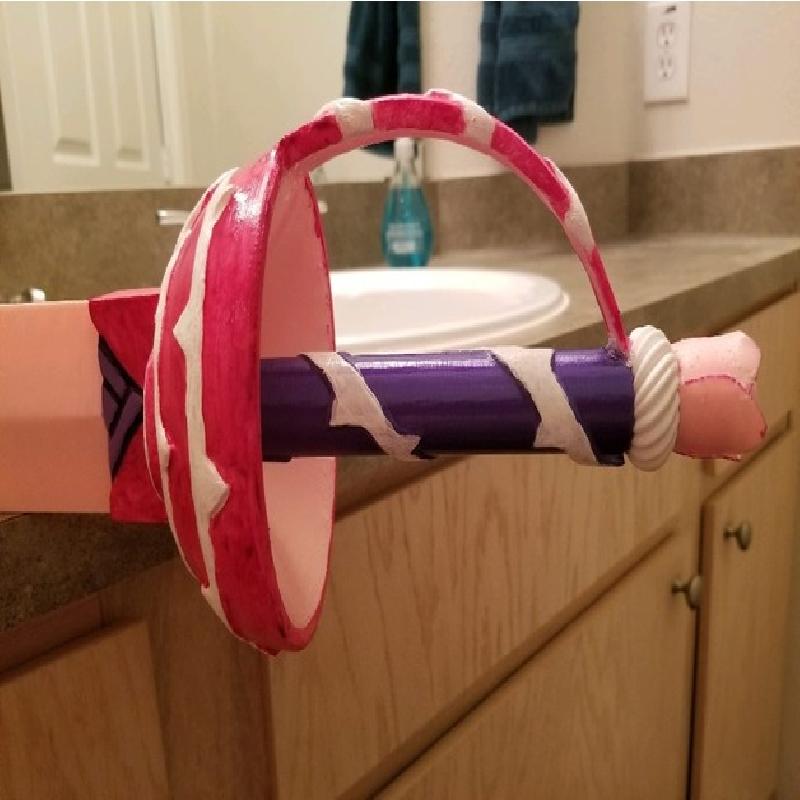
Hold it all together with epoxy between the pieces, melted scraps, or superglue. Make sure you've got it lined up right though, if you glue it and its not aligned... welp.
Fixed and edited Files
Fixed the files that arent edited with the free netfabb tool. The files i did edit were remade in solidworks (Blade 2/3) or edited there(Blade 4), or edited with tinkercad and then fixed with MakePrintable.com (Blade 1, file was too large and damaged for anywhere else to handle, its also free, not sure if its related to the plugin we have here)