by Danal
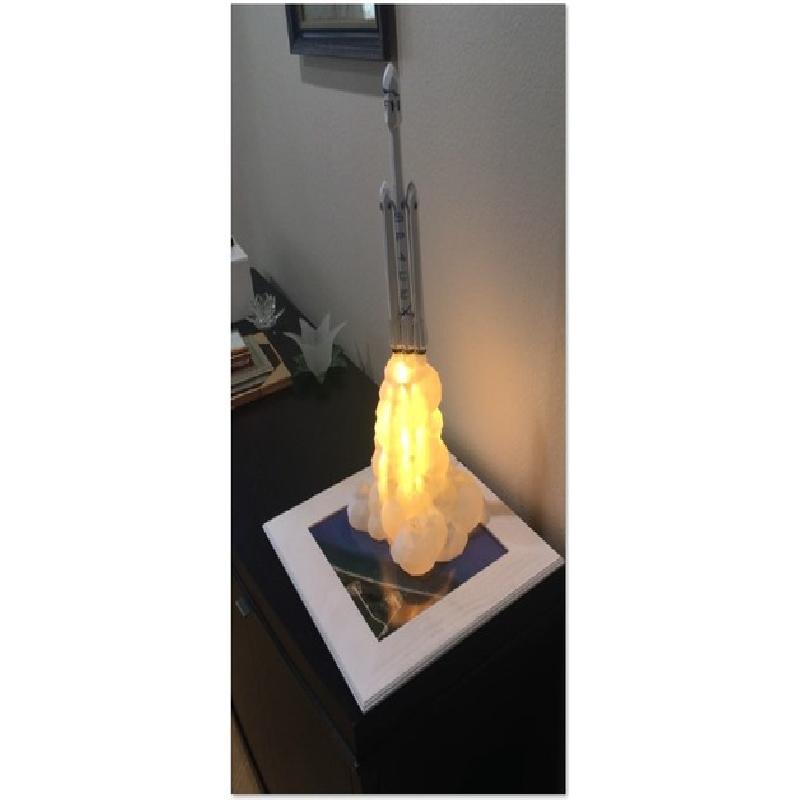
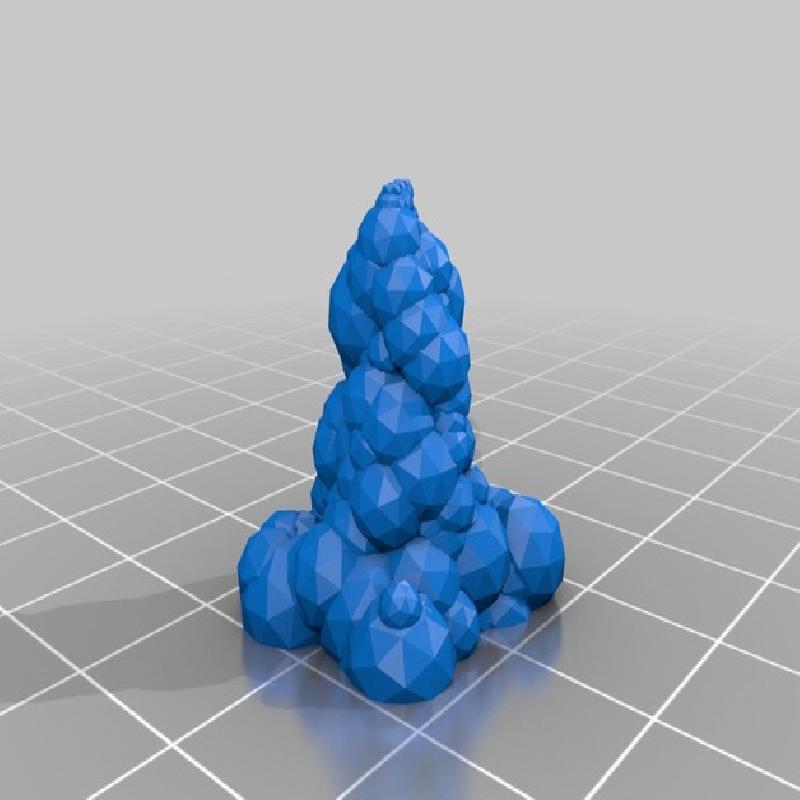
Display model in honor of Falcon Heavy launch Feb 6 2018.
Original 3D Print model of the Falcon Heavy by ThatDutchGuy.
I combined it with a bit of hand painting, graphics cut on a Cricut, a print from google maps, and a frame. Animation/lighting via custom Arduino code written by me.
Printer:
Custom built large-ish Delta
Rafts:
No
Supports:
No
Resolution:
.2
Infill:
20%
Notes:
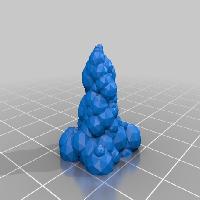
Print the bottom STL in transparent filament.
I printed at all defaults, and had some thinness in the tops of the "bubbles". I re-printed with 4 walls (shells), which took a LONG time, and about 2/3 Kilo of filament between the two prints, and only fixed the thin spots a little, so I'm not going to print again... In reality, what I probably wanted all along was default walls and two or more tops.
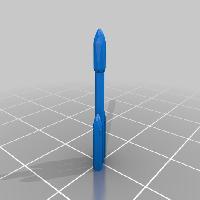
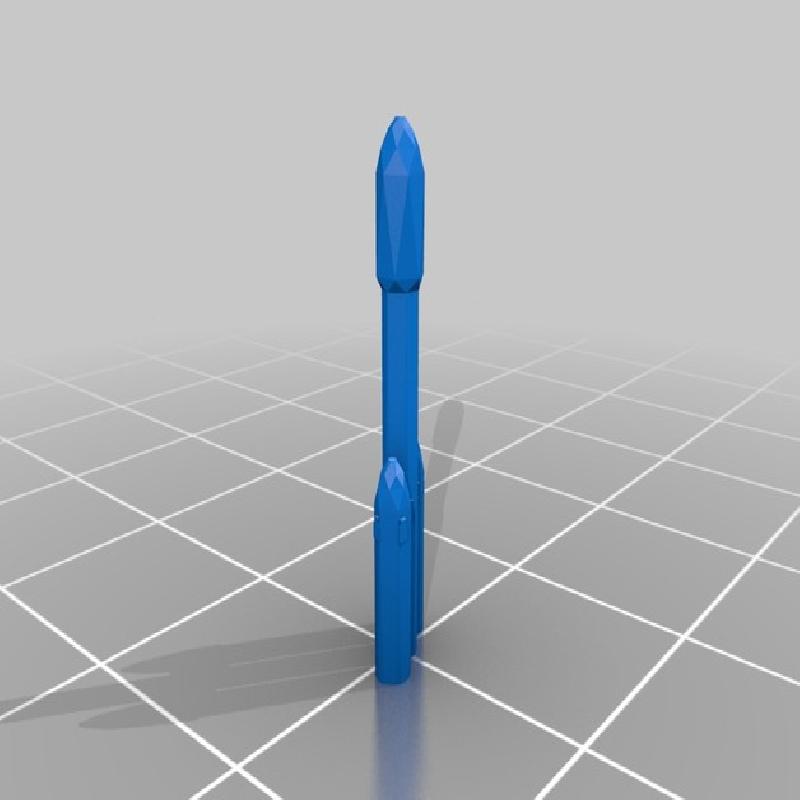
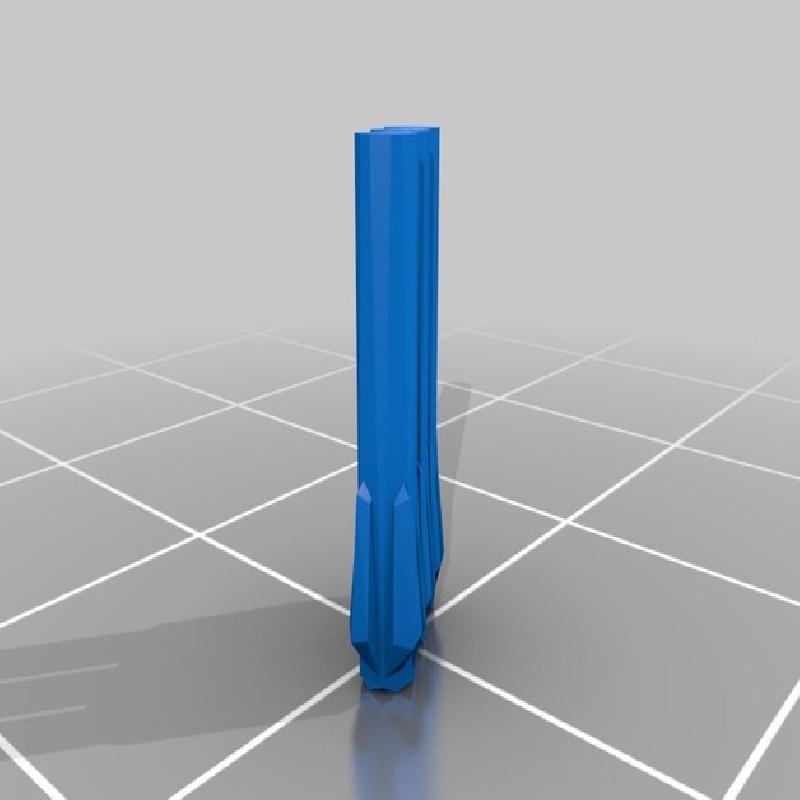
Print the middle and top STLs in opaque white.
I chose to hand-paint the grid fins grey, and the engine clusters a metallic dark grey. The graphics were cut on a Cricut machine by using publicly available images. The graphics are MUCH too large for the scale of the rocket... they seem to look better that way. The bird graphic at the very top should be red; I did not have any red vinyl. I may or may not fix that.
See below for details on the other bits of kit.
The base/frame is a wooden frame obtained at Hobby Lobby, intended for a 12 x 12 print. It has a picture insert printed from Google Maps via a Chrome Plugin called "FireShot" that captures full page images.
In this case, the print is of Pad 39A, because that's where the Falcon Heavy / Starman launch originated. You'll have to play with cropping, scale, etc a little bit to get all the Google fluff out of the final picture.
Since I don't have a printer that will print 12" (in EITHER direction!!) I paid a small fee to print a 12x16 at WalMart, submitted the print online and picked it up at a local store about four hours later. Matte surface. This worked VERY well.
The base also has felt "furniture feet" felt disks on it, both so it won't scratch the table it is sitting on, and so that the power wire can exit the bottom without making it sit crooked.
I still need to do just a bit of final work on the base. Fastening things down, etc.
YES, the smoke/flame print bubbles do overlap the frame itself; this really seems to help the impression of rising out of the background, much more so than being totally enclosed in the frame.
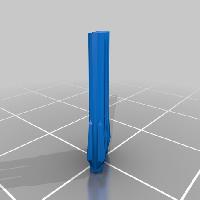
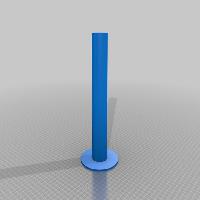
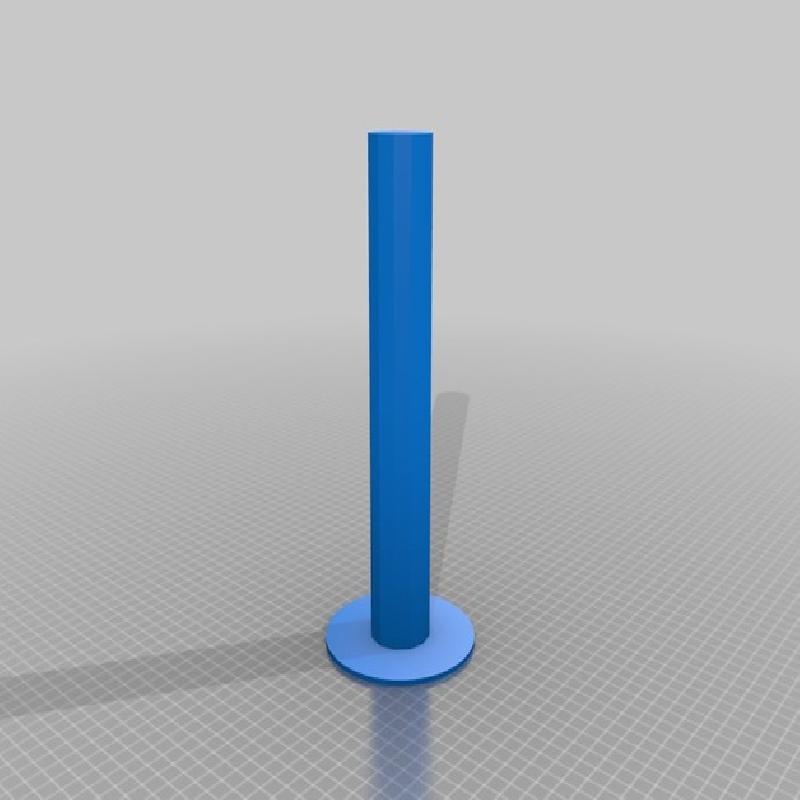
I printed a tower that just fits inside the smoke/flame bubble base. It has 12 sides.
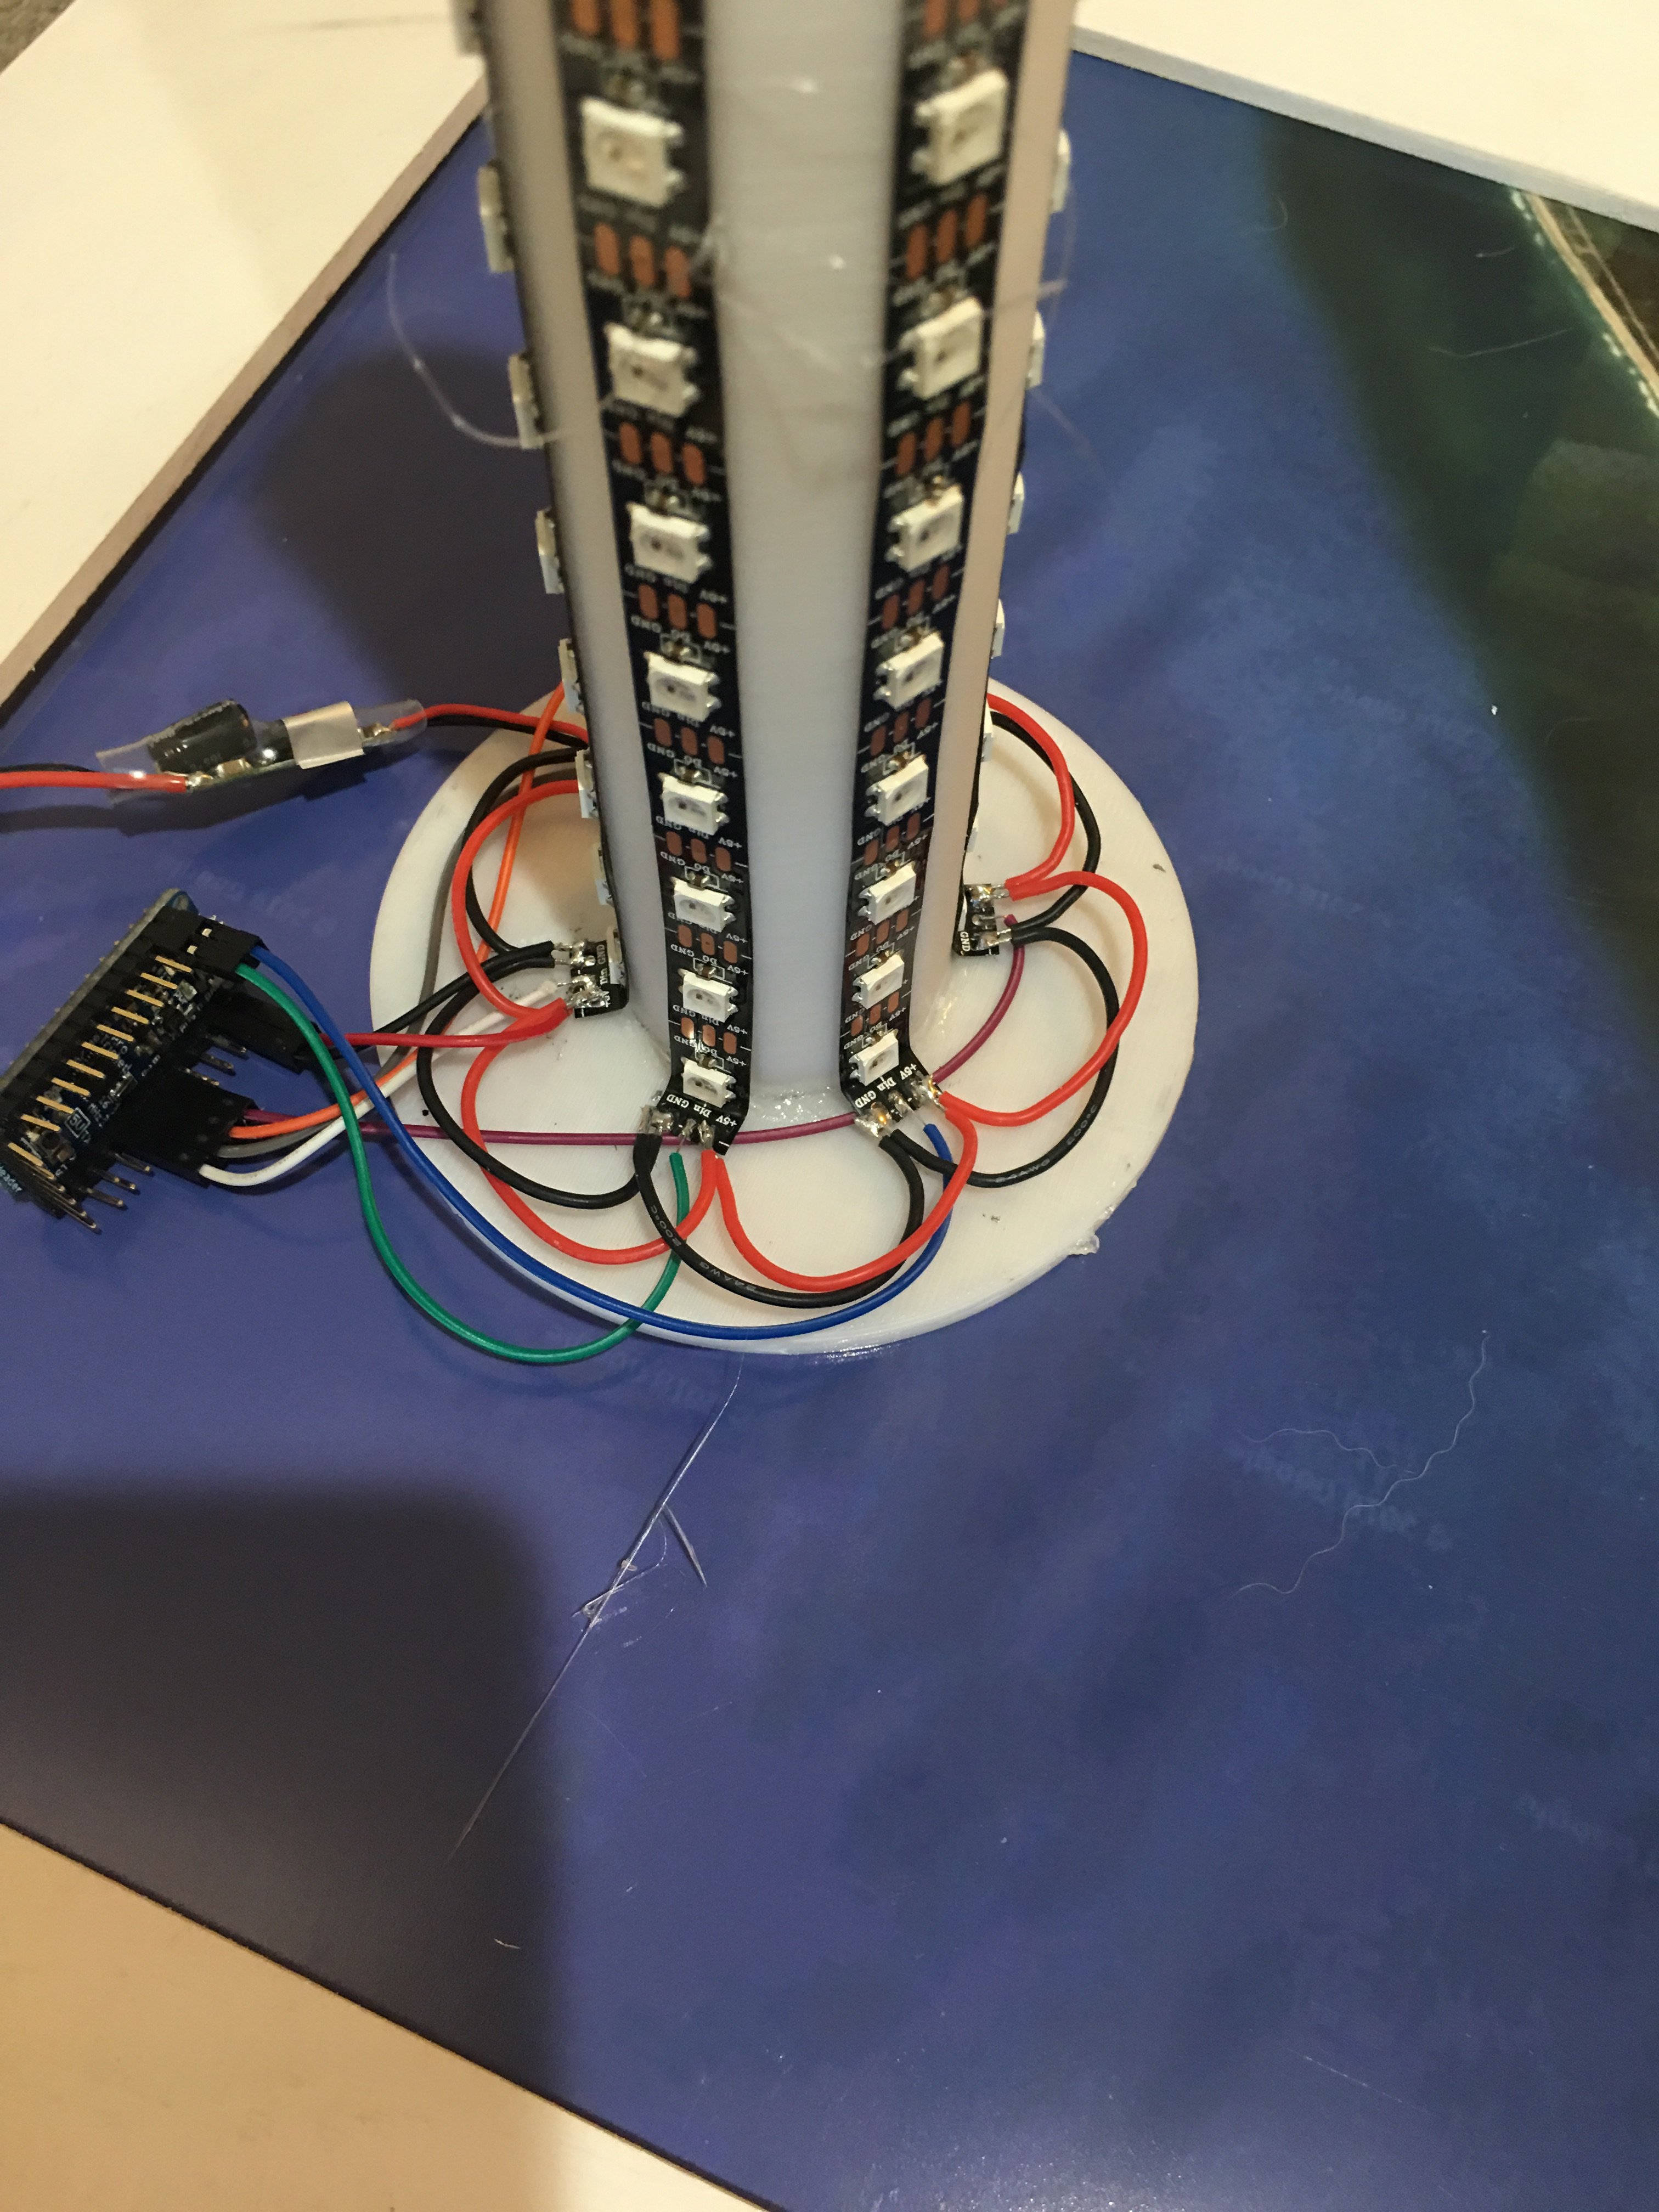
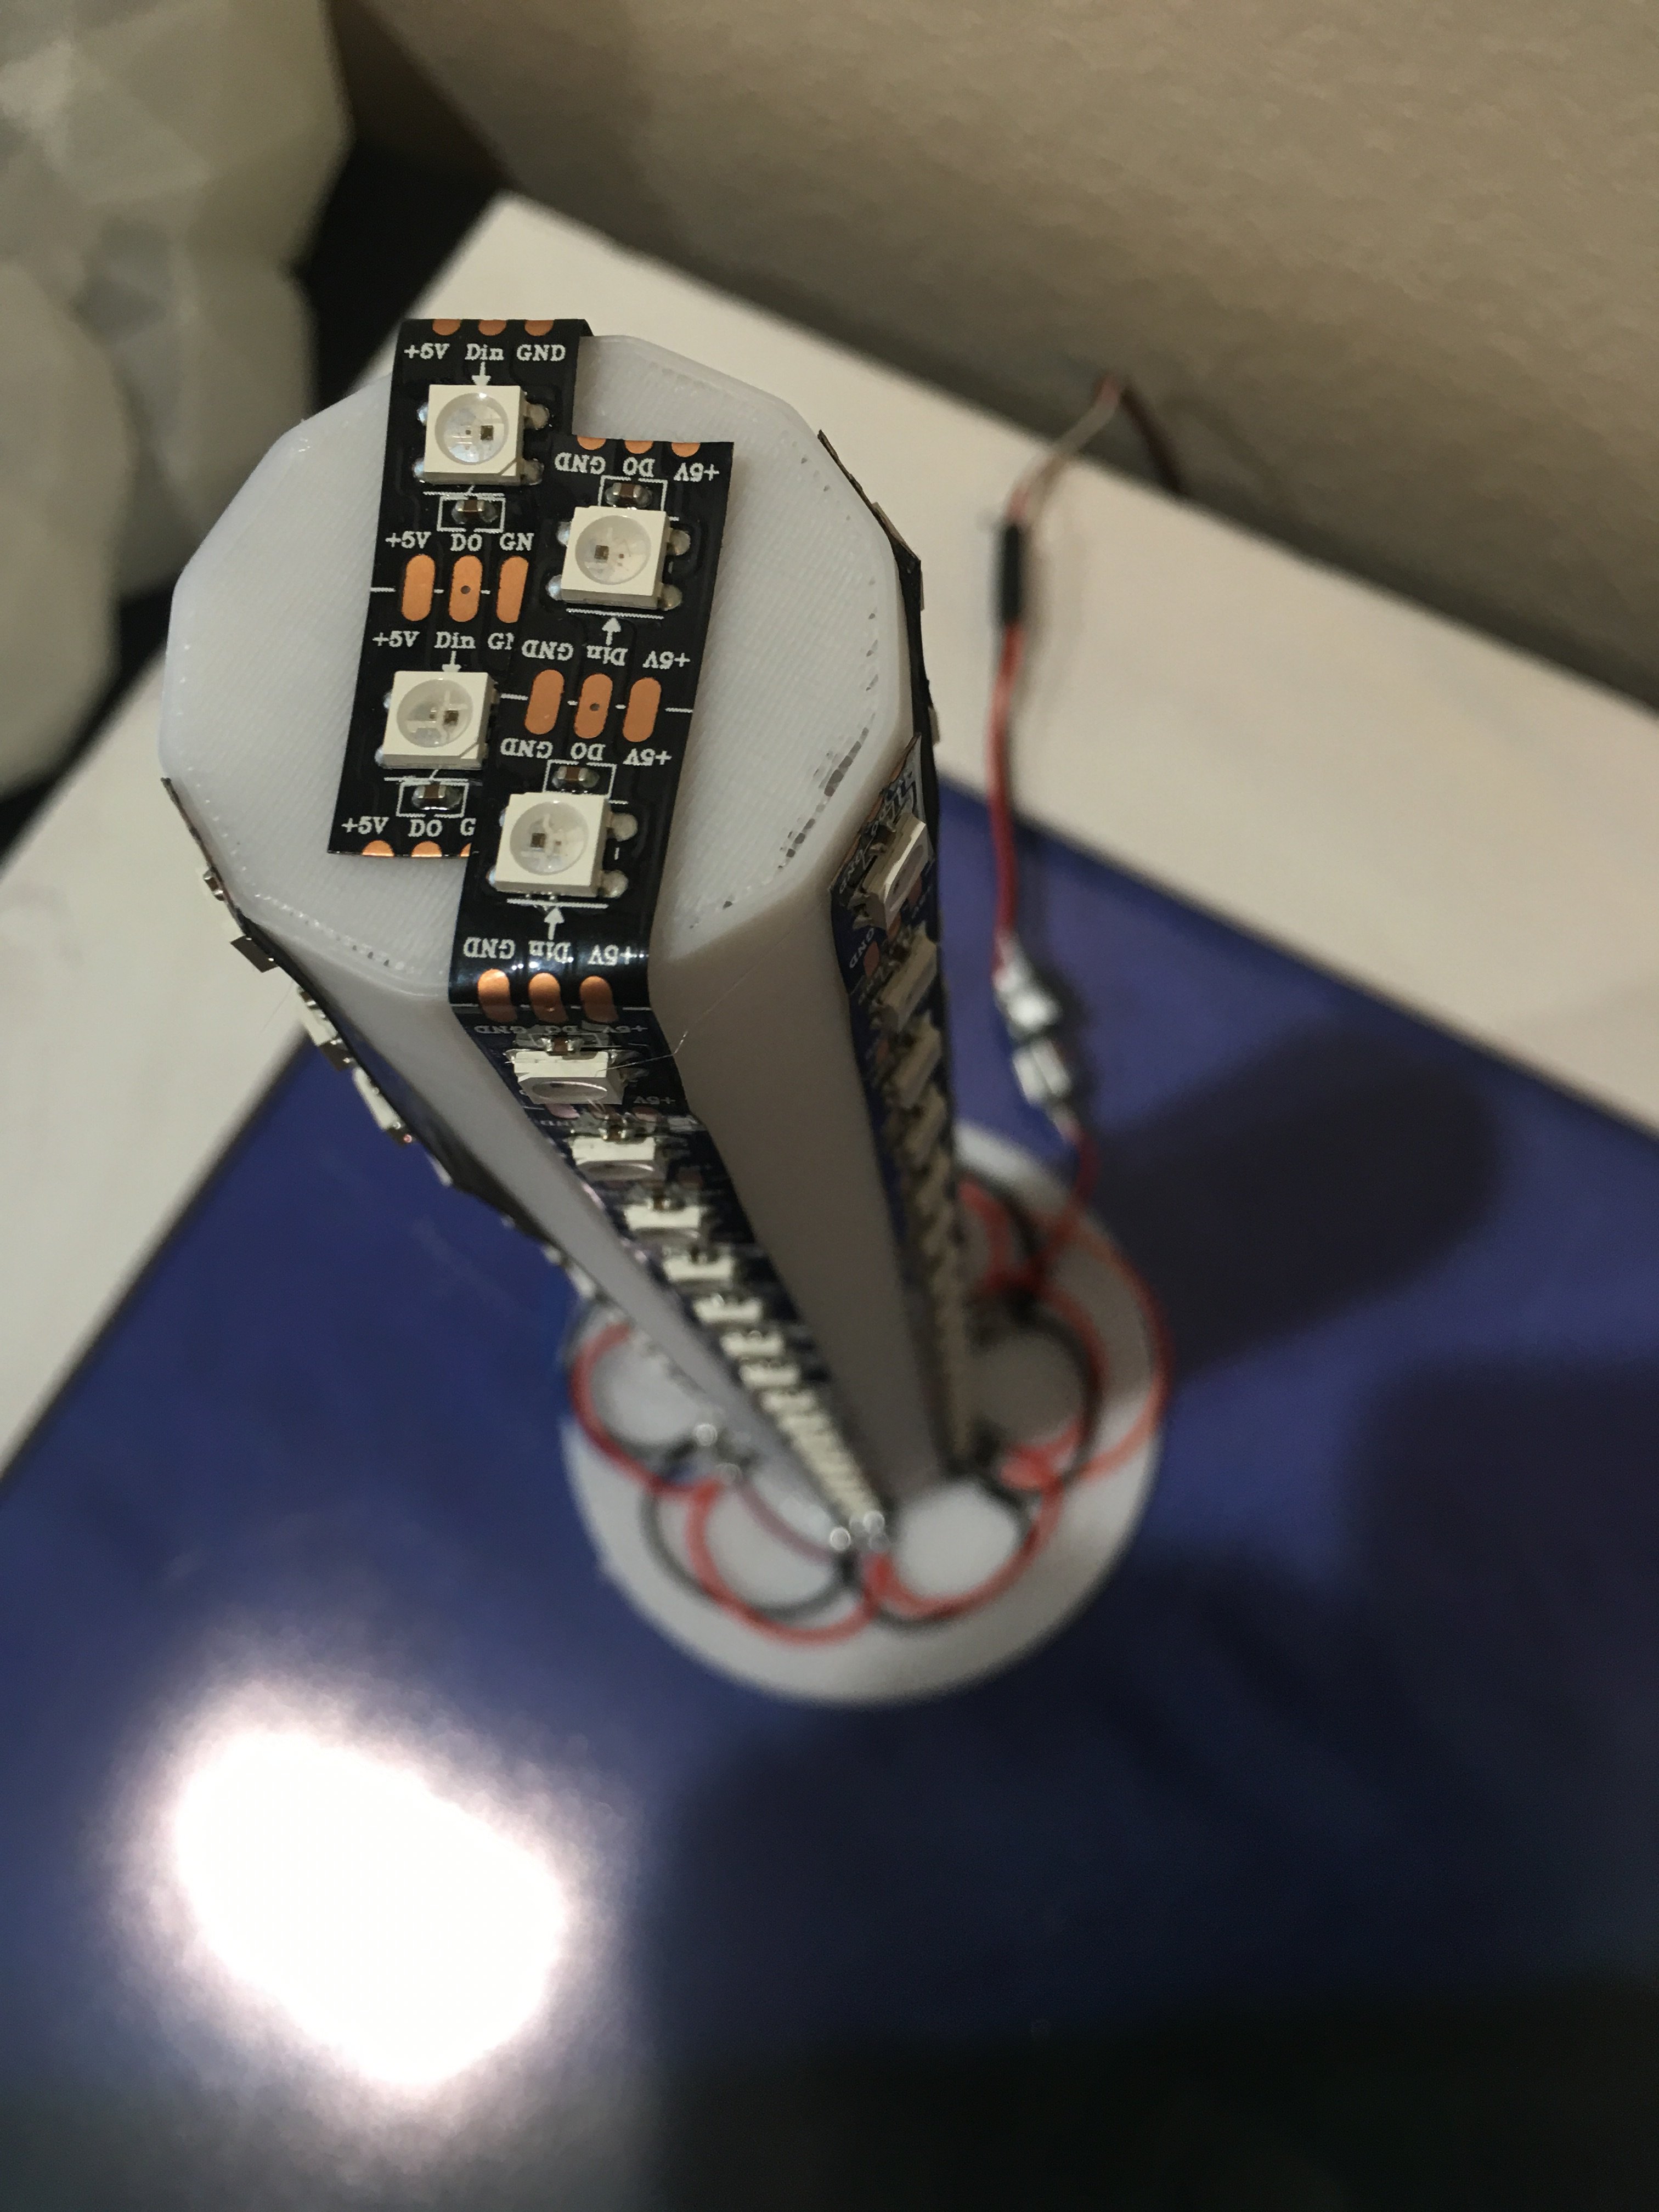
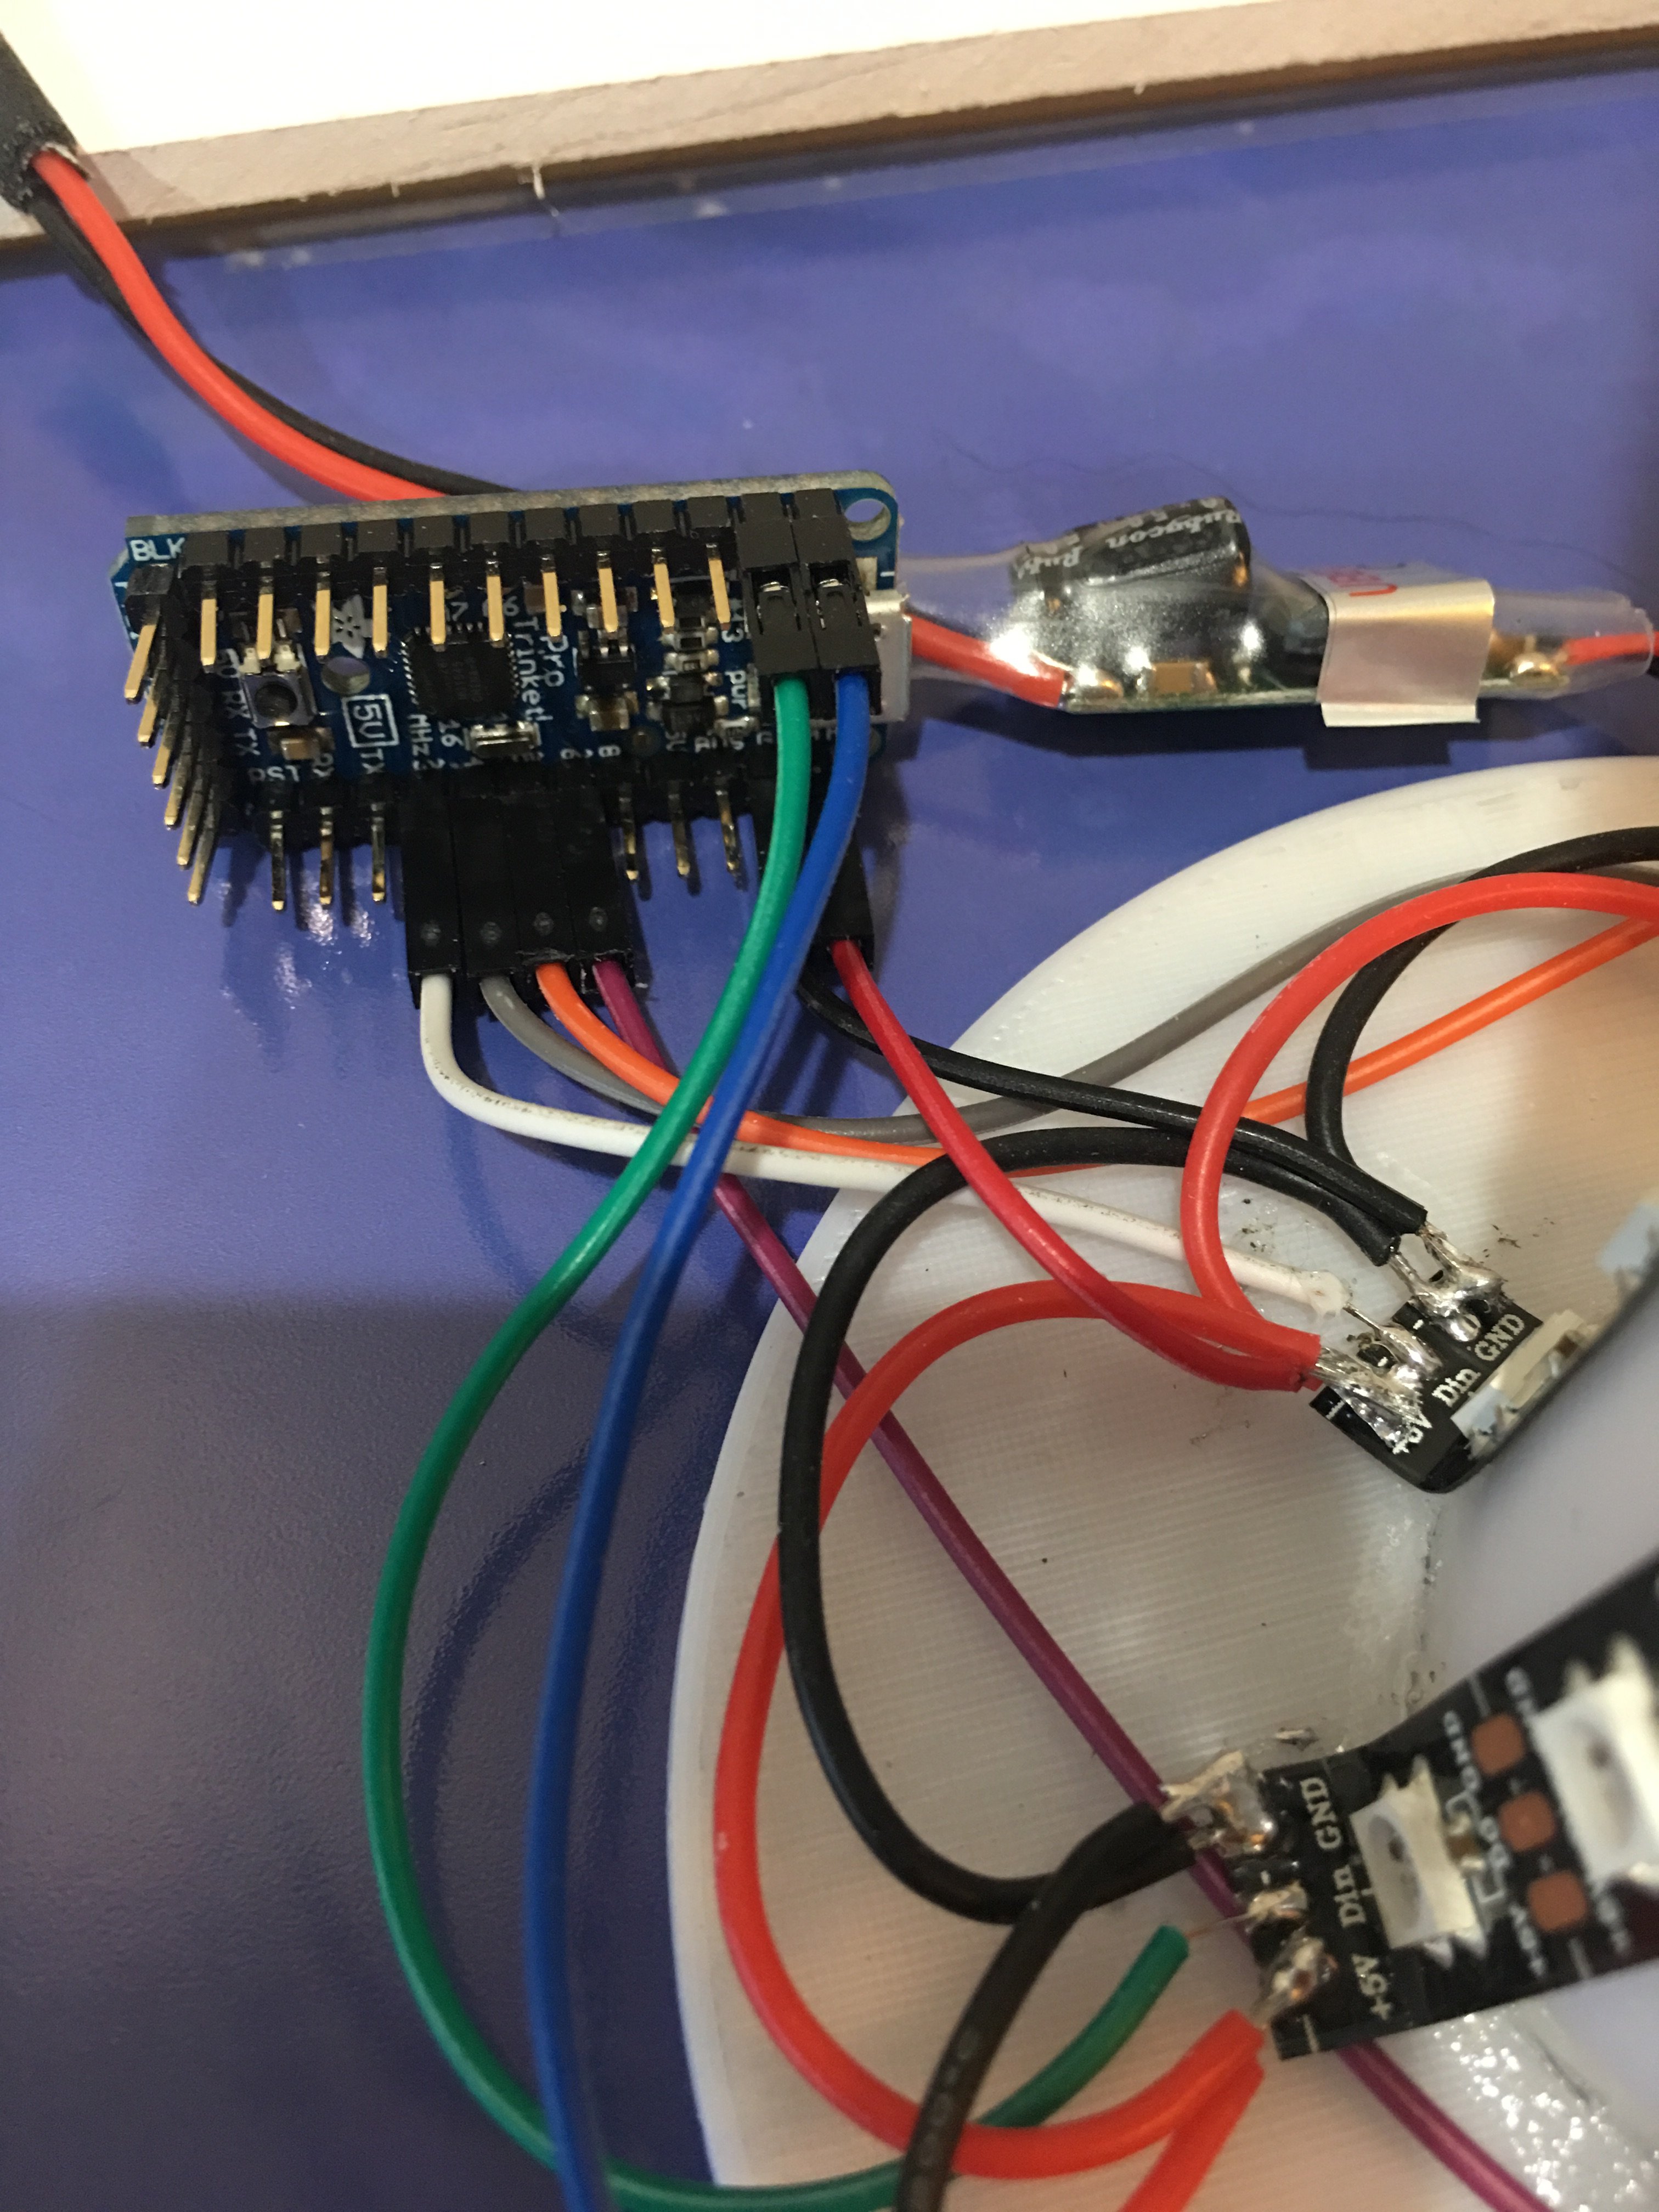
I stuck strips of WS2812B LEDs on six of the sides, and wired their 5V and Ground connections all together in a ring. I use a "Radio Control" UBEC that is 12V in and 5V out to power everything. Any 5V supply will work. Note that the voltage regulator on the Arduino itself is NOT big enough to supply the strips. Therefore, the 5V supply is wired to each strip, and to the "Bat" and "GND" pins on the Arduino itself.
This is a bit of finicky soldering, because the wires want to spring away from the terminals on the strips. Pre-Tin everything, and use tweezers to hold (or tape, or whatever).
Each strip is wired to a separate output pin on the Arduino. At the moment, they are treated as one vertical stack, that is there is no exploitation of separate strips in the firmware. That could change in the future.
Whatever Arduino you use, it needs to be small to be invisible when everything is assembled. I used an Adafruit Pro Trinket, because I had several. An Arduino Pro Mini, or Nano, or similar would also work fine.
I tried LED strips spaced at 30 Pixels/Meter, 144 Pixels/M, with various animation timings.
By FAR the best look came with 60 Pixels/M with the animation timings that are in the sketch published here. The pixel strips are available many places, including Amazon. Be sure you get WS2812B, and not "RGB" or "RGBW". Very different things.
This sketch is quite a bit "brute force" and heavily commented, so that other people can easily follow it. Specifically, it is not indended to be a good example of space efficient or process efficient real-time code; it is intended to be easy to read and modify real-time code.
Having said that, it does use hard-coded numbers for the colors. I really should abstract those in to #defines. C'est La Vie.
The Pin definitions ARE all abstracted to #define statements, to make it easy to use other boards.
This arduino sketch is based around the idea of being "non-blocking", that is, never using a delay(n) statement. This is accomplished looping until some number of milliseconds have passed, and then deciding what to do. In the supplied sketch, it waits until 10 milliseconds have elapsed. You can adjust this by changing the line:
#define AnimatePeriod 10L
As a general technique, it is quite common to have things happening on different time scales by putting the millisecond check in the start of each of the service subroutines; they can be checking for different times. This sketch does everything on the one timebase, so the check is at the start of the main loop.
Also, there are a couple of statements that look like:
} else if ((0==otherColor) && (random(1024) > 1000)) {
You can tweak the "1000" up or down to decrease or increase the odds of a White Flash or a Red Flash.
And... this sketch is designed around the idea of a "queue" or "stack" of things that enter from the top and get pushed down. One queue holds the colors; another queue holds a 1 or a 0 that controls whether the color gets faded as it travels downwards.
Push things on the stack, let the animation timer move them down. MANY things could be tweaked from this basic code.