by refleks
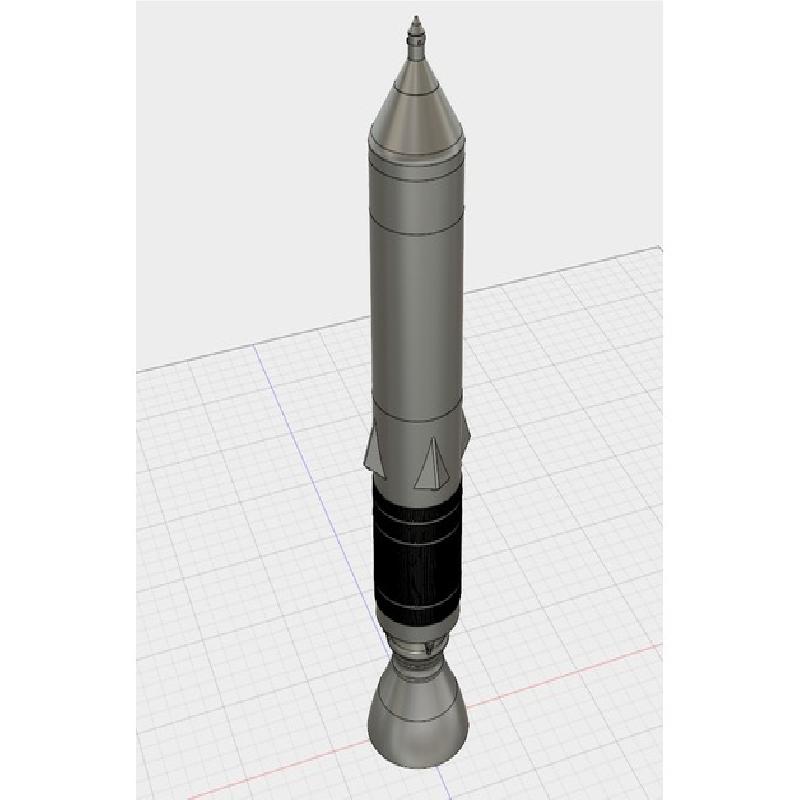
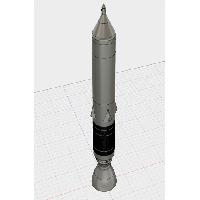
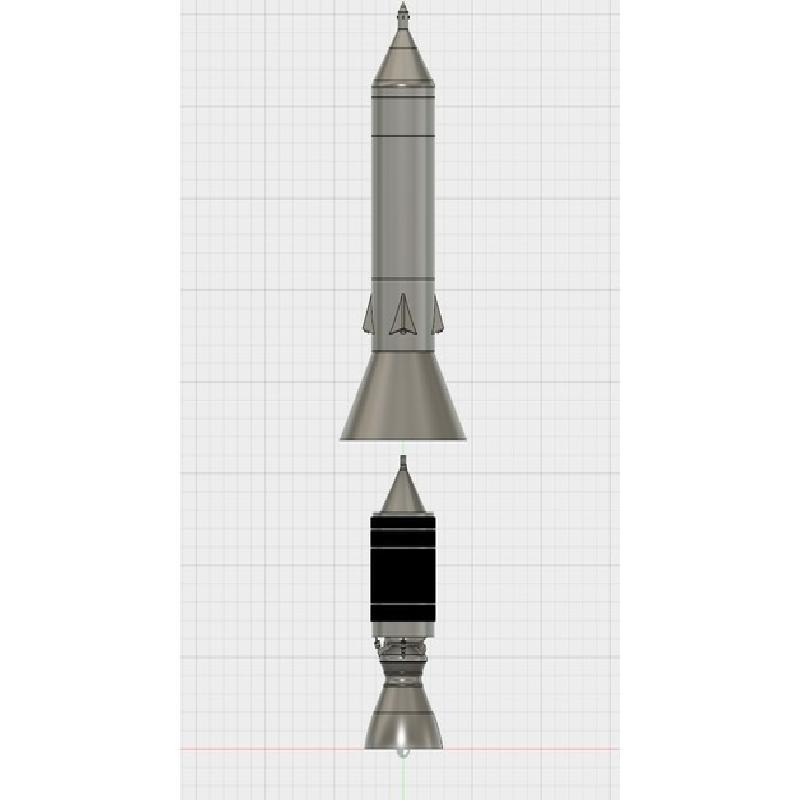
This is a 1:200 scale model of the Sea Dragon rocket, a proposed design that was projected to lift 500t into LEO.
http://www.astronautix.com/s/seadragon.html
After purchasing the Vintage 1:200 scale AMT "Man In Space" Rocket Model Set (which included the Saturn V, Saturn IB, Titan, Atlas, and Redstone rockets) I wanted to see what the Seadragon would look like to scale. It's big, and was designed with a CR-10 printer in mind.
Notes:
Some parts of this model do require glue to assemble
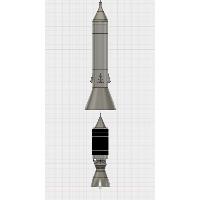
Main stages should be separable and fit snugly enough to hold itself together on a shelf adequately (unless it tips over!)
Print 4x each of the "RCS Nozzle"
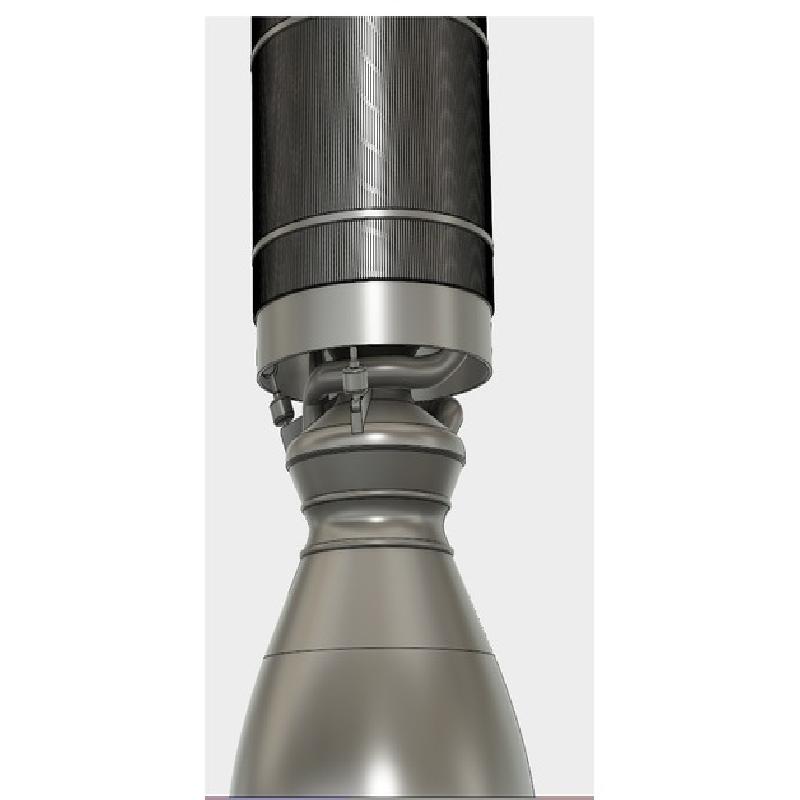
Print 2x each of the "Strut Interface", "Strut 2a" and "Strut 2b" (this rocket had two nozzle actuators 90 degrees apart)
The "2nd Stage Expanded Engine" is optional and lacks detail, it simply represents the 2nd stage engine bell expanded to it's maximum size (after 1st stage separation)
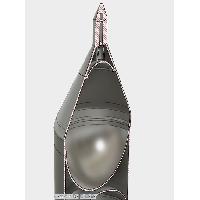
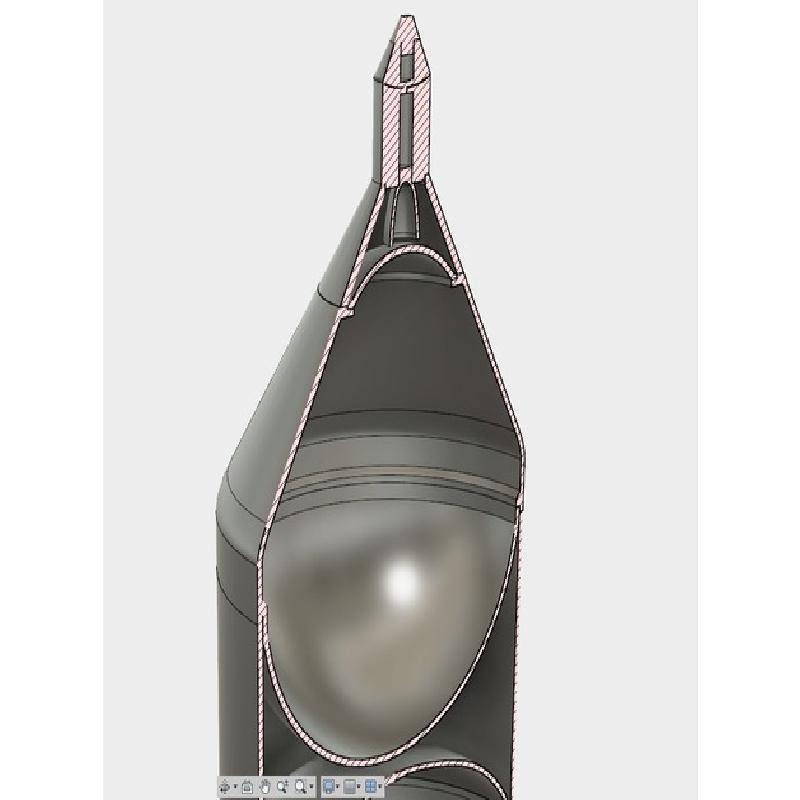
Included is both short command service module (as per the planned prototype drawings) and classic, full sized command service module with engine. The CSM is built so that you can add magnets to keep the re-entry capsule on if you like, otherwise it can be glued.
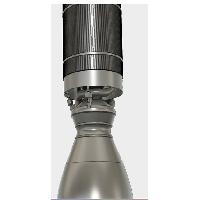
The piping on the first stage nozzle don't really connect to anything in the bottom of the first stage due to my limited abilities with Fusion360, so don't look up it's skirt too closely! On my make, I just glued one of them to the nozzle roughly in between the struts and then the other 180 degrees around the other side.
The struts and strut interface are tricky, you may have to mess with them a bit to make sure everything lines up the way you want before gluing.
I tried to design it so the minimum of supports would be needed, but orientation of the parts on your slicer can be tricky, especially with the piping. Use your best judgement (the piping at least will need supports)
Hope you enjoy!