by ChaosCoreTech, published
It's dangerous to go alone, take this: https://youtu.be/HRMcRFcPFsU
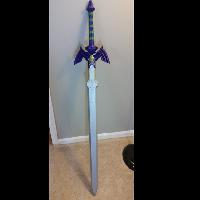
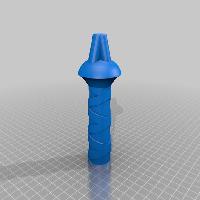
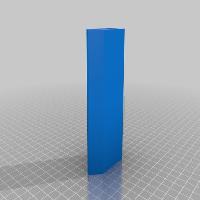
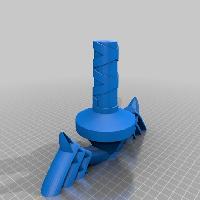
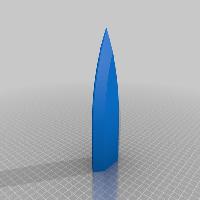
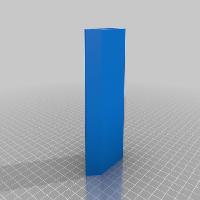
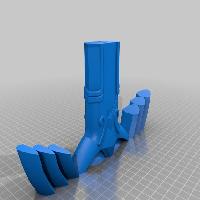
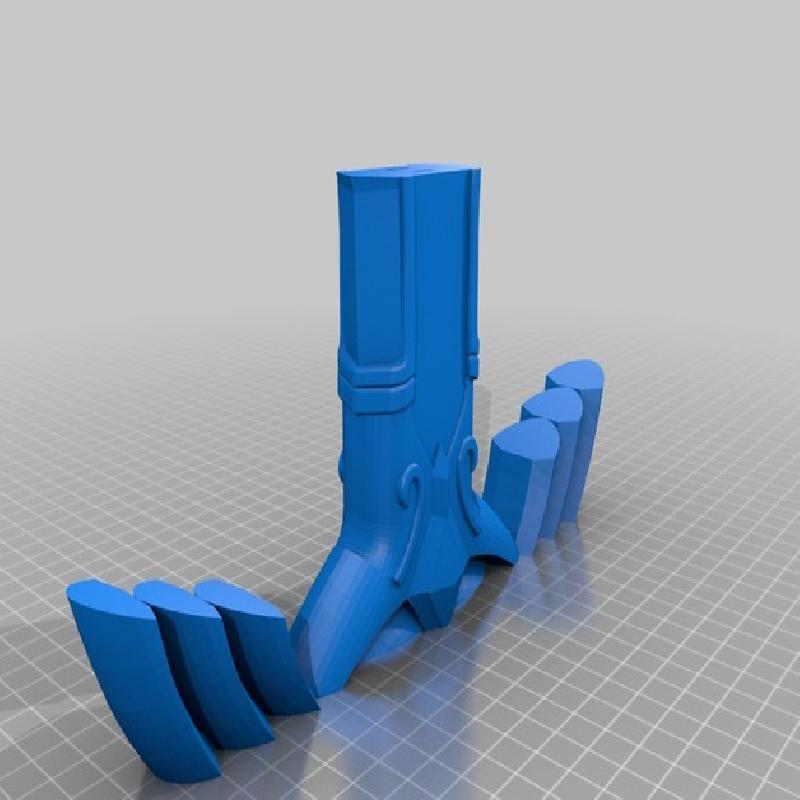
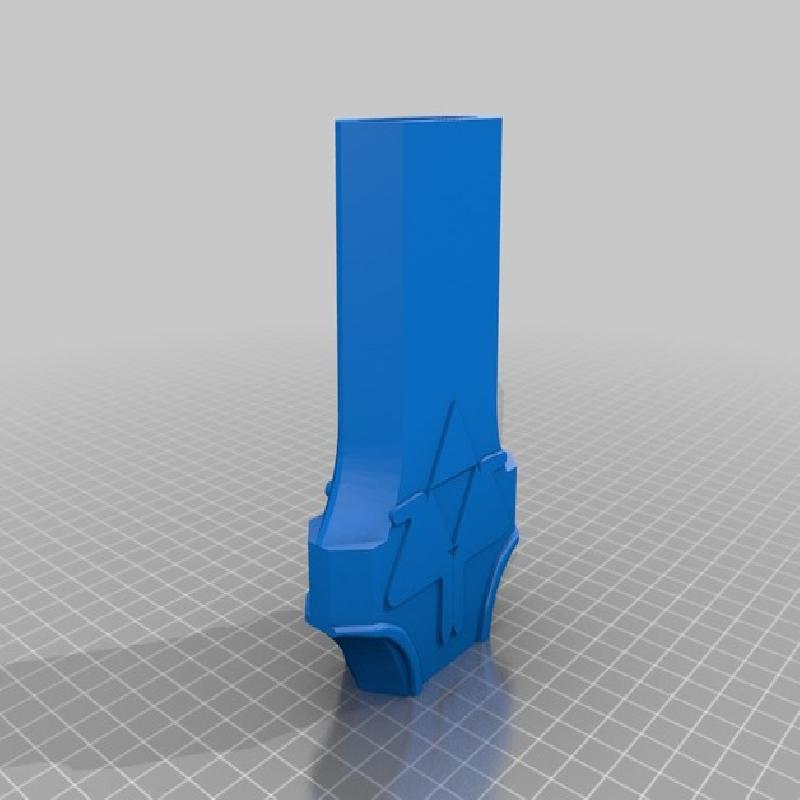
I designed this model in Fusion 360 using references images from the game's concept art. Then I prepared it in MatterControl and printed it out on my Robo 3D R1 printer with Hatchbox white PLA. The total print took about 20 hours to complete with all parts and used about 0.5kg of filament.
The included pins are not meant to hold the sword together, they are meant to be a placeholder until glue can be applied.
Once I had it printed and assembled I passed it to my wife so she could do the post processing work. I'll detail the steps she took below.
Post Processing-
Step 1: Glue all the pieces together. She used Gorilla Super Glue. Let this glue sit for a few days to make sure it is good and solid before moving on.
Step 2: Seal the seams. We used Loctite Repair Putty and spread it over the seams to cover them.
Step 3: Sand. She sanded the blade with a hand sander, including the puttied areas to get them smooth and flush with the rest of the sword. She used a Dremel with a cone shaped head to clean up and sand the handle. Then she took 400 grit sandpaper to it to make it as smooth as possible.
Step 4: Priming. Use plastic primer to coat the entire sword in several coats. Letting it dry completely between coats.
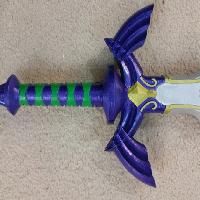
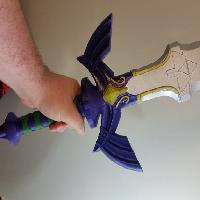
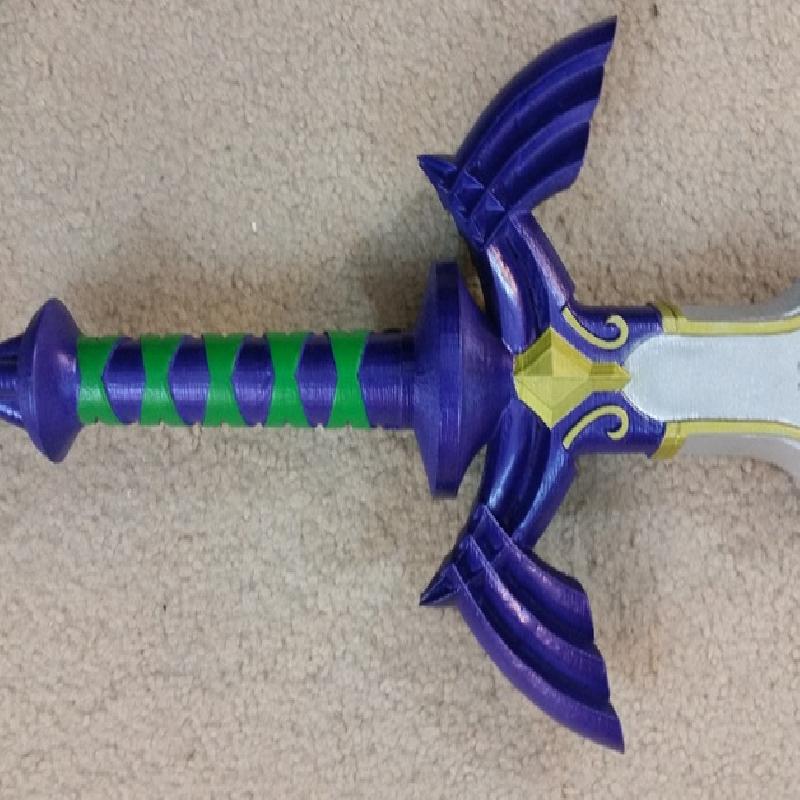
Step 5: Paint. She first applied Krylon Hammered Metal spray paint to the blade area. Then, once dry, she taped off the blade. Then she used an airbrush to apply the purple for the handle.
Step 6: Paint the details. Then she used green acrylic paint and a paintbrush to paint the green on the handle. After that, she used a gold paint pen to apply the gold features.
Step 7: Enjoy! You can add any finishing coat you'd like. We haven't applied anything to it yet, but if you're going to do anything other than just look at this, I'd advice applying some sort of finish coat to protect it from damage.
Let me know if you have any questions about this process. I'd be happy to clarify!
Print Settings:
Layer Height: 0.3mm
Infill: 20%
Support: No
Raft: No