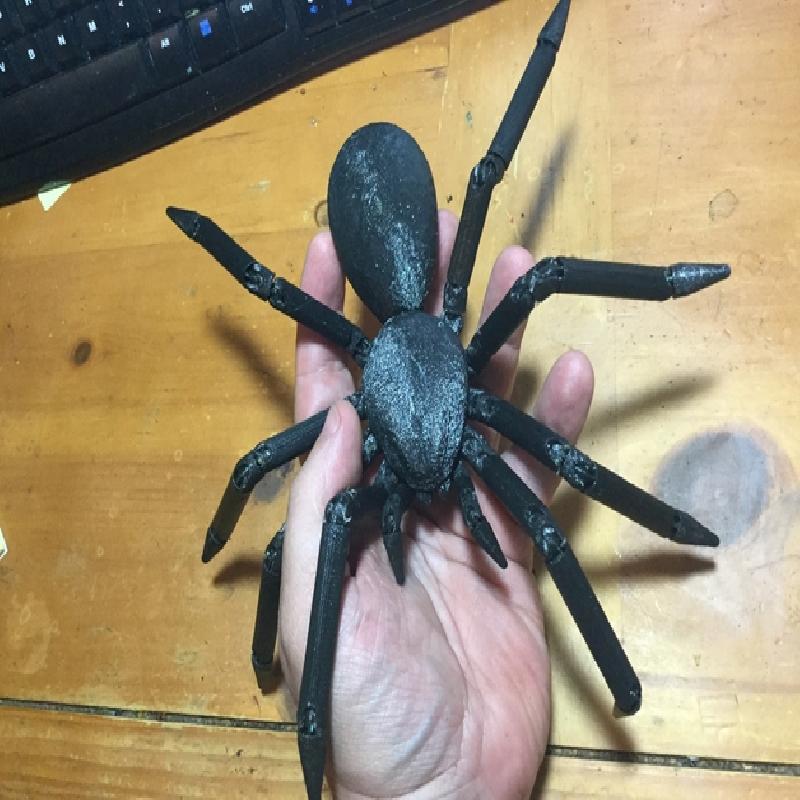
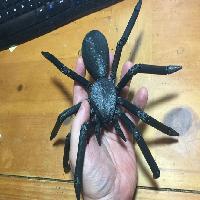
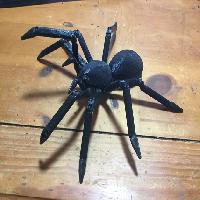
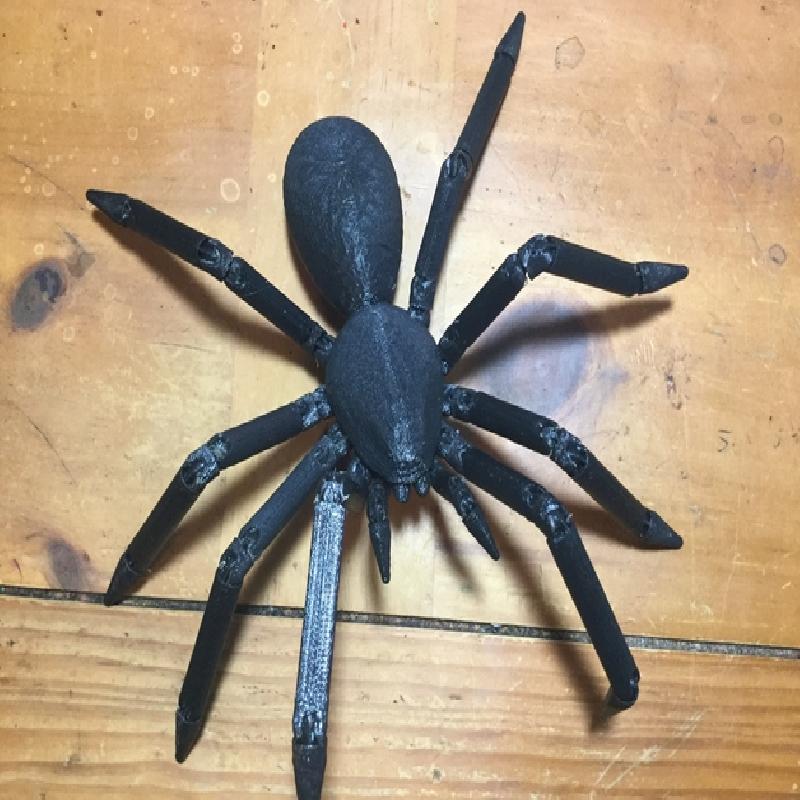
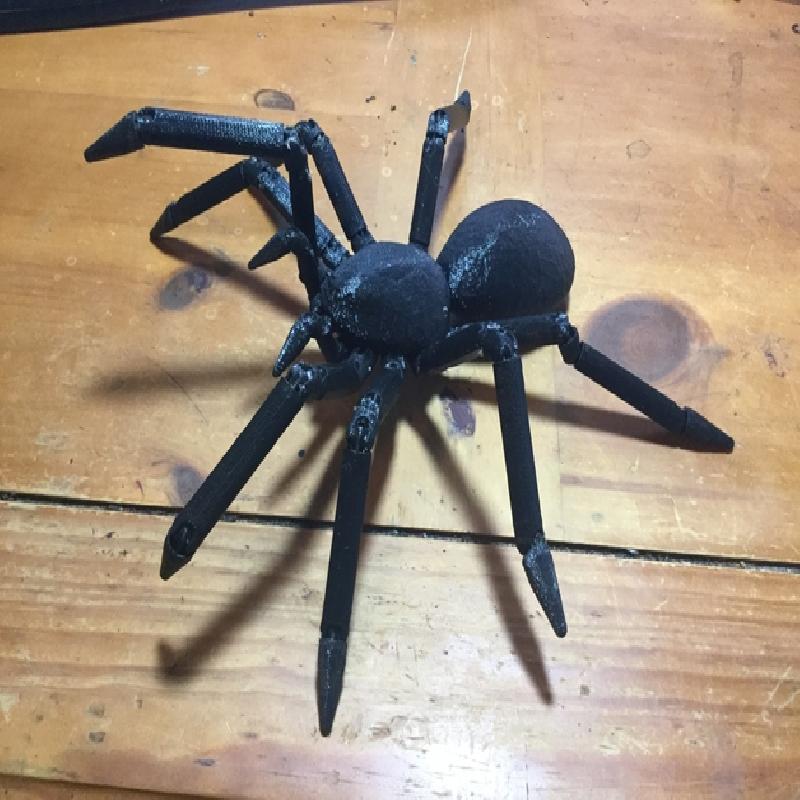
Several friends commented that my squid reminded them of a spider, so I decided to make a large posable spider using the joints from Ellindsey's Ball-Joint Articulated Octopus. Since I changed so many things, I have included them all here so you won't have to look elsewhere for parts. I used the Pull Chain Fobs Tarantula from 123D as a source model for the body.
Updated on 9/11/16 with all non-manifold shapes fixed.
Printer:
Delta Mini Rostock
Rafts:
No
Supports:
No
Resolution:
0.2mm
Infill:
15%
Notes:
I added tabs where needed, so you can print without supports. You may get some sagging due to bridging under the body, but it was minor.
I just updated the models so they are all manifold. It wasn't a problem with Cura, but might be an issue with other slicers.
Detailed Instructions for assembly
This is a pretty involved project that took about 5 hours to print in total.
You will need to print
1x Spider_Body.stl
1x Spider_Long_Leg_Segx8.stl
1x Spider_Short_Leg_Segx8.stl
1x Spider_Leg_TipX8.stl
1x Spider_Pedipalps.stl
2x Spider_joint_x8.stl
The files are also included as individual parts if you want to arrange them yourself.
After printing you will need to remove the tabs and trim up the ball end of the joints. There are many parts, so this will take a while.
To assemble, I put the legs together first. You need to start at the body in this order: joint, short segment, joint, long segment, leg tip. You will need to build 8 leg assemblies.
For the pedipalps: joint,segment,tip. The pedipalps are 25% smaller to look correct. You will need to build 2 pedipalp assemblies.
Snap the legs into the body sockets and the pedipalps into the two smaller front sockets and you are done.
As an experiment, I tried to tighten the joints and make them a little more "natural" by adding a small amount of hot-melt glue to the inside of the joint. This worked well, but was messy and you had to be sure not to put too much in. It does allow the joints to support themselves though. I wonder if silicone seal might have worked better. I may try that on the squid or the next spider I print.
The print is quite large. You can try to scale it, but the joints may not scale properly.
Designed in TInkerCad
I did all of the work in TinkerCad. The original model was not articulated, so I had to use "Holes" to remove the legs and pedipalps. I then added sockets to the body and filled in the gaps using some of the TinkerCad Shape Generators. I extended the joint segments by combining two joints with a cylinder between them. The pedipalps were the same parts, just reduced by 25%. I also rounded the original tips a little so they weren't so sharp.