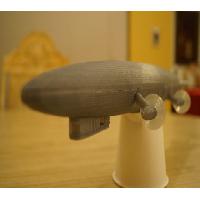
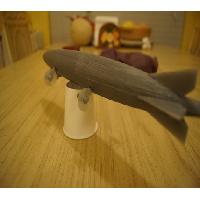
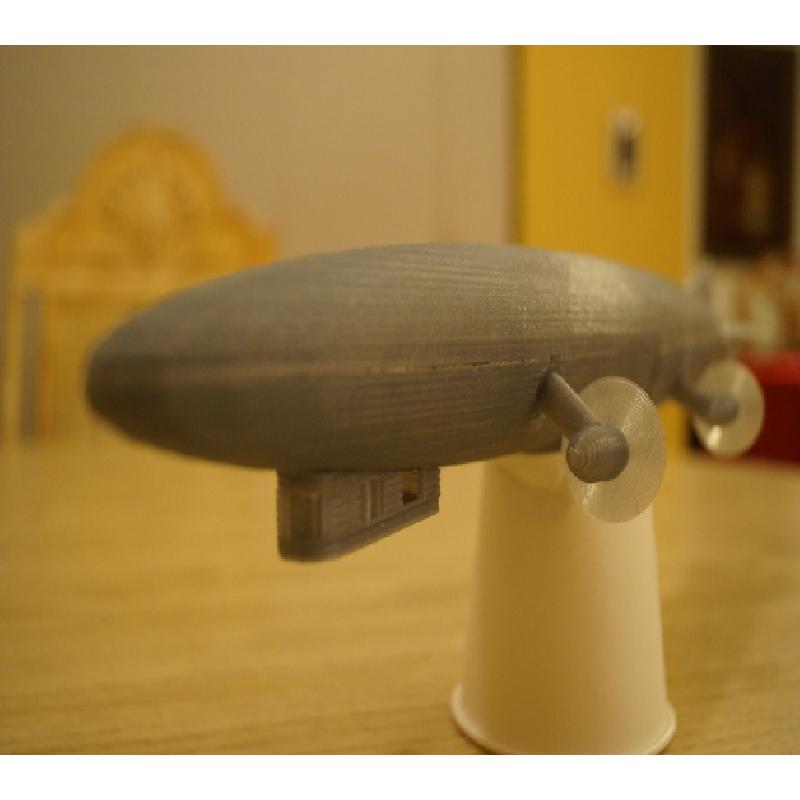
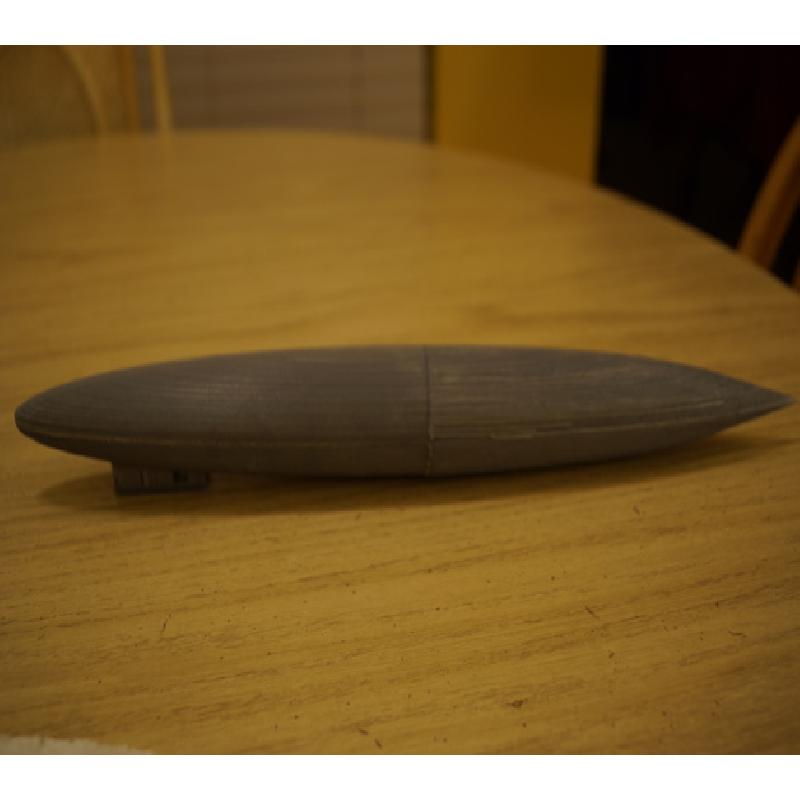
This is a replication of the famous airship, the Graf Zeppelin LZ 127. It is not in any way shape or form an exact replica or to scale. I just wanted to recreate an airship for fun. It honestly looks more like a flat whale then anything remotely close to the Graf, but I attempted LOL. Everything on my model is made in approximation to the size of the actual airship except for the engines. My printer can't print that small for the engine pods so I just went bigger so that they could act as a stand.
REMEMBER TO SCALE EVERYTHING TO 200% WHEN PRINTING!!!!
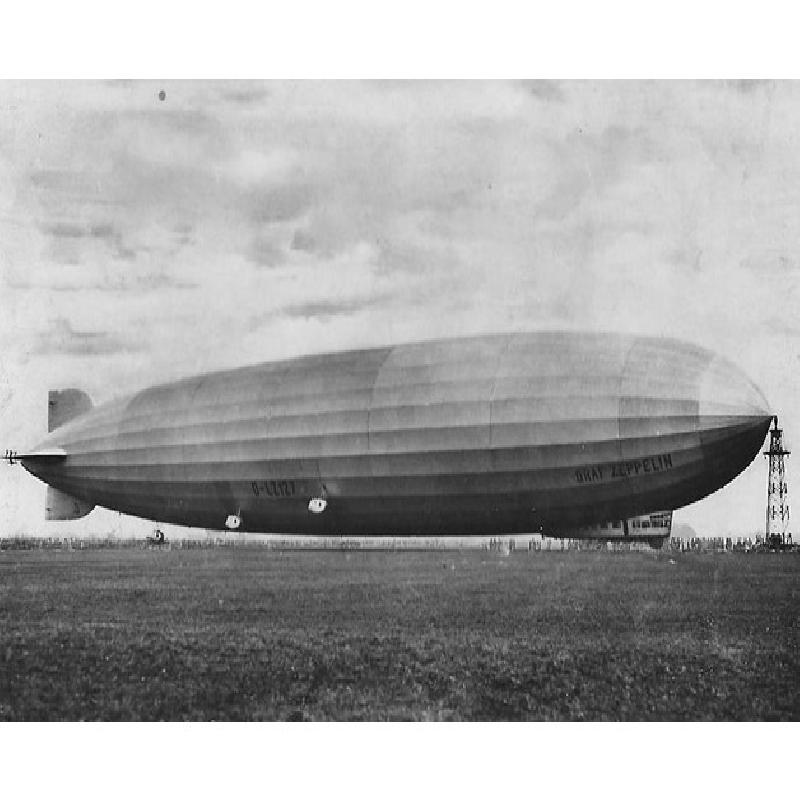
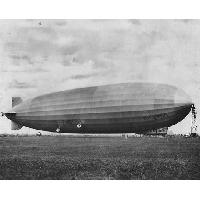
LZ 127 Graf Zeppelin (Deutsches Luftschiff Zeppelin #127; Registration: D-LZ 127) was a German-built and -operated, passenger-carrying, hydrogen-filled, rigid airship which operated commercially from 1928 to 1937. When it entered commercial service in 1928, it became the first commercial passenger transatlantic flight service in the world. It was named after the German pioneer of airships, Ferdinand von Zeppelin, who was a count (Graf) in the German nobility. During its operating life, the airship made 590 flights covering more than 1.7 million kilometers (over 1 million miles). It was designed to be operated by a crew of 36 officers and men. The LZ 127 was the longest rigid airship at the time of its completion and was only surpassed by the USS Akron in 1931. It was scrapped for fighter plane parts in 1940. (https://en.wikipedia.org/wiki/LZ_127_Graf_Zeppelin)
REMEMBER TO SCALE EVERYTHING TO 200% WHEN PRINTING!!!!
Directions for putting it together:
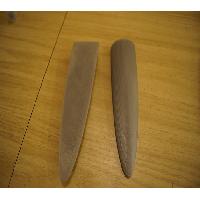
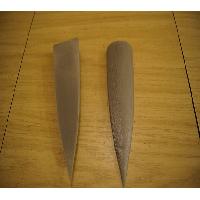
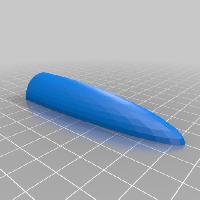
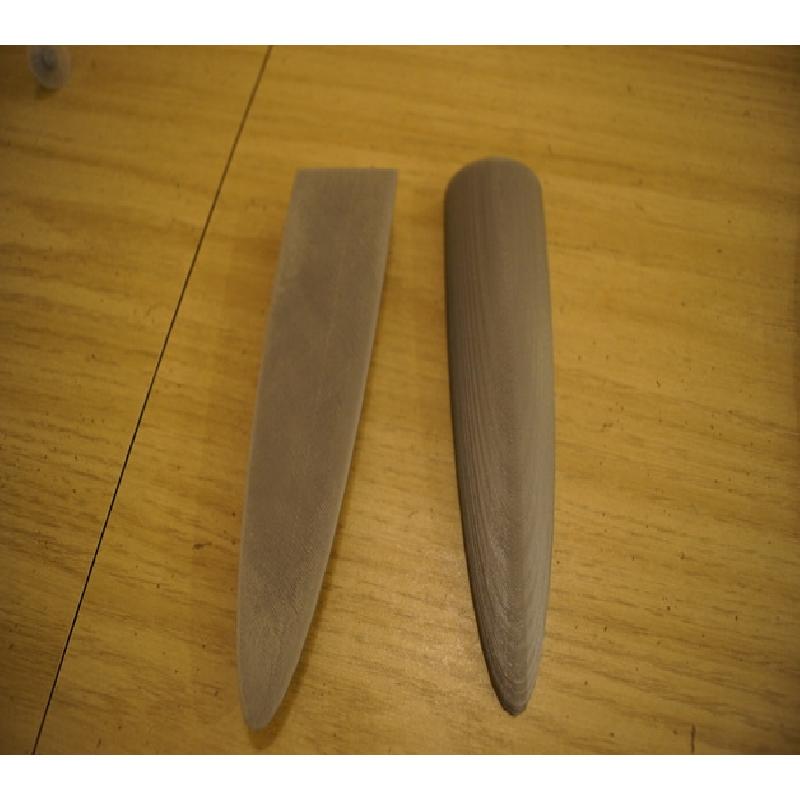
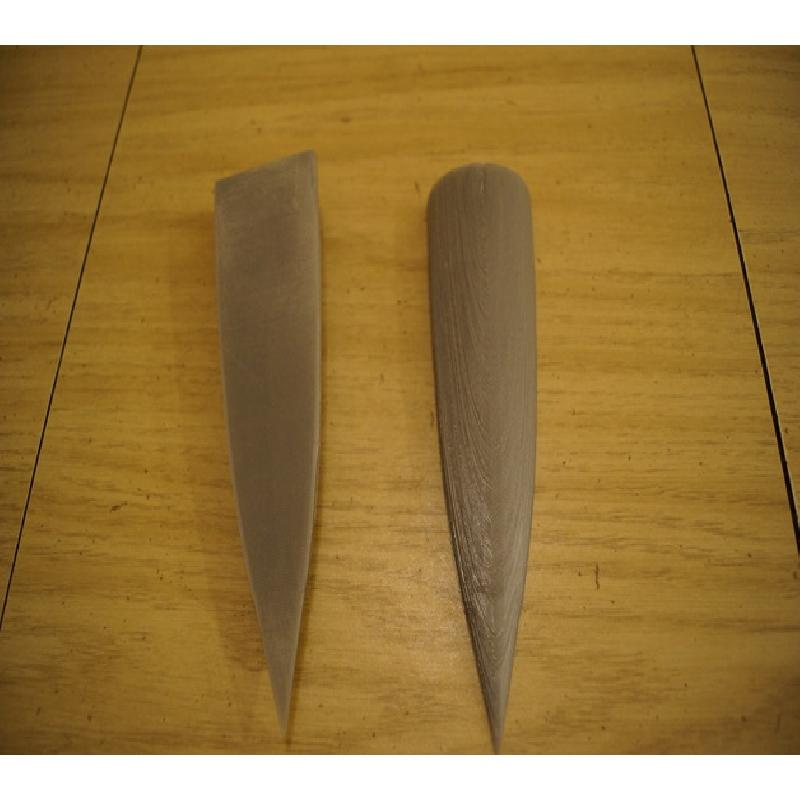
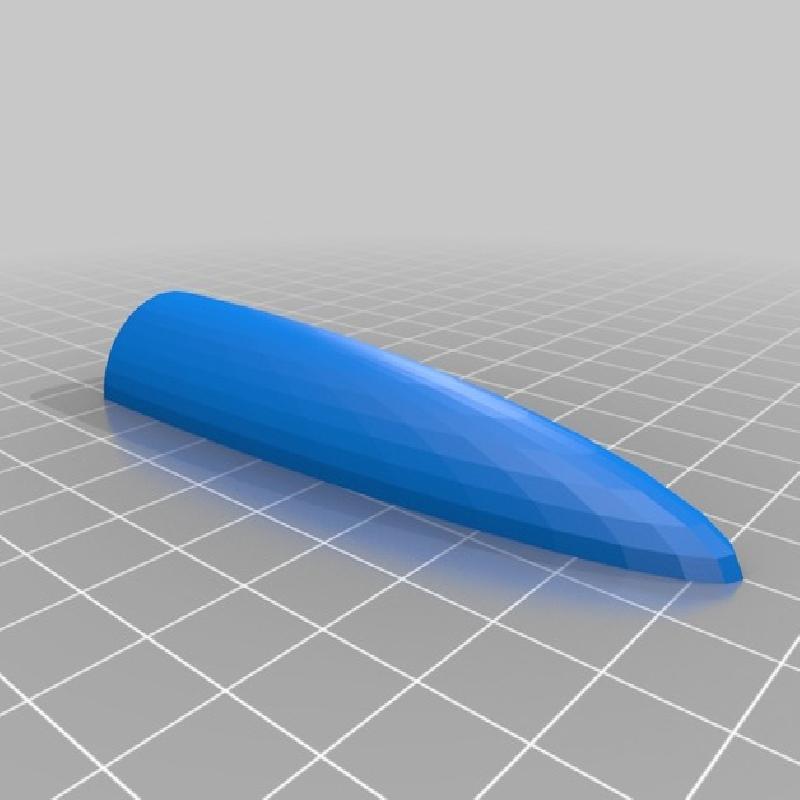
1) For the main body portion, print the tail twice as well as the nose twice.
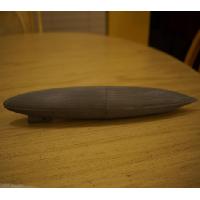
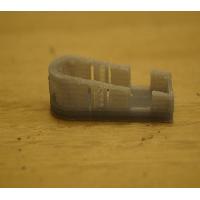
2) Print the cabin
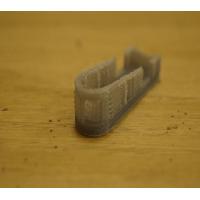
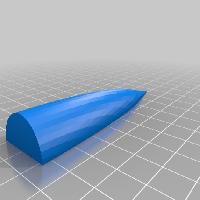
3) Print the fin file four times with supports.
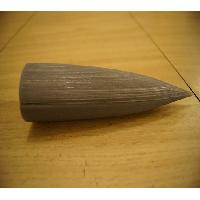
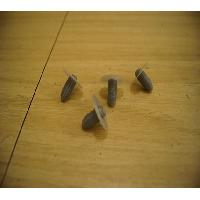
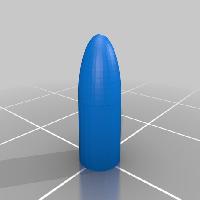
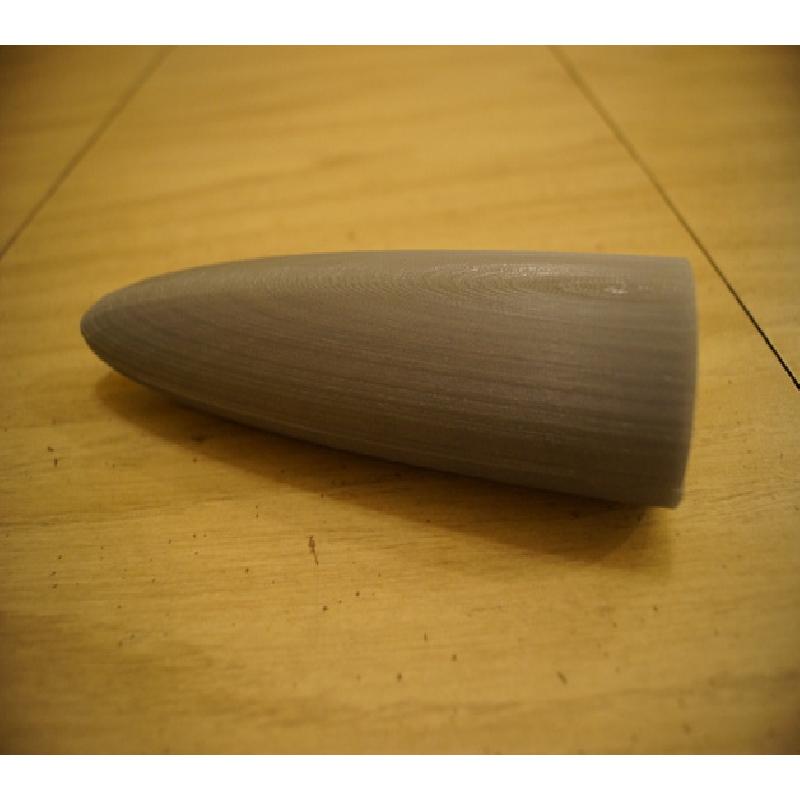
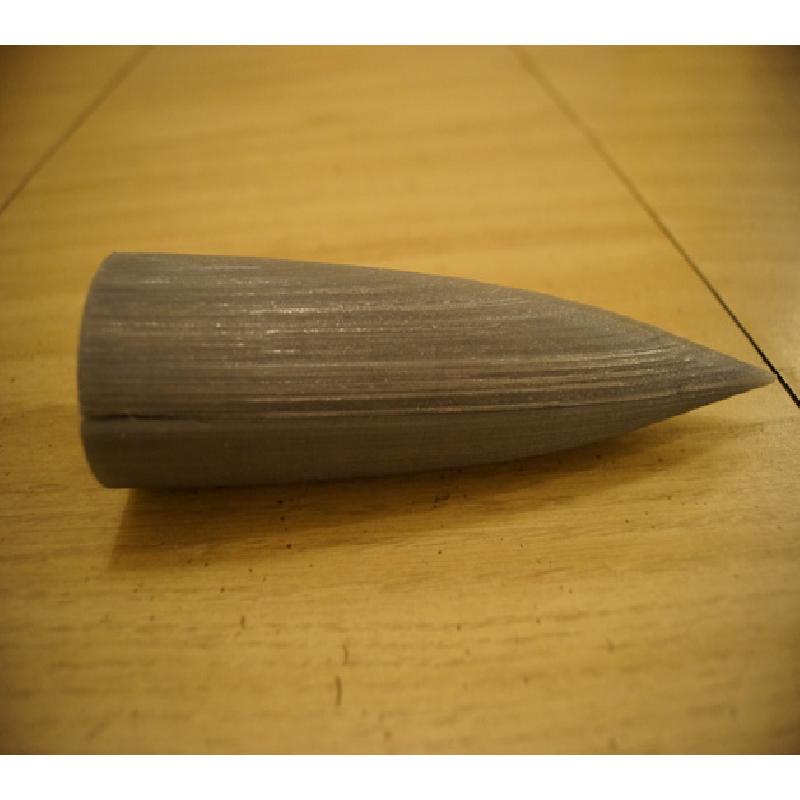
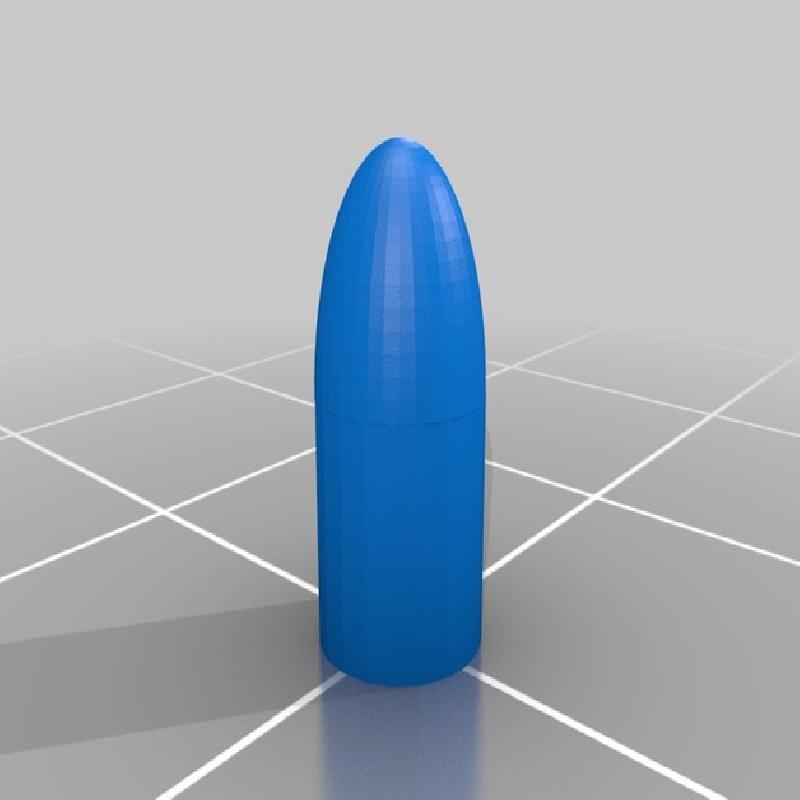
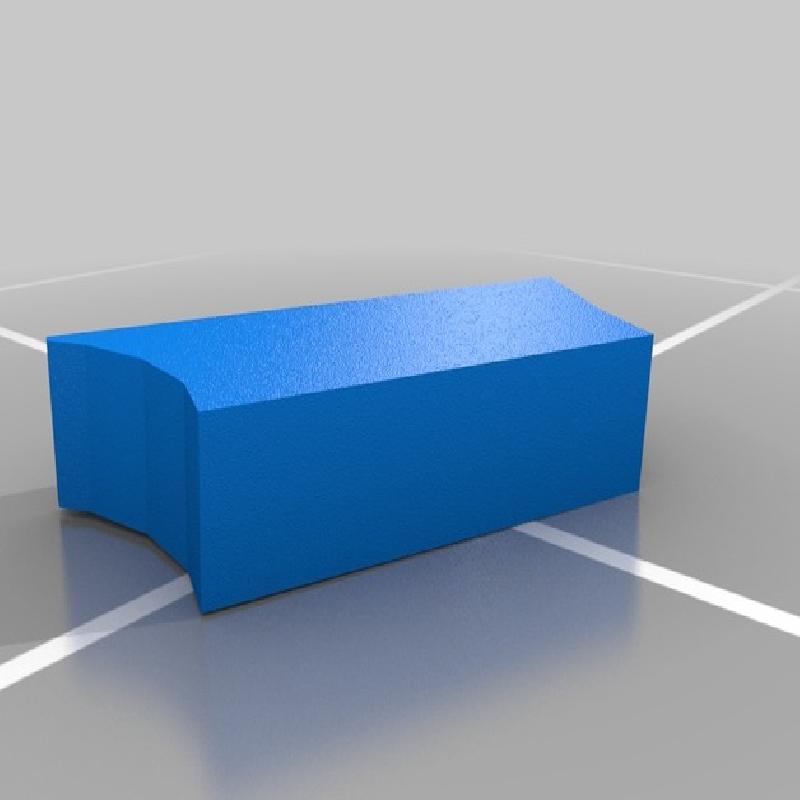
4) Print the nose nacelles AKA engines (the ones that look like bullets) four or five
depending if you want to have more engines or not.
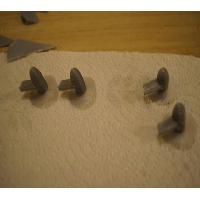
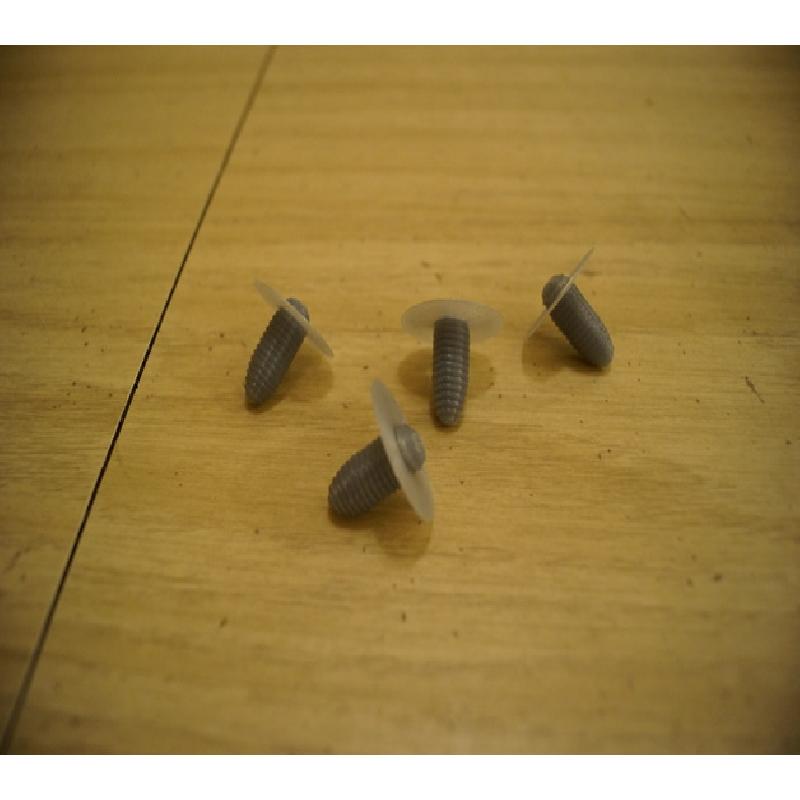
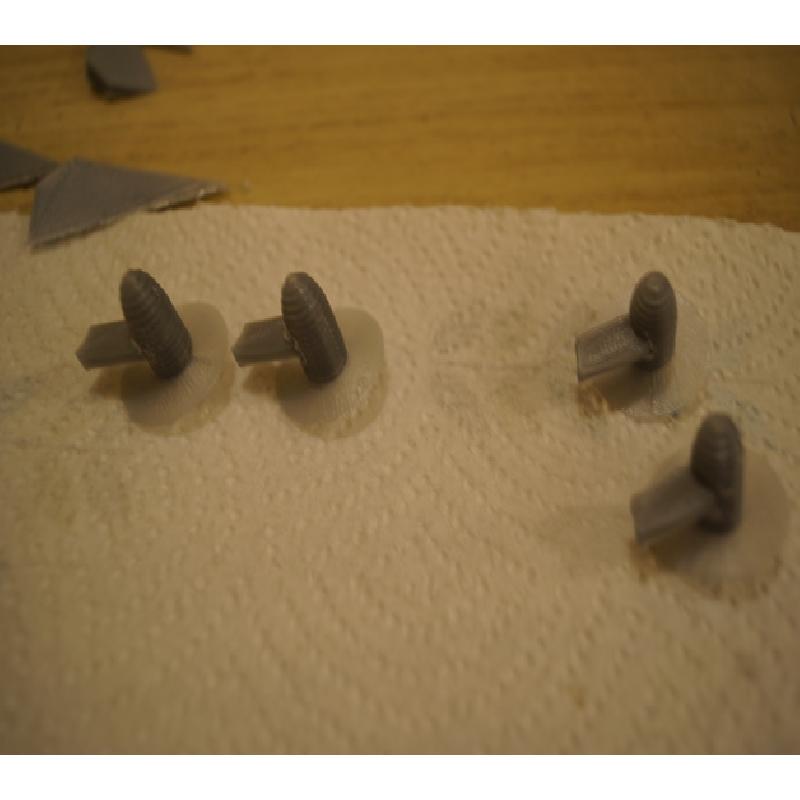
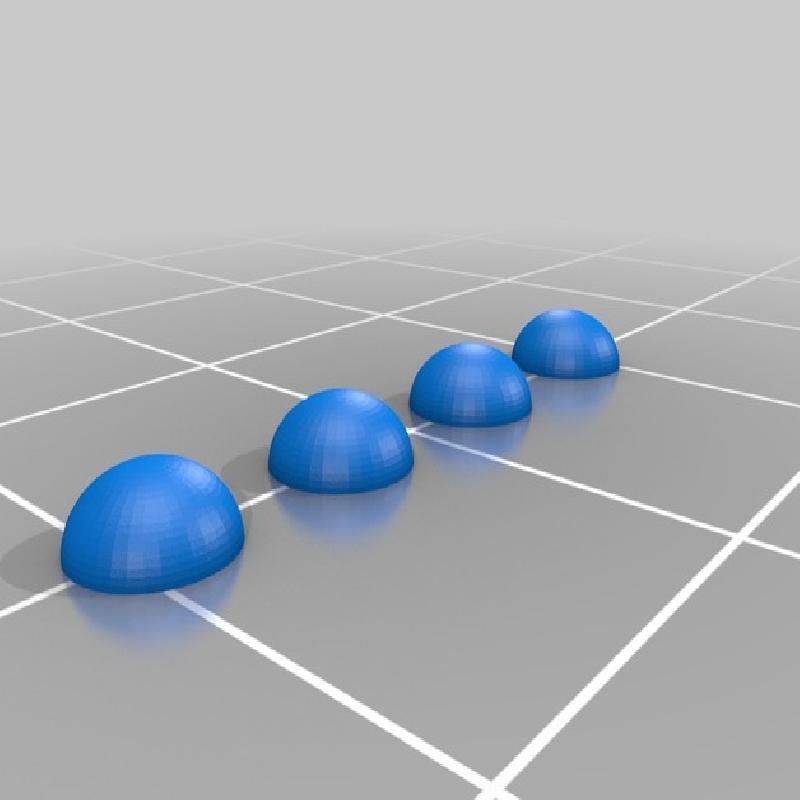
5) Print the Nacelle caps with raft on. It will be important later.
6) Once the main body tail and nose parts are printed. Glue the two nose ones together as
well as the tail portions. See pictures if need help.
7) Glue both body portions together into one larger unit.
8) Glue the cabin underneath the nose of the airship. I modeled it so that the exact place
where it should go fits the U shaped bridge of the nose.
9.) Glue the fins on the tail with the pointy parts pointing inward. See pictures for reference.
10) Now glue the buttons with the rafts still attached to them onto the nacelles. That way
they look more like engines.
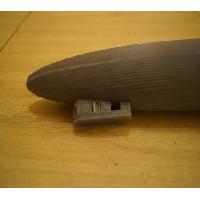
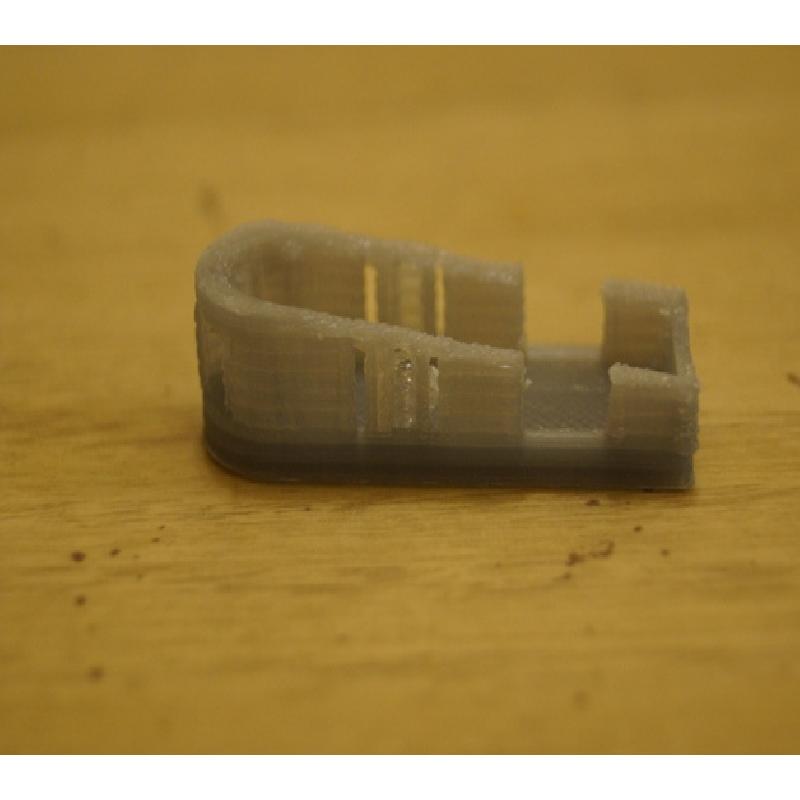
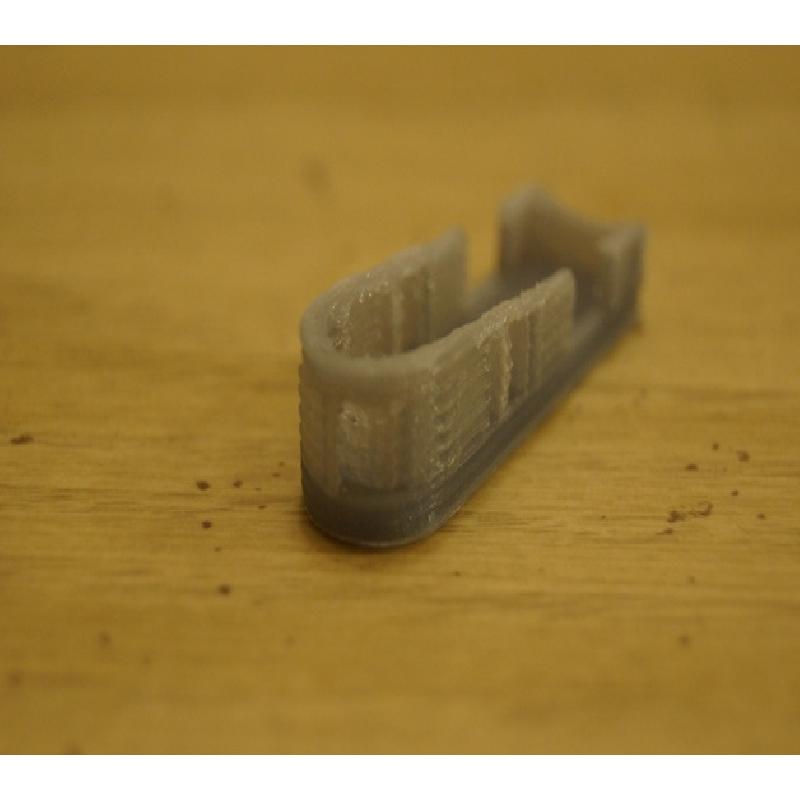
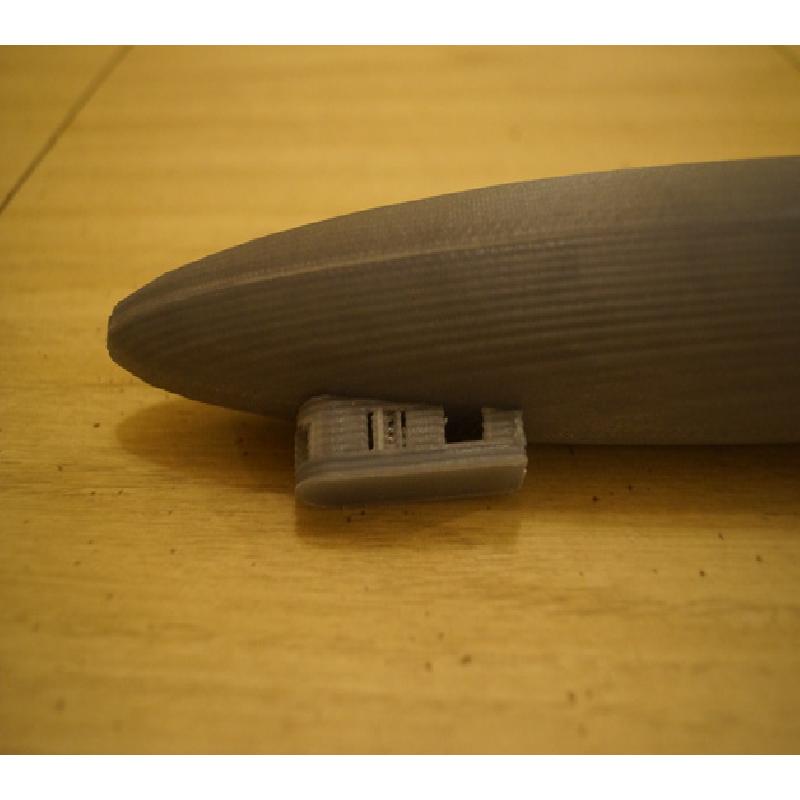
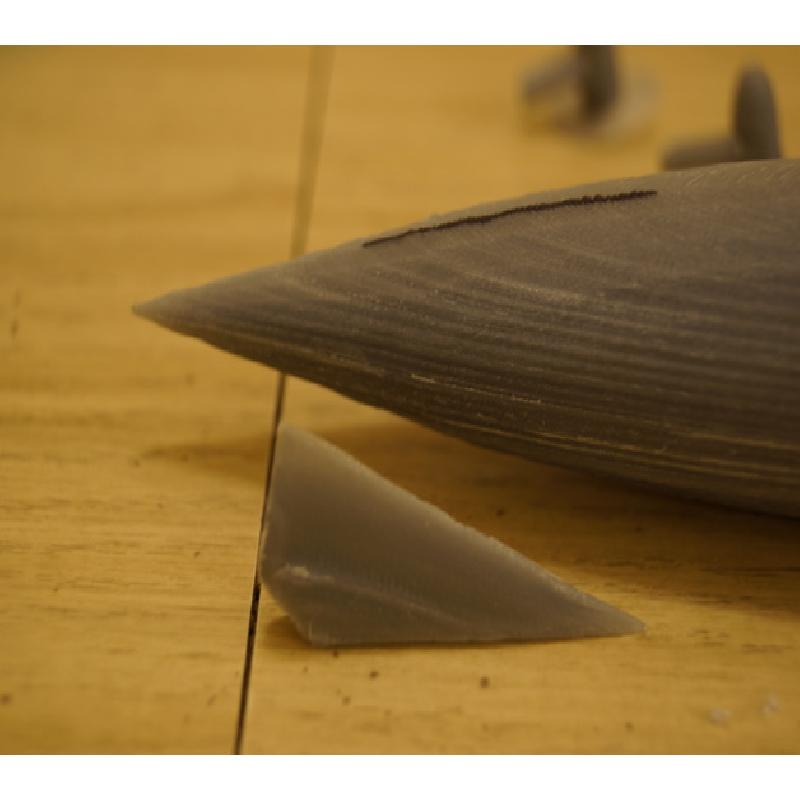
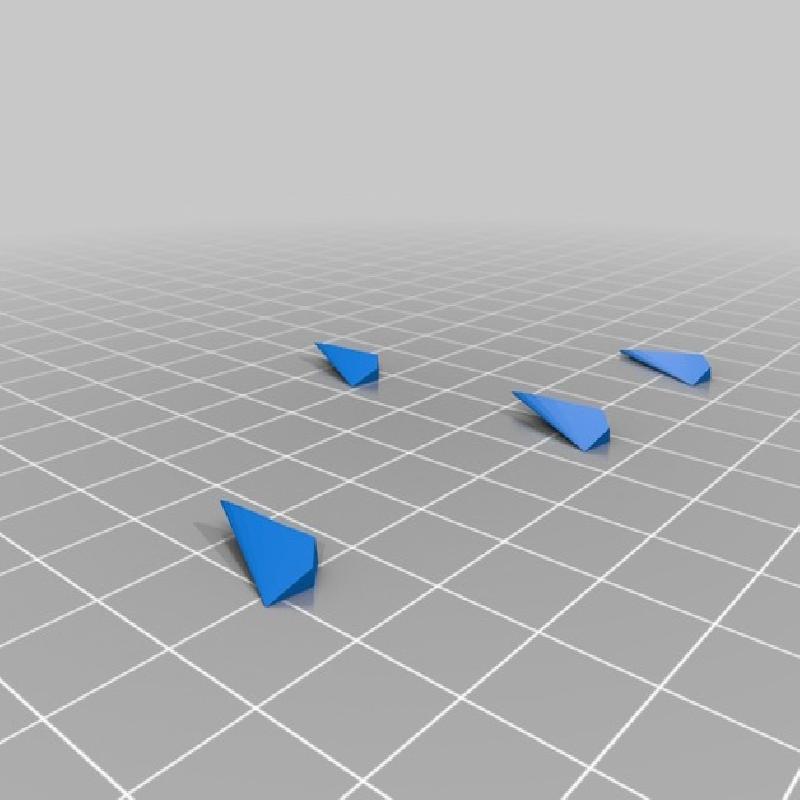
11) Glue the nacelle supports to the middle of the nacelle. See pictures it helps. You may
have to grind or sand some portions of it down so it fits it more appropriately.
12) Glue these supports so that the propellers are facing towards the back of the airship.
13) I glued them in positions so that they act as stands. The rafts should be strong enough
to support the entire weight of it. They should be level with the bottom of the cabin as
well as the underneath rear fin for even more support.
14) Wait for all glue to dry and then finely sand everything down so that it looks nicer.
I didn't do this with my model but you can melt some of the PLA with a blowtorch or heat gun to fuse the major parts together so that it doesn't leave lines where you glued the body pieces together.
Printer Brand:
Prusa
Printer:
Resolution:
0.1
Infill:
Gradual
Notes:
When printing make sure to use rafts on the smaller pieces.