After recently coming across an article where a Grandfather had printed his Grandson a model rocket I was immediately inspired by the design and aesthetics. As no files were available to print the rocket I decided to create my own.
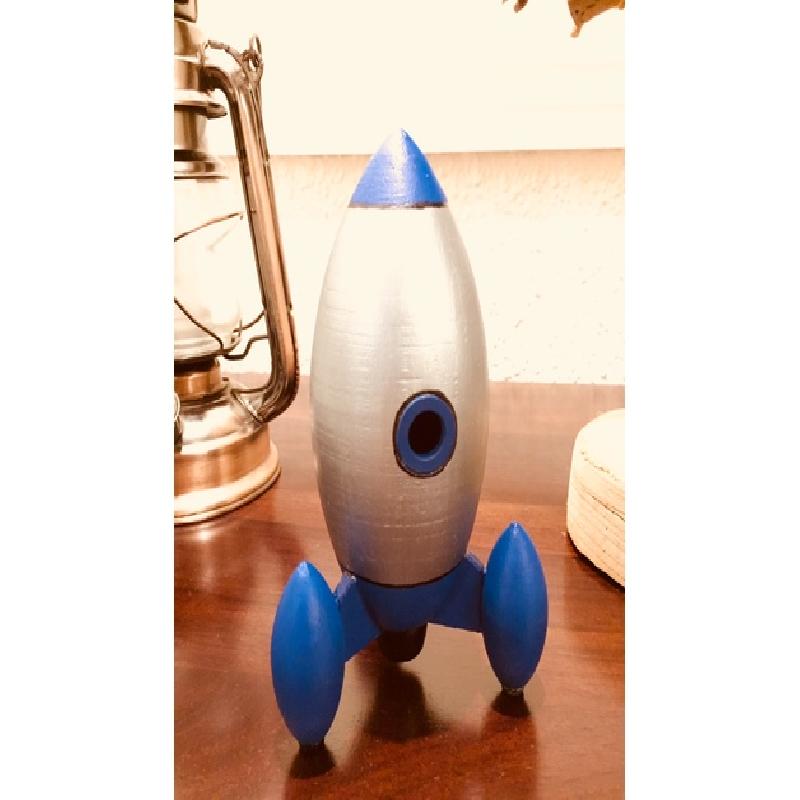
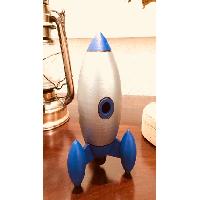
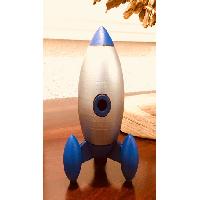
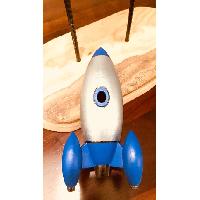
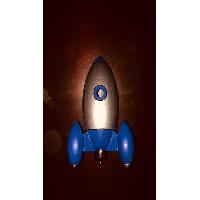
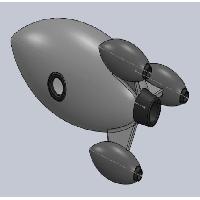
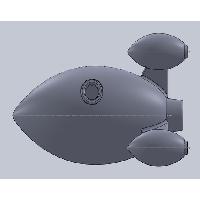
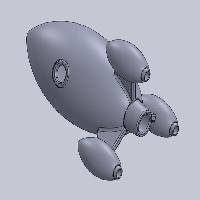
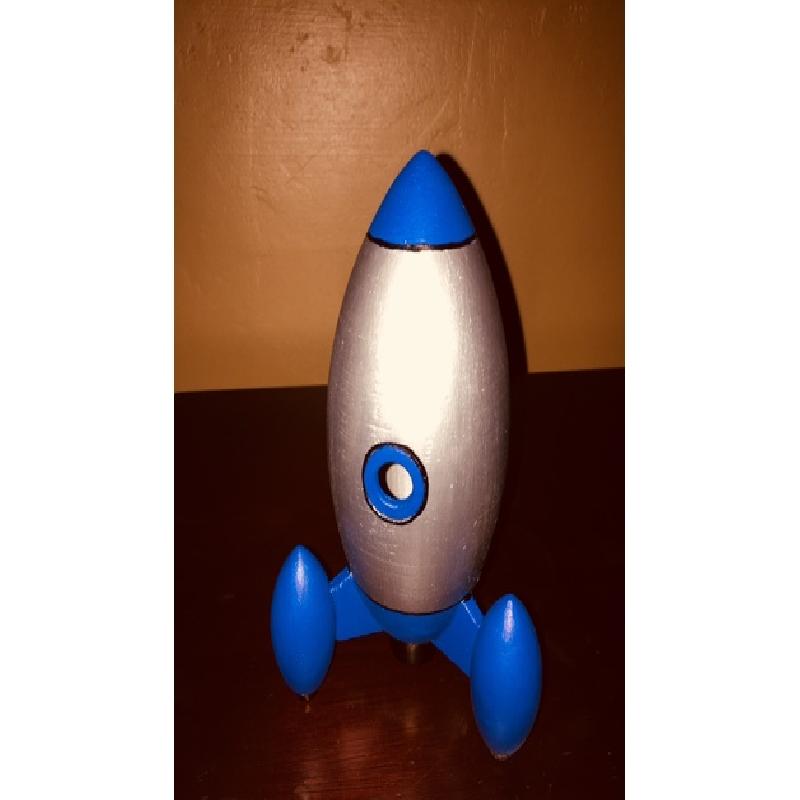
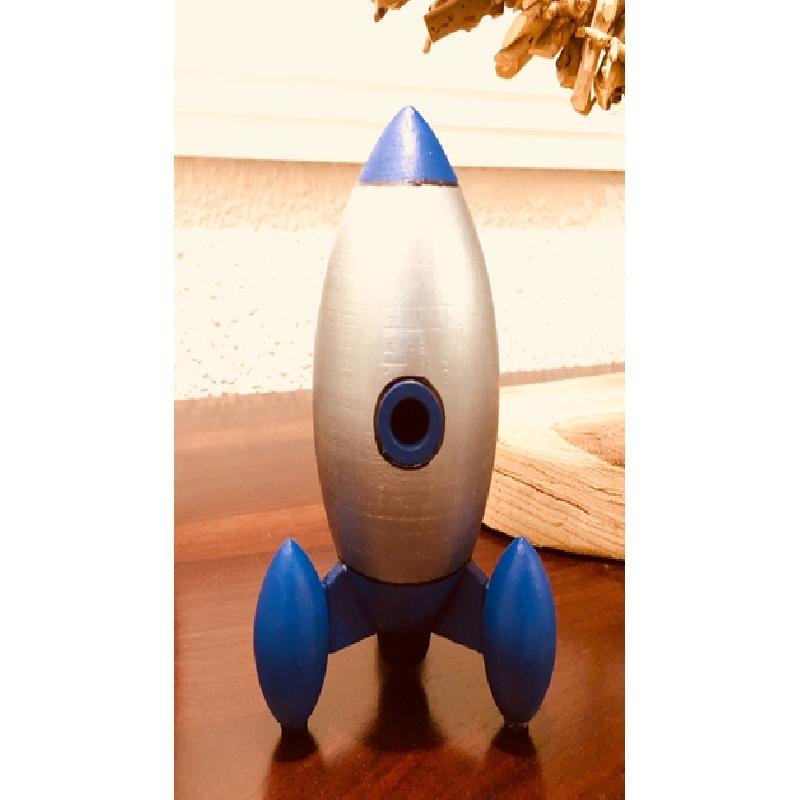
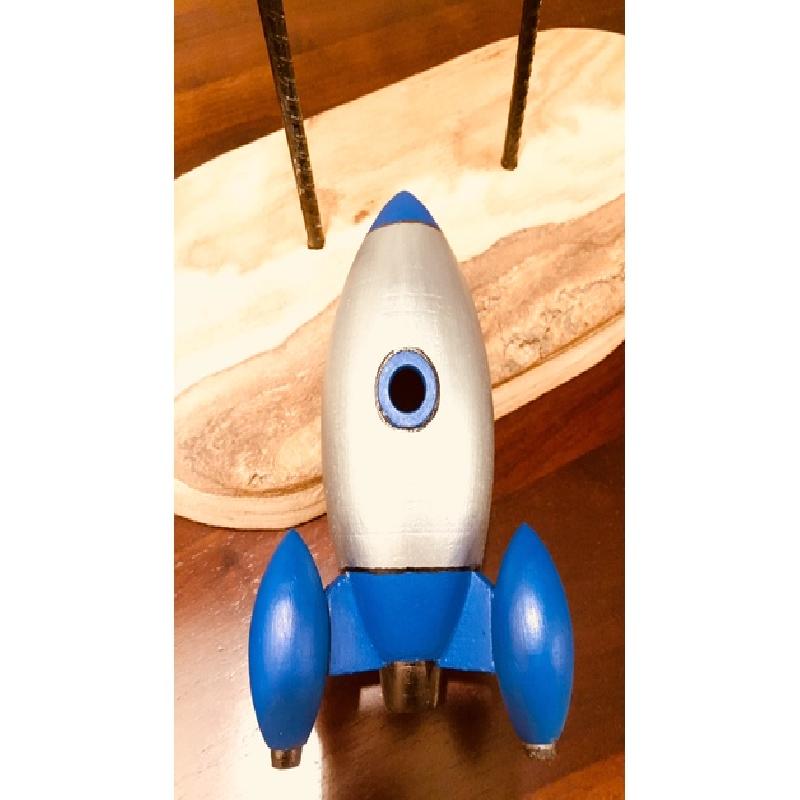
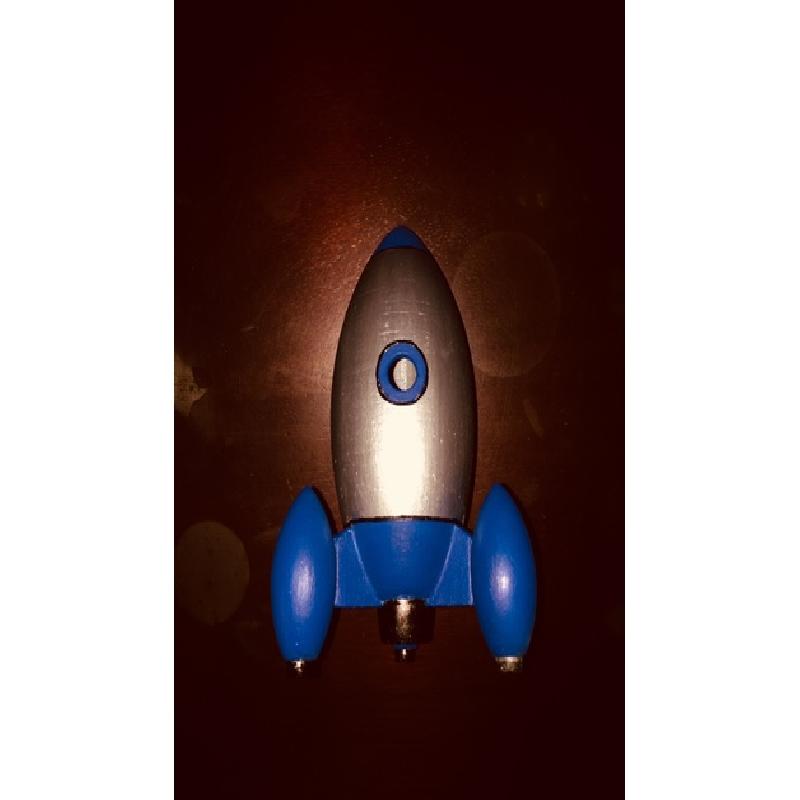
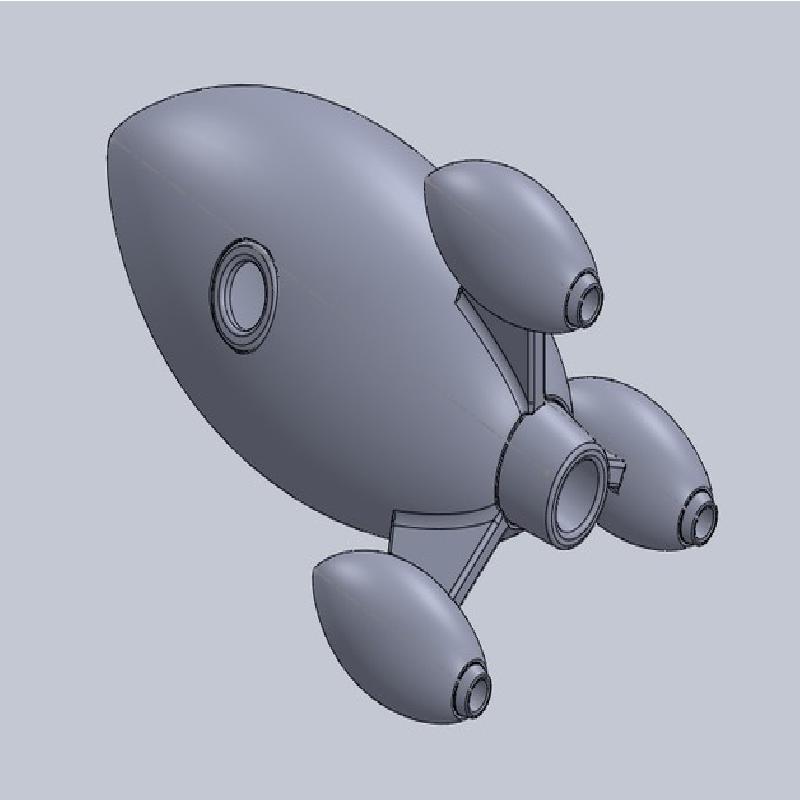
This model is my take on a Retro Rocket. The aim was to create a sturdy and tough model that would work great as a display piece, could be fun for kids to play around with, and that would be easy to assemble with as few parts as necessary. The model stands around 15cm tall.
Rockets inspire me as a way to reach the unknown, I hope that this model will inspire many more and spark the imagination of all.
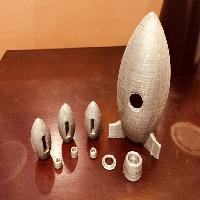
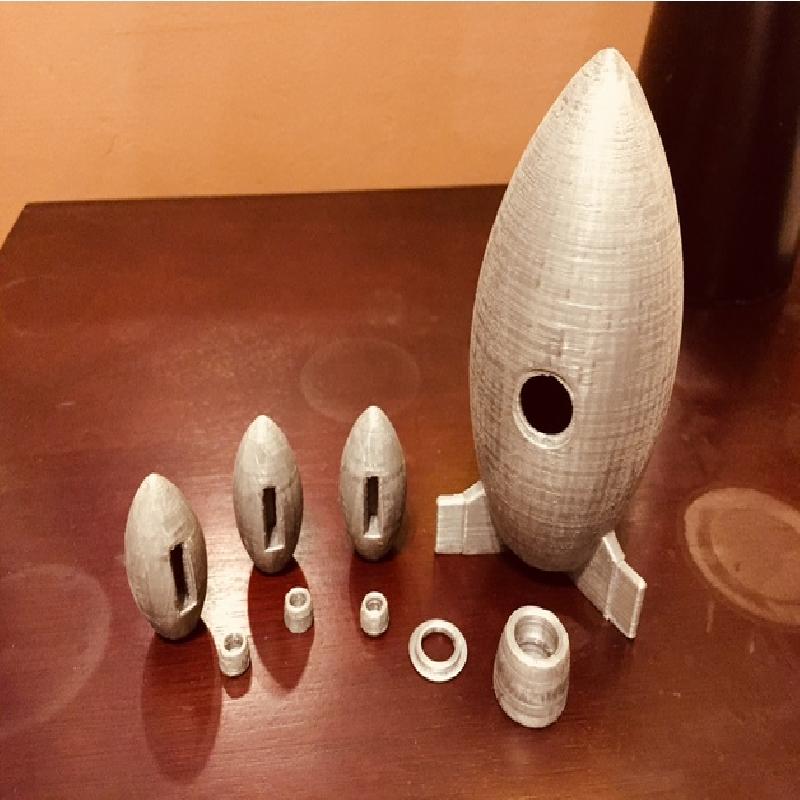
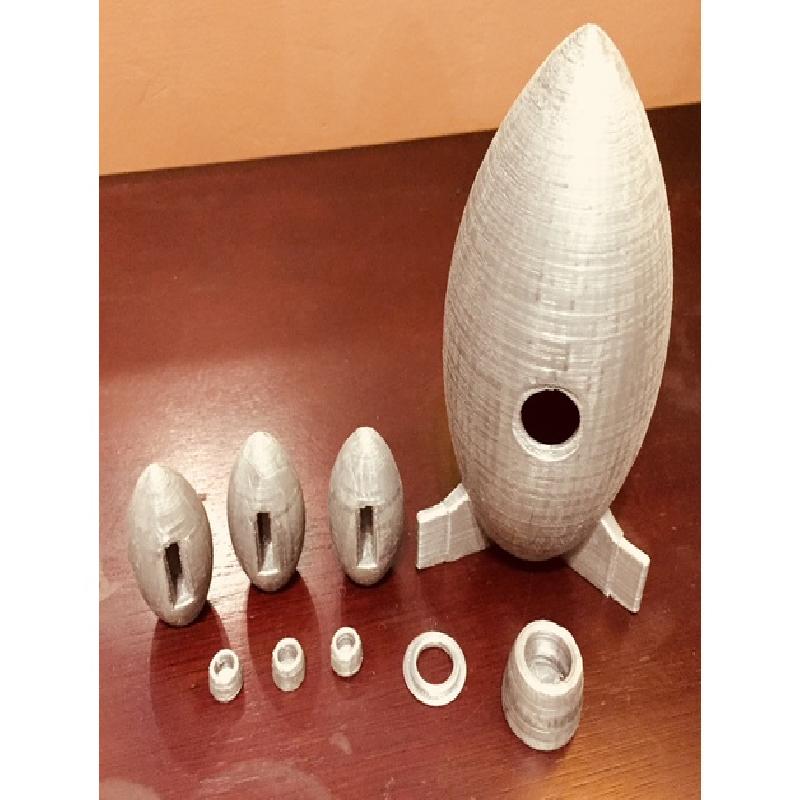
In order to build the rocket the following parts will be required:
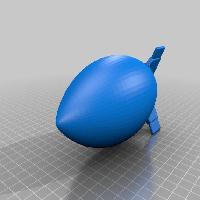
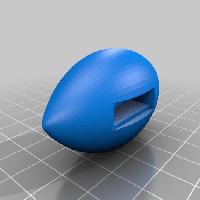
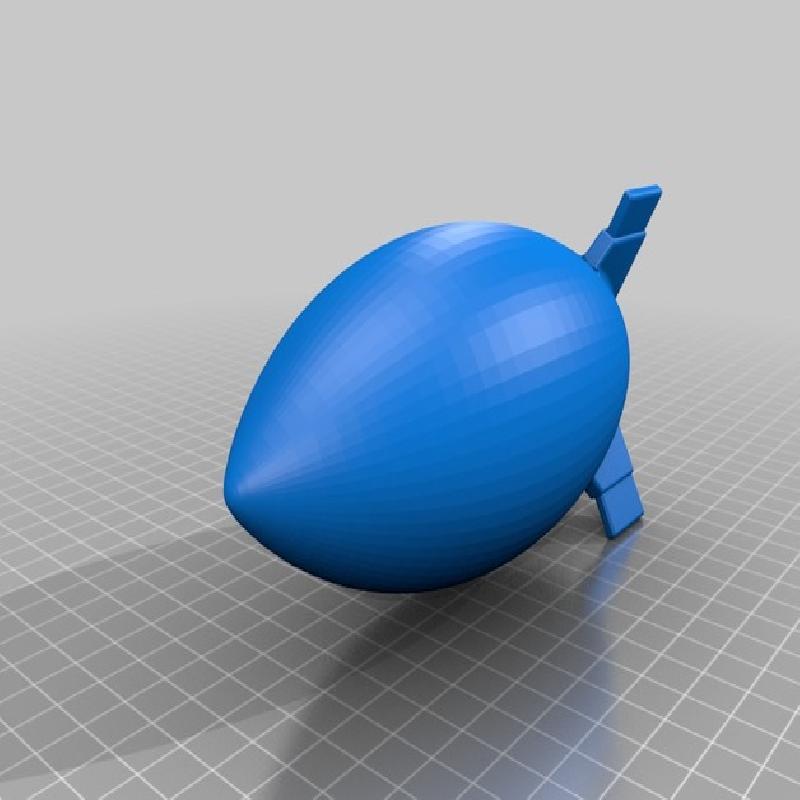
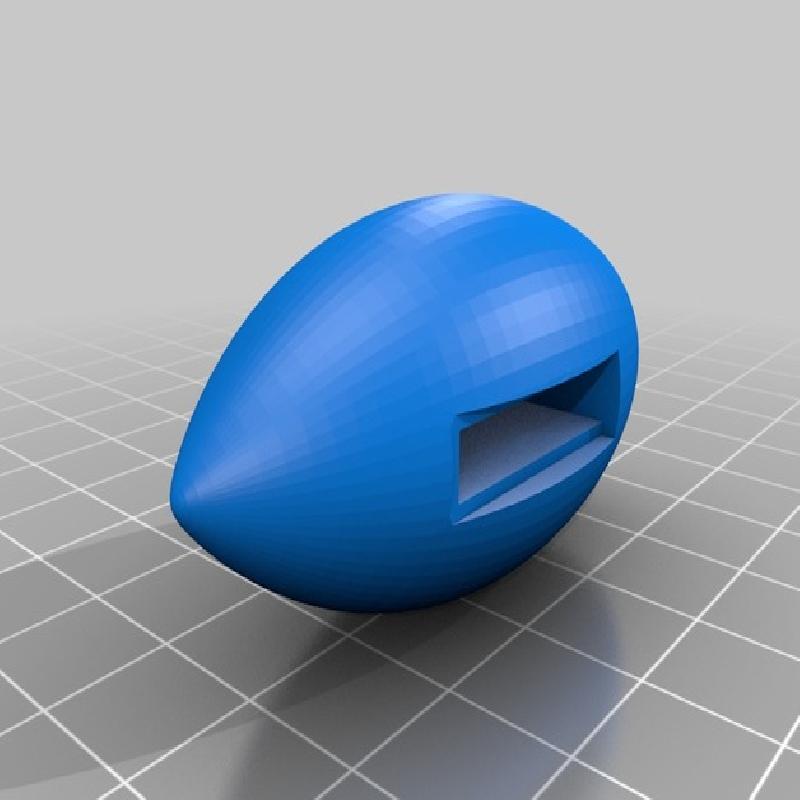
1x Body
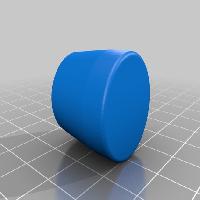
3x Booster
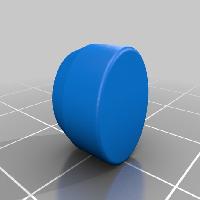
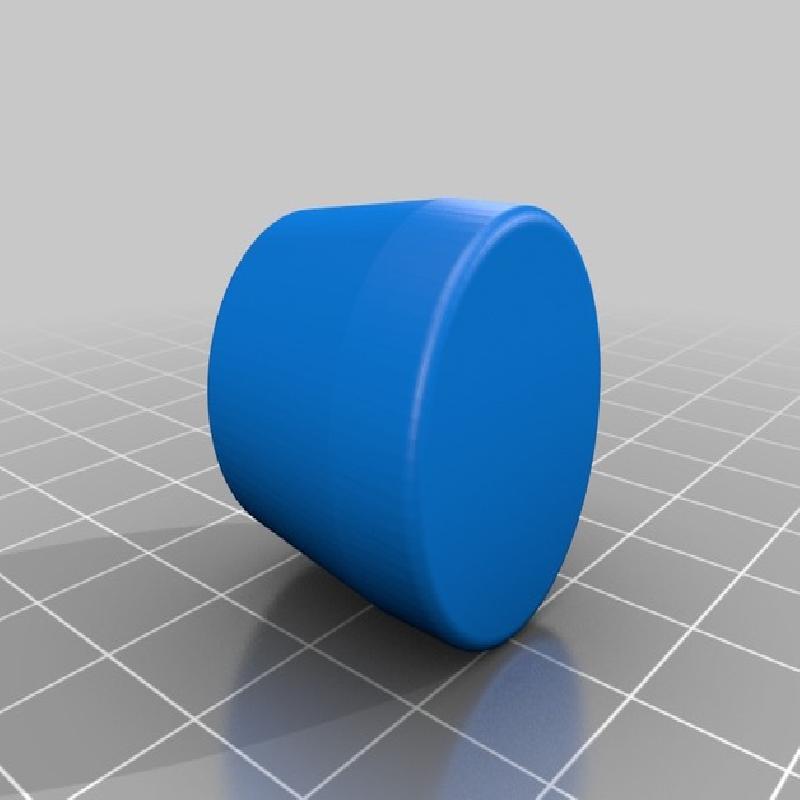
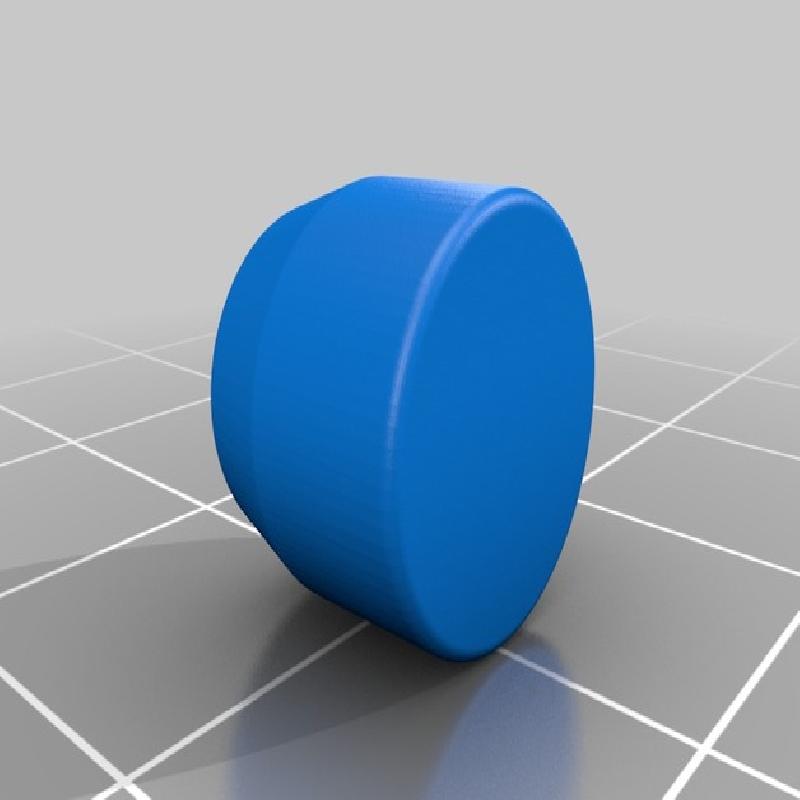
1X Main thruster
3x Booster thruster
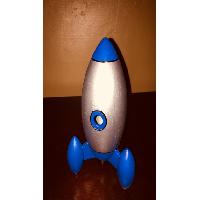
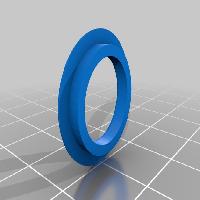
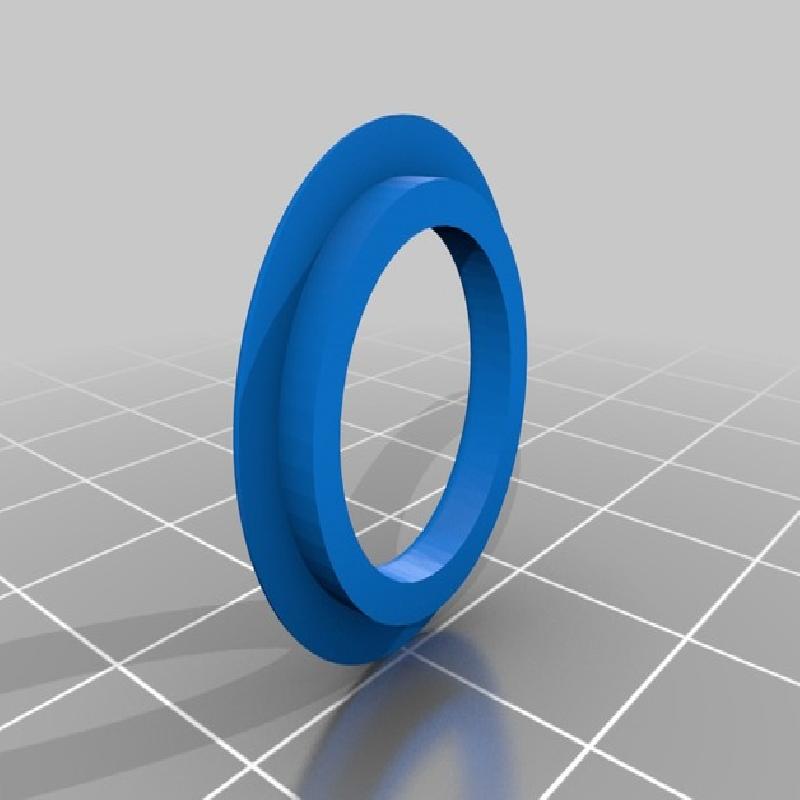
1x Window
Printer Brand:
Prusa
Printer:
Rafts:
No
Supports:
Yes
Resolution:
0.2mm - 0.3mm
Infill:
20%
Notes:
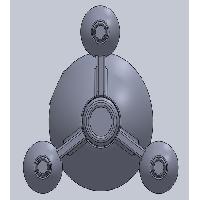
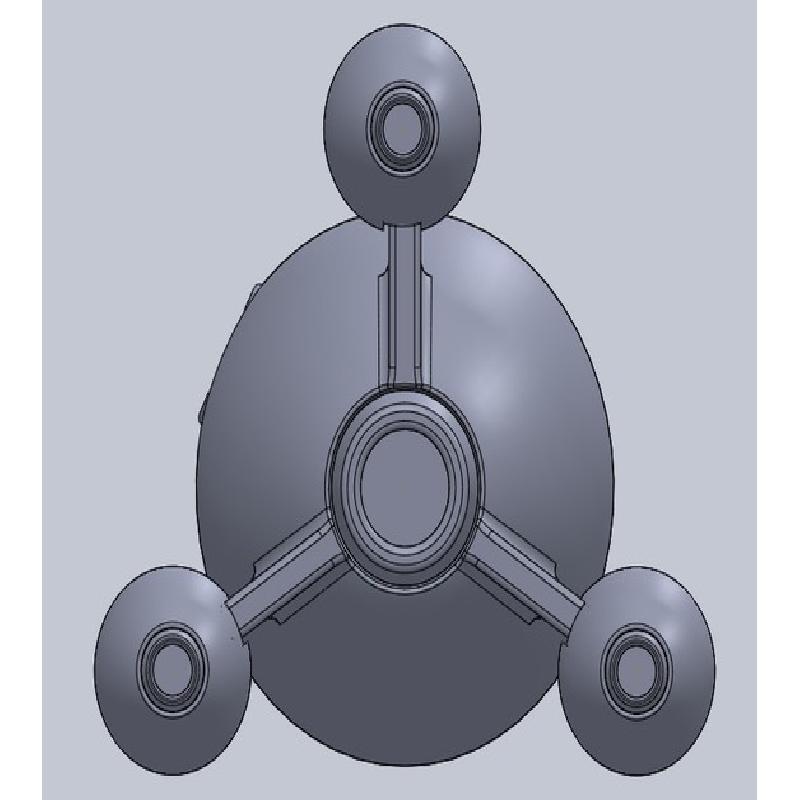
The only support that may be required is for the base of the rocket as the section into which the main thruster should be placed is slightly raised with respect to the booster attachment fins.
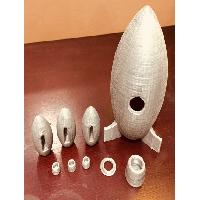
I printed the model from silver PLA. Before further post processing I test fit the parts to ensure that the sizes are correct. As I planned on painting my model I decided to sand all the parts with varying grits of sandpaper to get a smooth finish.
I coated the model with a layer of black primer to cover some of the small scratches left behind from the sanding. I applied 2 layers of white water based acrylic paint to the body and the boosters using an airbrush. I chose white as it will make the layers of colour appear more vivid. I then painted the body and the boosters silver to give the model a metallic look. Lastly I used some blue paint and a permanent marker to give the model some further detail.
All parts were then glued together using cyanoacrylate to keep the model from coming apart.
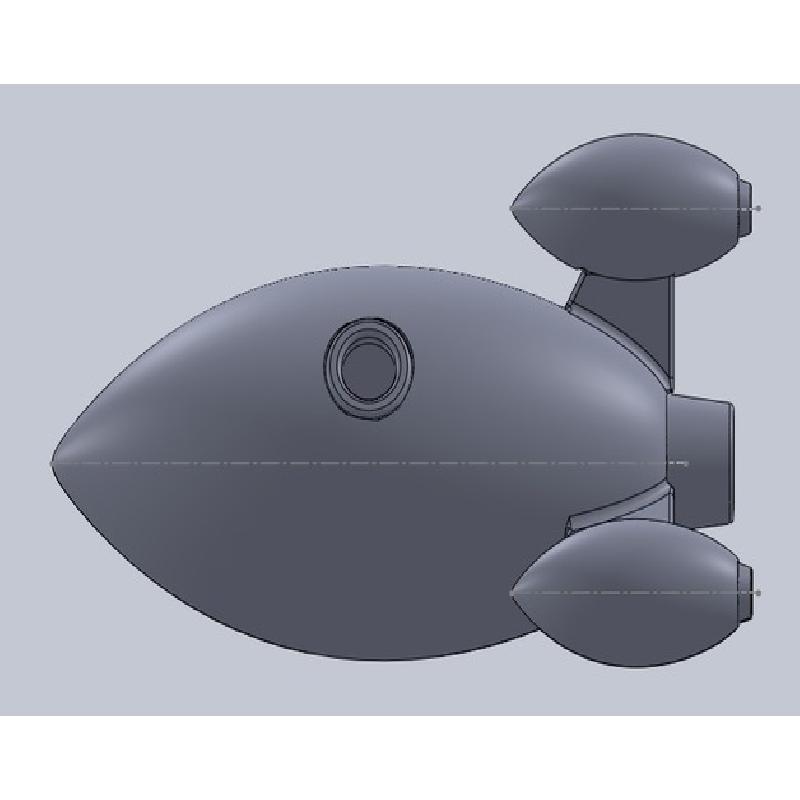
I designed this model using SolidWorks. The model was based off the images I found from the article that I read. I assumed the dimensions and designed the rocket to have proportions that looked aesthetically appealing.
The model was designed to have various parts as this will allow for ease of printing. All parts were designed to easily fit together and result in a sturdy model.