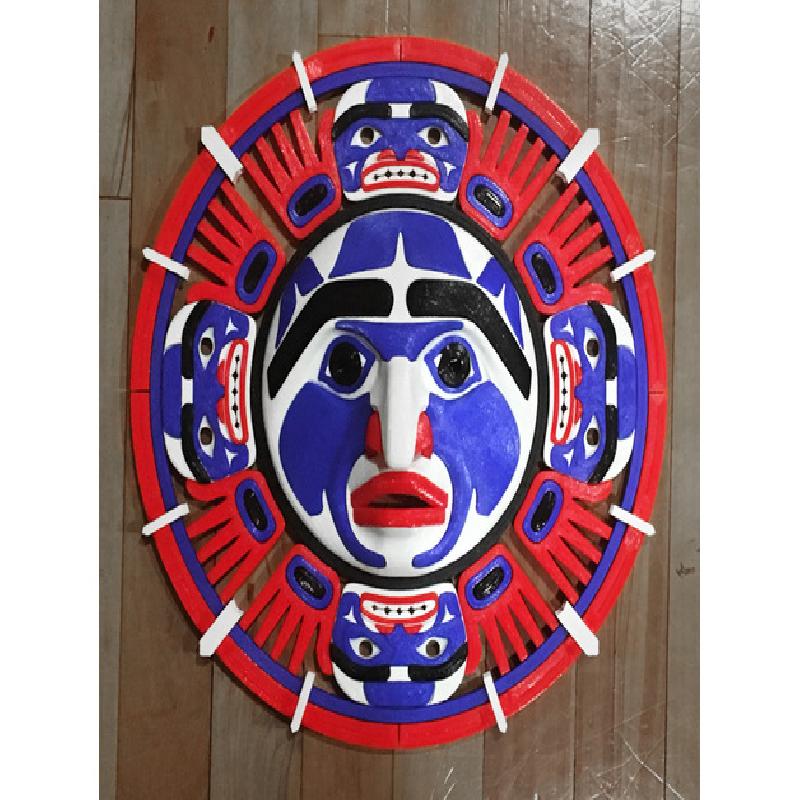
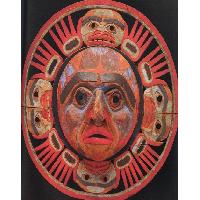
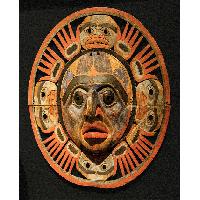
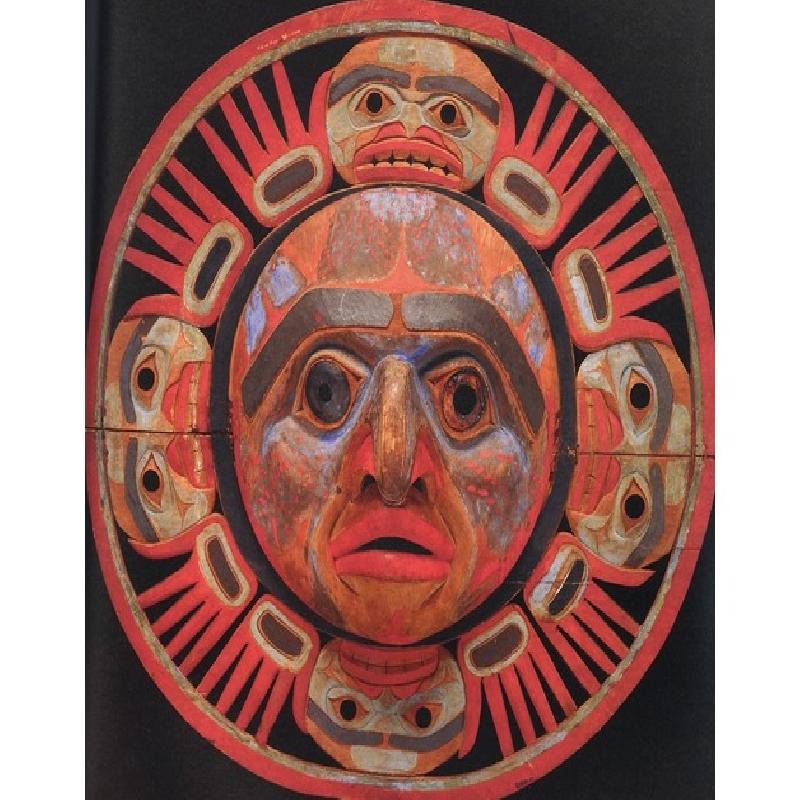
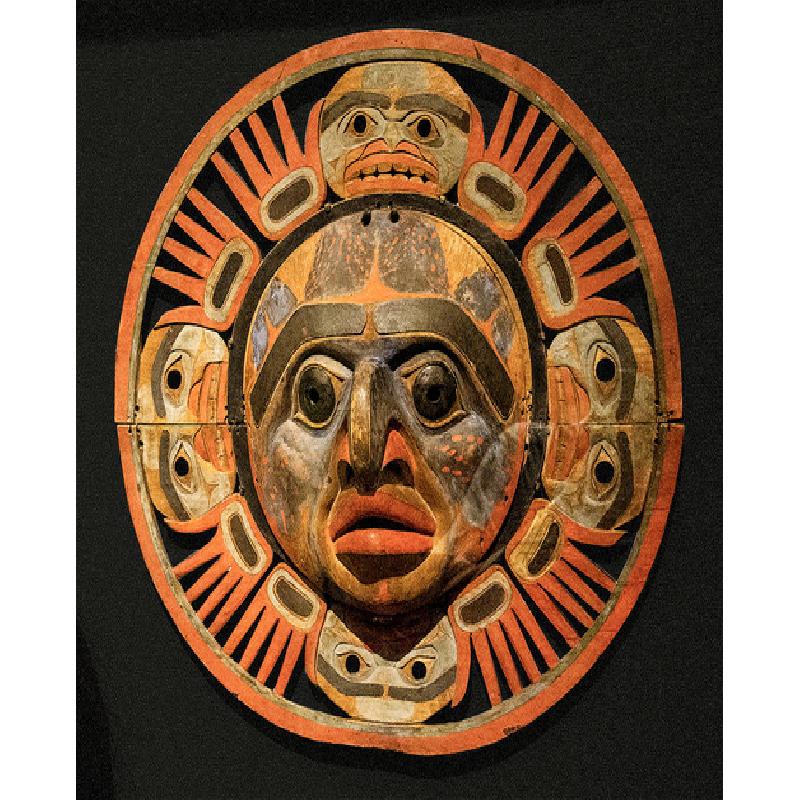
This is a redesign of an 18th century artifact from the Northwest Coast of North America, by the Nuxalk tribe of Native Americans. It represents the sun, surrounded by the four supernatural carpenters who created the world according to the myth. In the theater, it was hoisted and lowered to represent the passage of time.
The original was carved from wood and painted.
I designed this version as 100 pieces that snap together. When completed, it measures 33.5cm in diameter, or about 13 inches.
Special shout out to the Natives of the Northwest Coast. Let's keep the past alive thru art!
Rafts:
No
Supports:
No
Notes:
You will need at least a 20x20cm bed to print this.
I labeled the files according to color, then number. You can either buy 4 different colors of filament, or print them all the same and spraypaint them in groups to get exactly the colors you want.
DO NOT USE SUPPORT MATERIAL, except on one piece. That piece is the set of large red lips.
The reason I made the small eyes and teeth separate pieces is so you have the option to print or spray the faces a different color, and still keep those pearlies glistening.
The parts are designed to fit together and hang on the wall, with no need for mechanical fasteners. However, I recommend some type of glue to hold on the blue pieces of the large face, and large eyebrows.
1) Assemble the four red quadrants with the long blue pieces to form the outer ring.
2) Snap on the long white clips to hold the ring together.
3) Snap on the small white faces. Turn the entire ring upside down and pinch together the red prongs sticking out of the hands. Push these prongs into the backs of the white faces.
4) Slide the big red nose through the back of the big white face. Push until it clicks in.
5) Snap the black ring down over the large white head.
6) Flip the head and the ring assembly over, and squeeze the red links into the back of the white head.
7) At twelve spots on the red links, snap in the small white staples until they click into the white head.
Now you've got all the important pieces in place, the structure should hold together you can complete the rest of the mask in any order.