Snapping Hinged Infinity Cube, Magic Cube, Flexible Cube, Folding Cube
{My students and I so love the infinity cube. I decided to make a hinged one for more flexibility. It is not easy but is fun!}
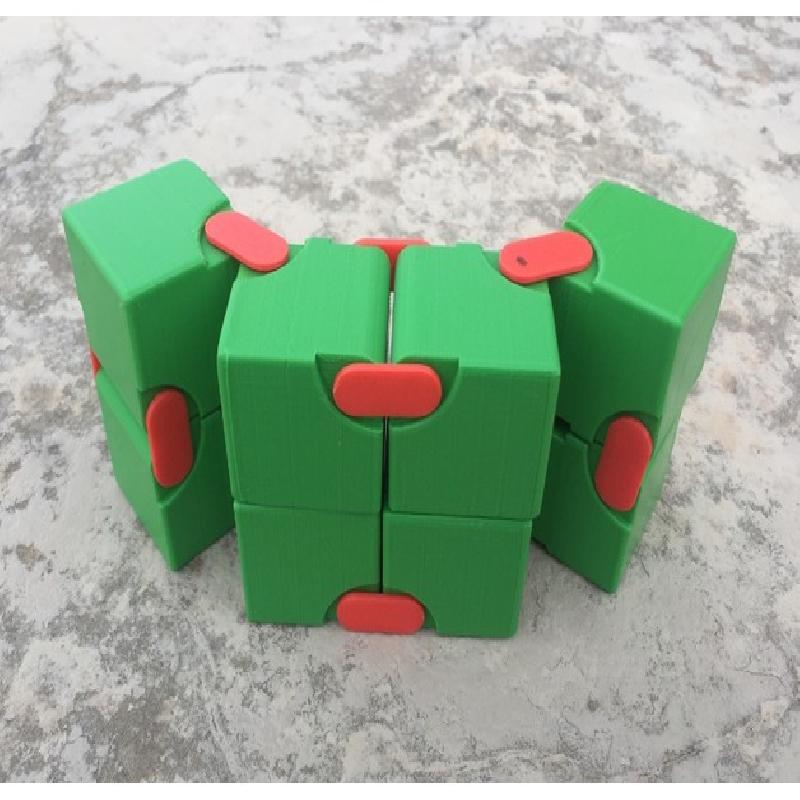
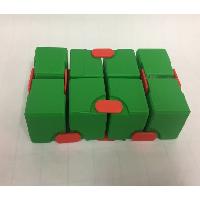
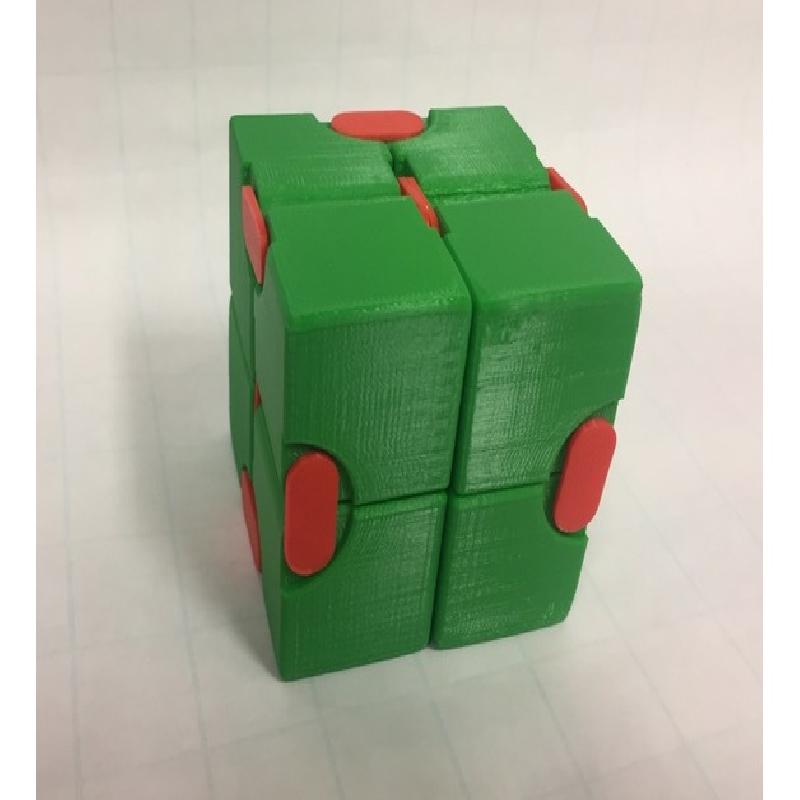
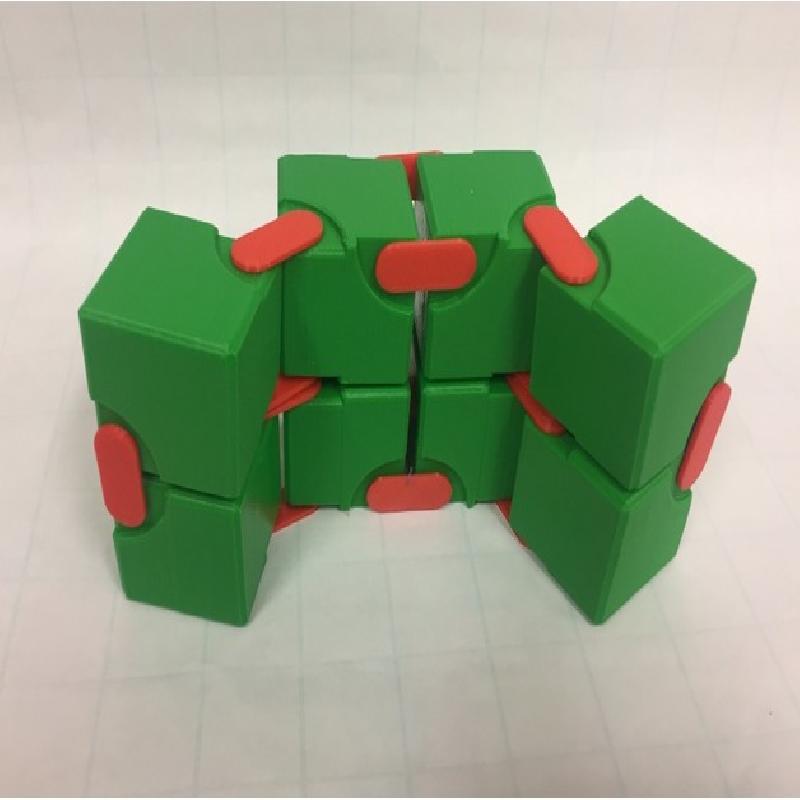
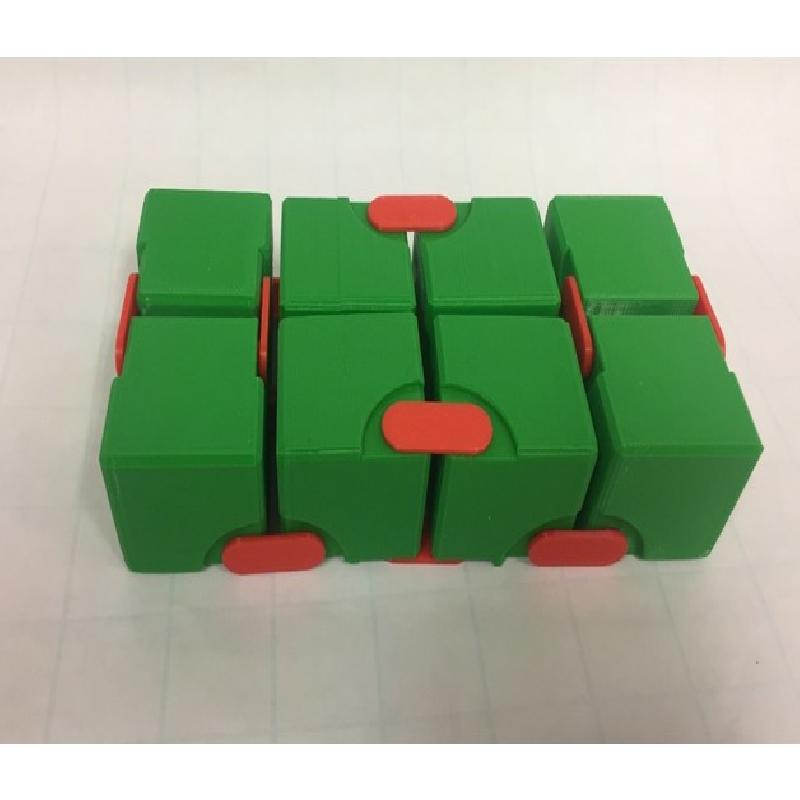
The magic/flexible/folding/infinity cube (or whatever fancy name you could think of) is easy to build using wooden or cardboard cubes. In my case, I first made a huge model using 48 polydron squares and adhesive tape, just to track the symmetries of the structure. It is an appealing challenge to do it in a 3D design world. In this project, I took advantage of previous work with snapping joints. The result goes beyond my expectations.
It is a bit frustrating to assemble in the beginning, as a puzzle should be. Once you get the symmetry worked out, you won’t be disappointed! Each cube is 36mm x 36mm x36mm.
There are two versions—the regular version with rounded joints and a loose version that allows more room to maneuver. Both versions came out well on my Flashforge Creator Pro. Please try the halves if your printer bed is not big enough.
For my Flexible TPU model, please refer to https://www.thingiverse.com/thing:2786094 .
References
https://www.math.nmsu.edu/~breakingaway/Lessons/MFC/MFC.html
https://www.chicaandjo.com/2008/05/08/magic-folding-wooden-photo-cubes/
Rafts:
No
Supports:
No
Resolution:
.1 to .2mm
Infill:
5-20%
Notes:
The regular version might need a bit of support for smooth rounded joints at the bottom of the print However, it worked well for me without support.
Be patient. Clean up the prints if necessary. Try to make sense of the symmetry of this thing, using the attached figures. Then, snap the 16 connectors to make a flexible cube -- taking it to infinity!