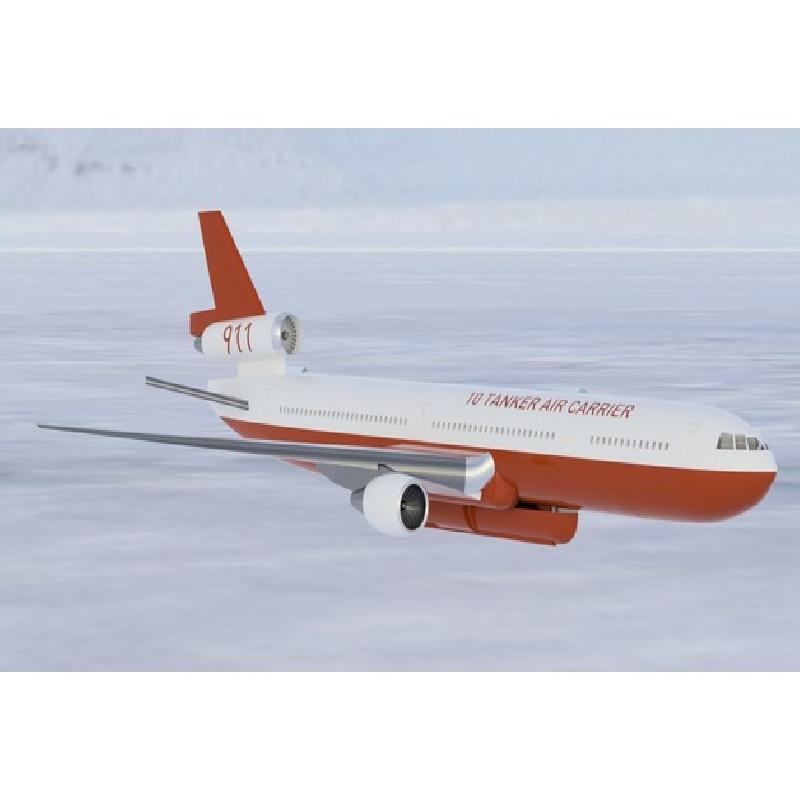
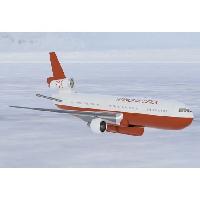
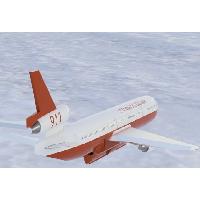
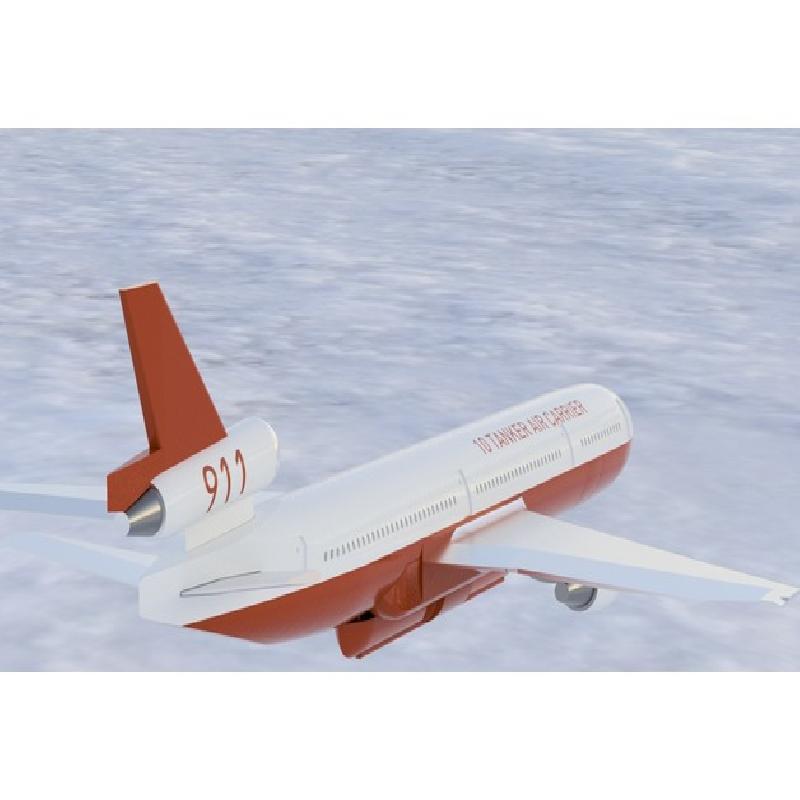
By special request, this is a remake of my MD-11 model, now it is much closer to a DC-10. This includes both the air tanker and standard DC-10 versions, with STL's name accordingly. Most parts are very similar, and you CAN use the tanker parts for the standard DC-10, but it won't quite look right.
Printer Brand:
Printrbot
Printer:
Simple Black
Rafts:
Doesn't Matter
Supports:
Yes
Resolution:
0.1-0.25
Infill:
10-20%
Notes:
Many parts require support, including the Vertical Stabilizer Assembly, Engines 1 & 3, the Inner & Outer Wings, and the Wing Supporting Structures. Orientations should be correct from the STL's, but in the event they are not, use the following:
Engines 1 and 3 with the intake facing up (Yes, this results in the side with the tiny contact area touching the bed. I know, trust me)
Vertical Stabilizer: Vertically, as if it where on the plane.
Outer Wings: Inner side down, so the support tower holds up the winglet
Inner wings: Inner side down. This doesn't need much, but the mating surface is NOT flat.
Wing Supporting Structures: Same as on the airplane. Will require support all along bottom.
All other pieces: Any other pieces should NOT require support, as they all have a flat bottom. To make assembly easier, I would recommend printing the models vertically, so the parts will sit closer to each other once put together. Vertical= 1/2 Circle part on bed.
Just another quick note. The windows for the cockpit are quite small, and I would recommend printing them at as high a resolution as possible, just so the layer lines aren't too obvious, as they are right on the front of the plane here.
Assembly
All smaller pieces that slot into the main frame are undersized by .3mm, for a friction fit on most 3d printers. If this is too loose, I would recommend gluing it in, which is a good idea for the whole frame in general. This goes for parts like the engines, the wings, and the vertical and horizontal stabilizers, where they sit into another part. The cockpit windows have a slightly smaller clearance, but should still fit, as they are only held on 2 or 3 sides.
Before you slot any of the smaller parts together, I would assemble the main pieces, such as the fuselage and wings. Once that is all together, you can attach the other pieces.
This was designed using Fusion 360, working off original drawings of the MD-11. One was set up for each plane, allowing me to get reference measurements for all axes.