by reddadsteve, published
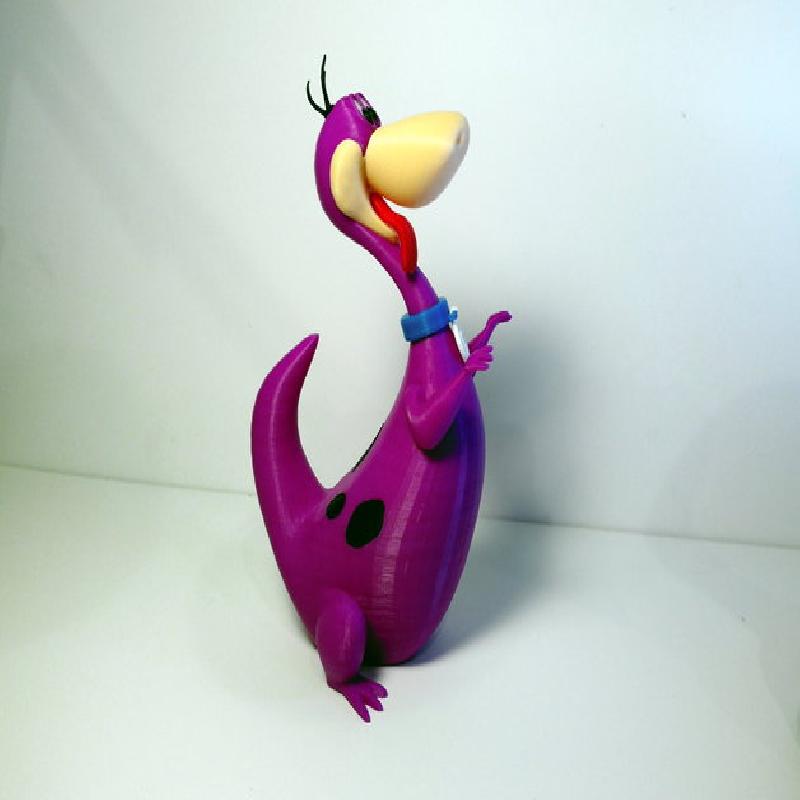
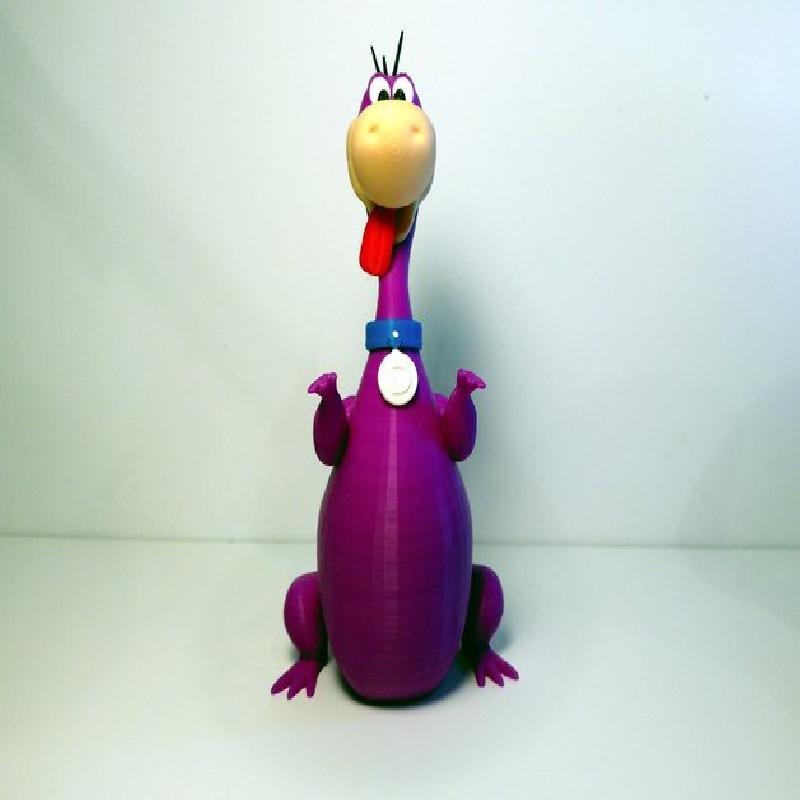
The Flintstones are one of my favorite childhood cartoons.
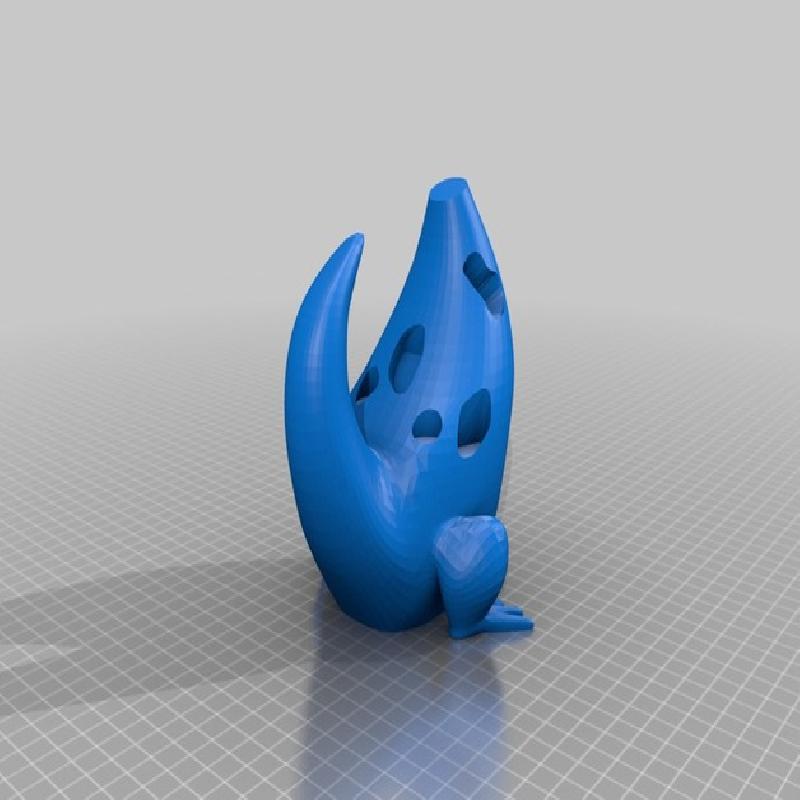
Dino is my second model from the cartoon series, see Fred as well (Thingiverse model 1361894)
Dino was modeled in Blender, sliced using Simplify3D and printed in ABS on a FlashForge Creator X. I also used a GeckoTek plate to ensure perfect adhesion of the parts to the bed.
If you have the proper filament colors, no painting is required.
The model is 24cm tall.
Enjoy, and I hope you have a "Yaba Daba Do" time printing this!
Note:
All parts were modeled from scratch except for the tongue. Dino's tongue was so close to Eddie's tongue (Thingiverse model 457259) that I saw no reason to improve on perfection. Credit for the tongue is duly noted.
Printer: FlashForge Creator X
Rafts: Yes
Supports: Yes
Resolution: .2mm
Infill: 10%
Notes:
Only a few pieces require some very minor supports and a raft. The majority of pieces do not require either. Refer to the notes below for details. I print all my models using 2 shells.
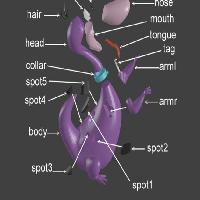
Colors
Black:
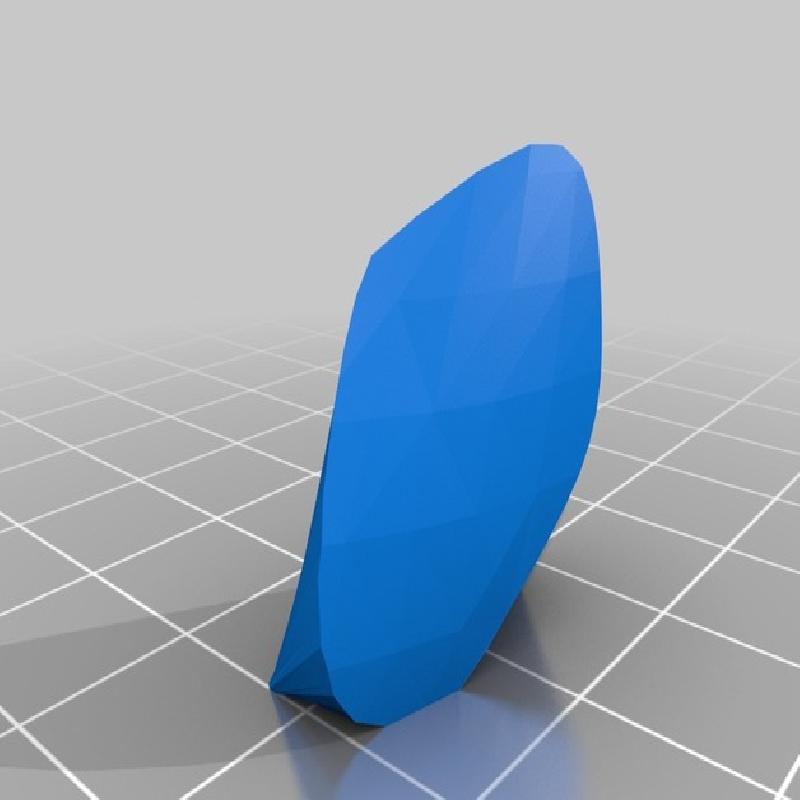
eyes
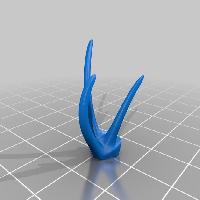
hair
spot1
spot2
spot3
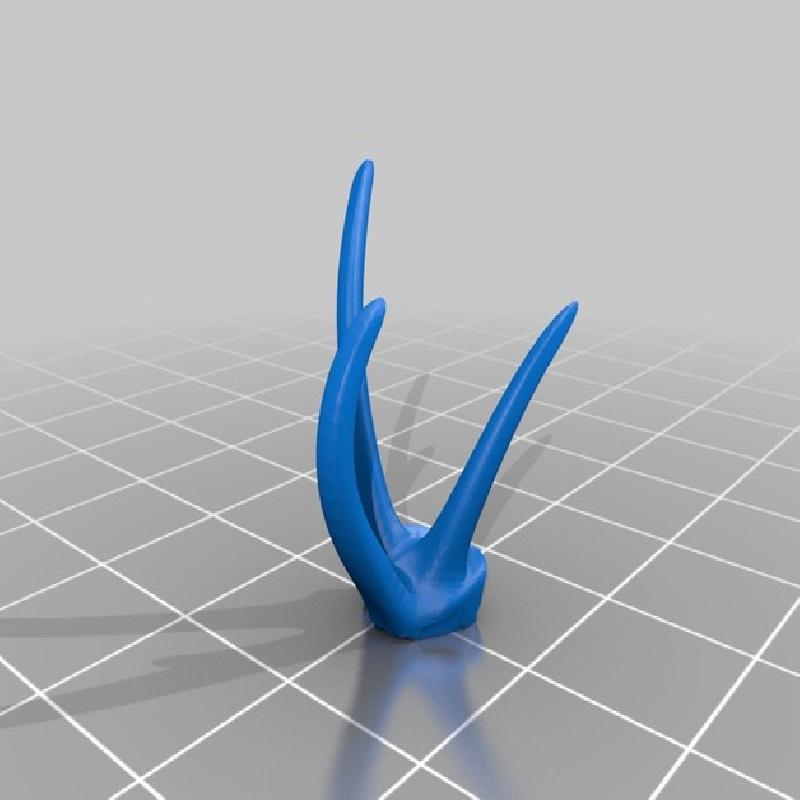
spot4
spot5
Purple:
body
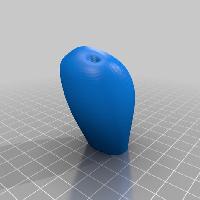
head
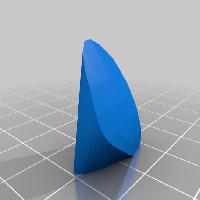
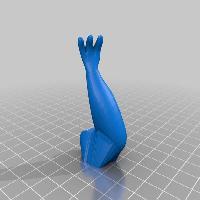
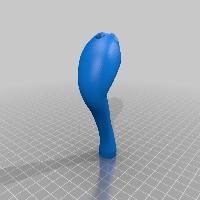
armr
arml
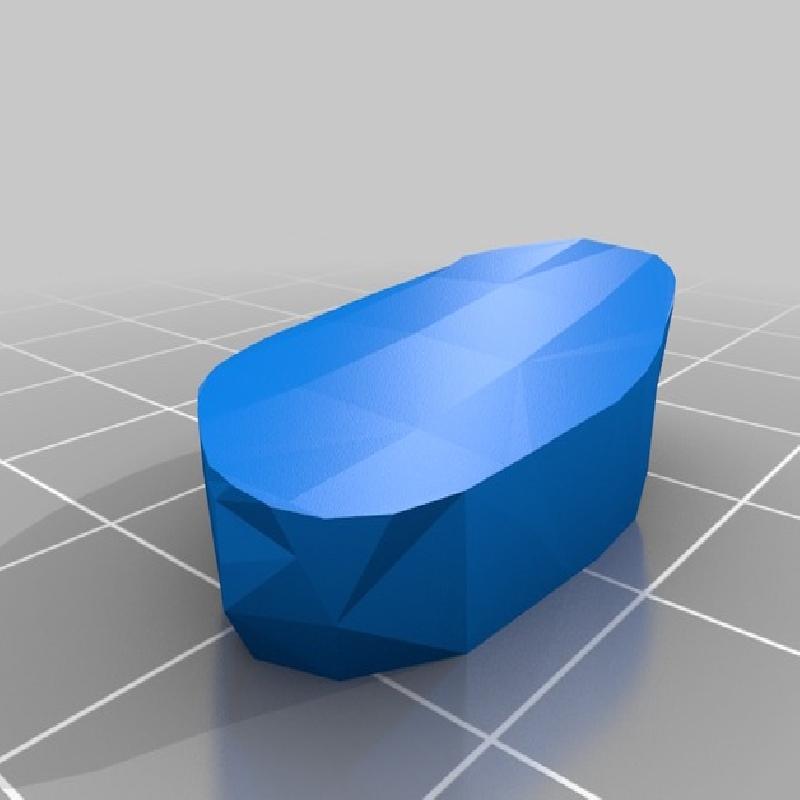
White:
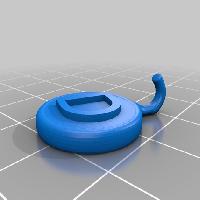
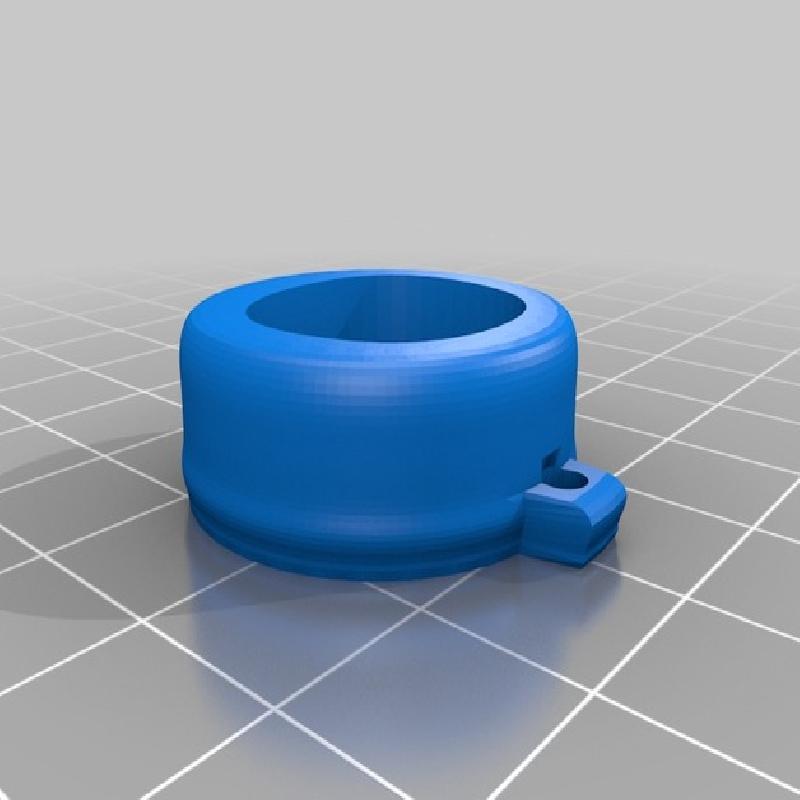
eye_whites
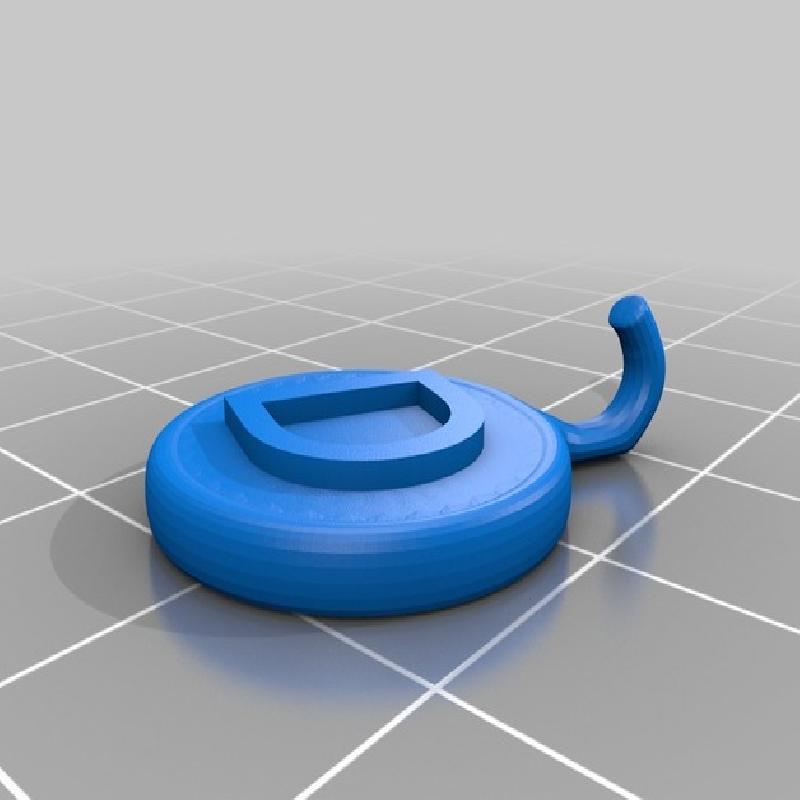
tag
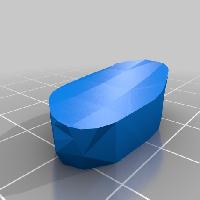
Beige/Pink/Skin (I used a light beige):
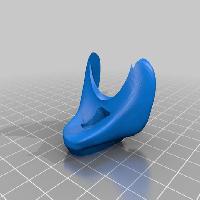
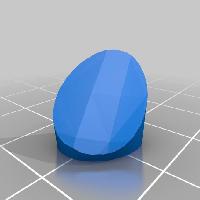
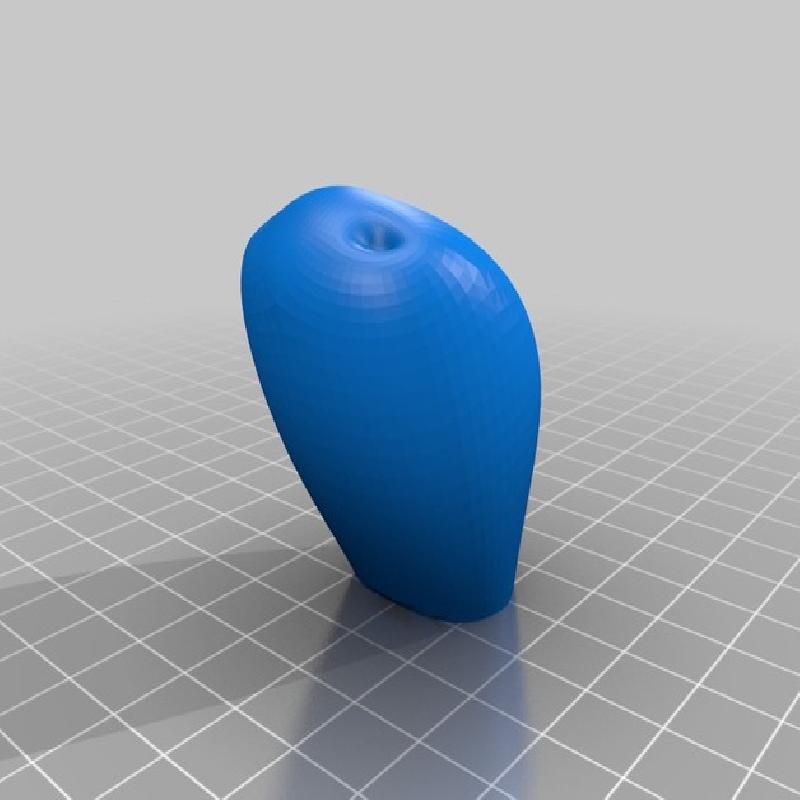
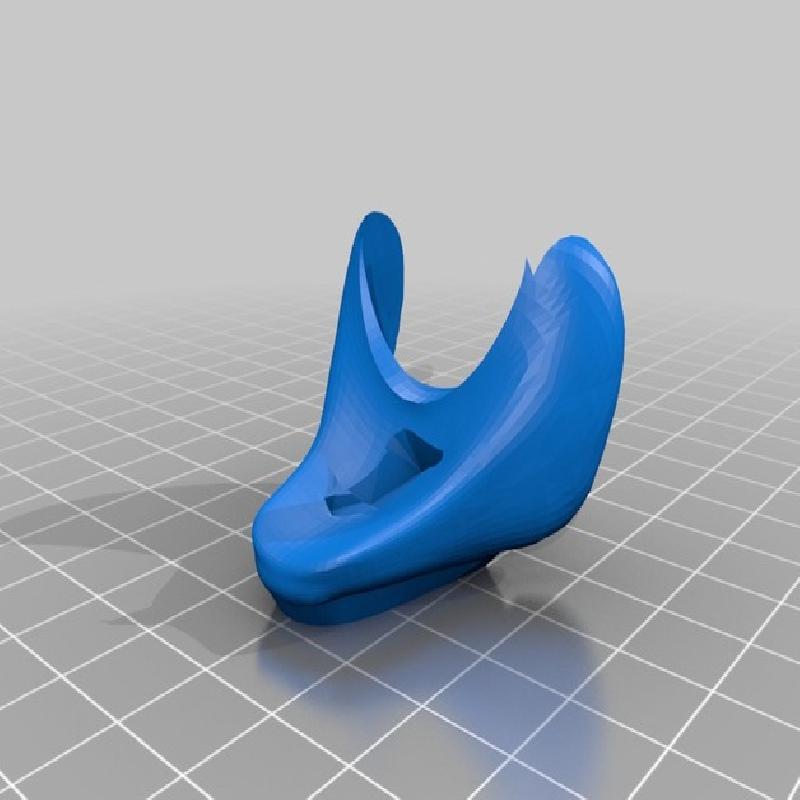
mouth
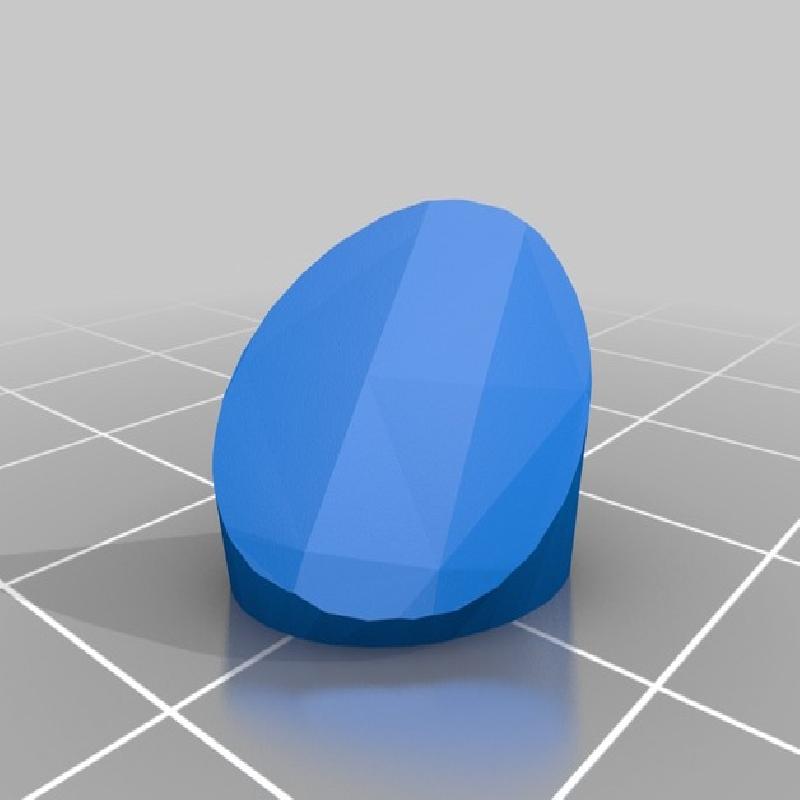
nose
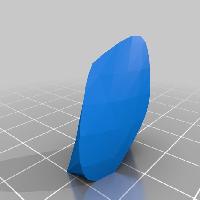
Blue:
collar
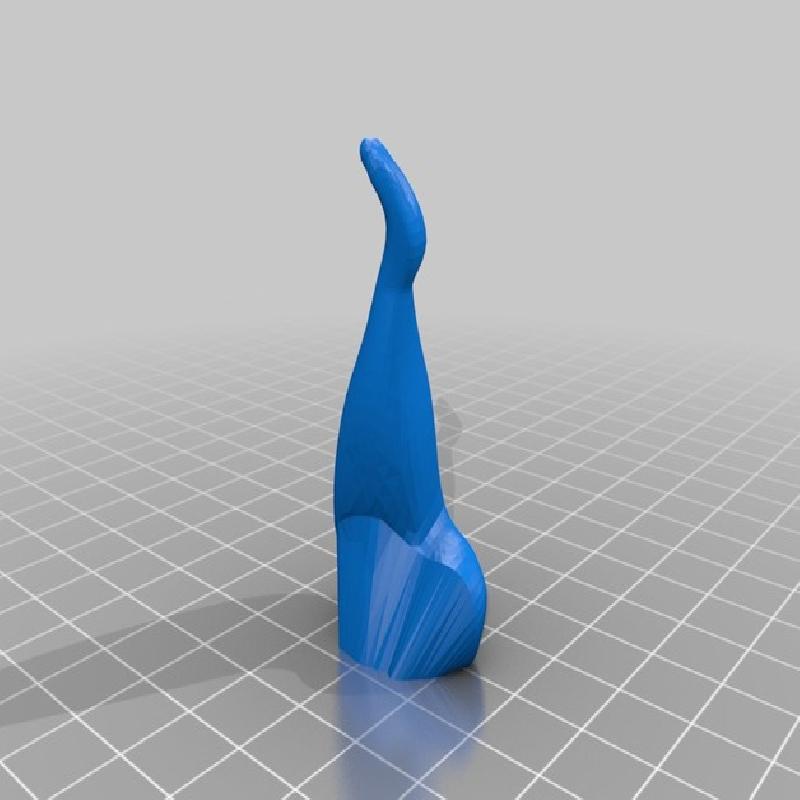
Red:
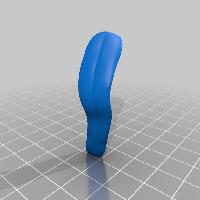
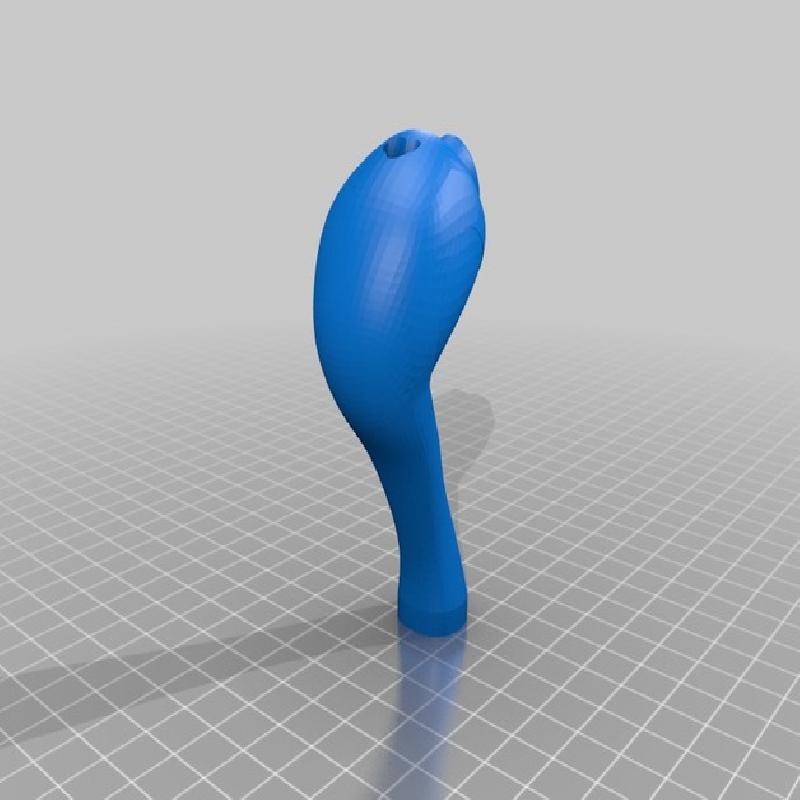
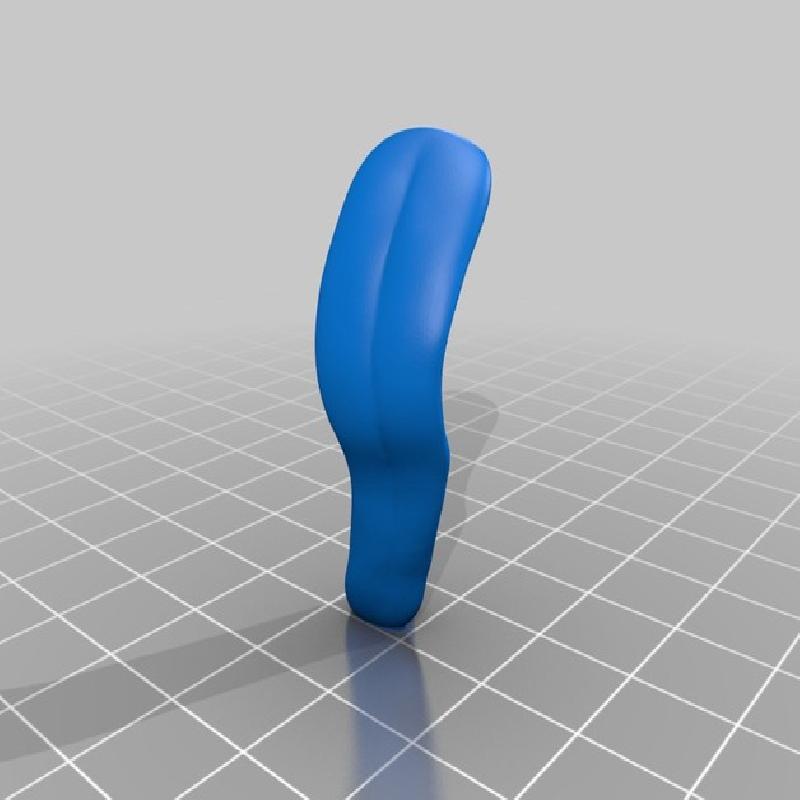
tongue
Extra notes for printing
Pieces requiring minor supports around the low curves at the base:
armr, arml, mouth.
Pieces that may require a raft or brim (I use a brim):
tongue, head. I did not use a brim on the nose, but you may needed one.
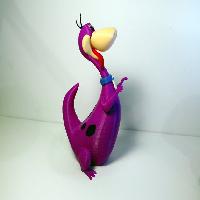
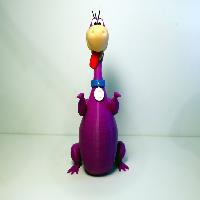
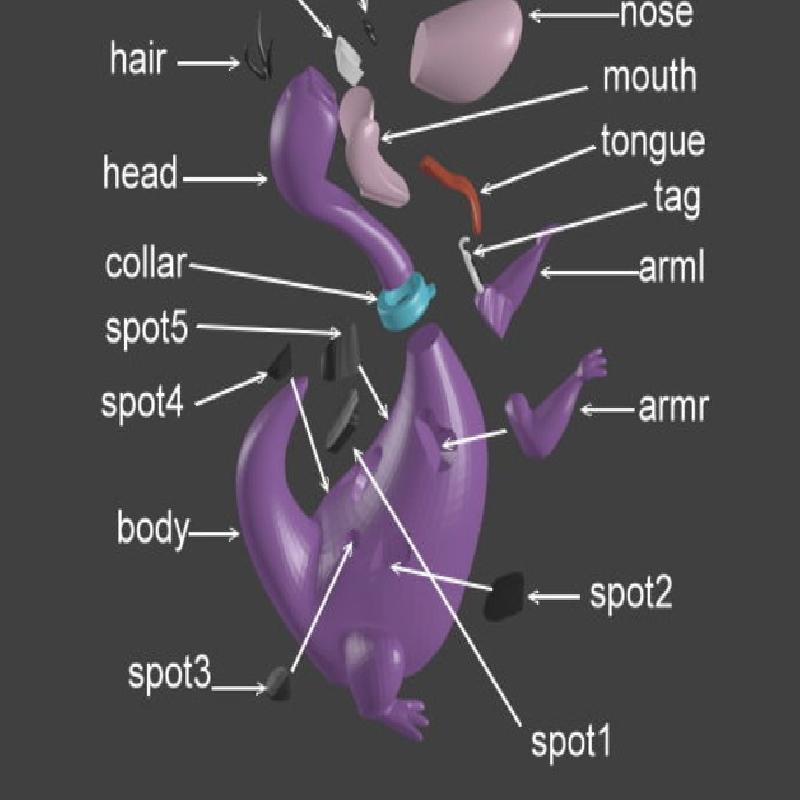
Assembly
Assembly is fairly straight forward, refer to the following picture. I've listed a detailed step by step process below if guidance is needed.
*be sure to clean off any excess brim from the first layer if you use a "squish factor" for adhesion to the bed.
-Glue armr and arml to the body
-Insert and glue the spots as per the diagarm
-Hook the tag through the collar
-Insert and glue the collar to the body
-Glue the mouth to the head
-Glue the tongue to the mouth
-Glue the nose to the head, resting on the bridge of the mouth
-Insert the eye_whites, making a note of left and right (depressions for the eyes face toward the middle)
-Glue the eyes to the eye_whites. making a note of left and right eyes (there is a slight angle on each eye that should face towards the middle so that the eyes rest closer to the middle)
-Insert and glue the head into the collar.
-Glue the hair to the head. After careful trimming of any first layer brim, the hair should fit into the head.