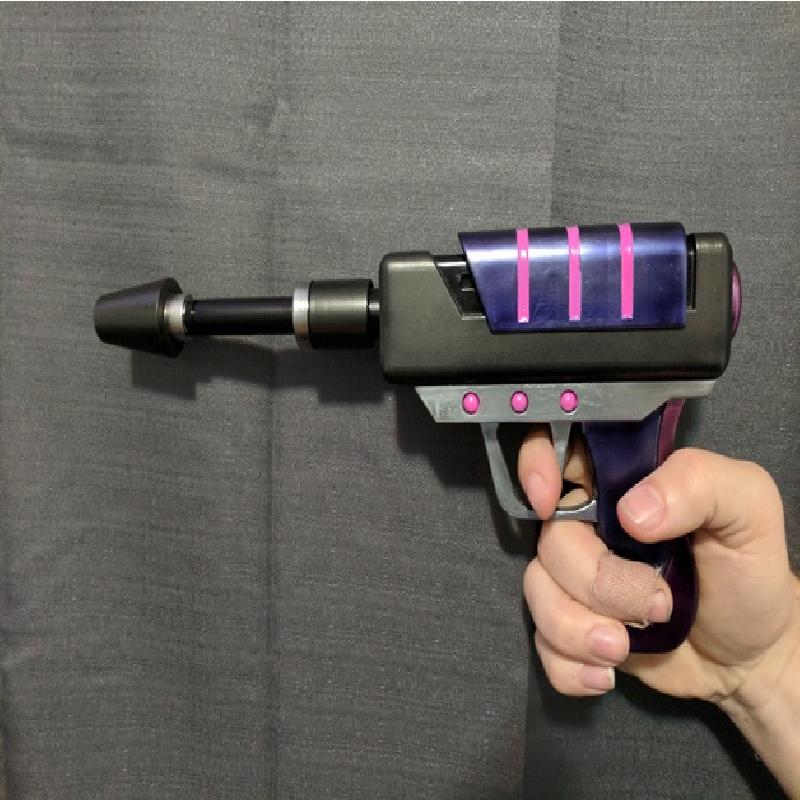
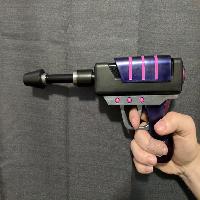
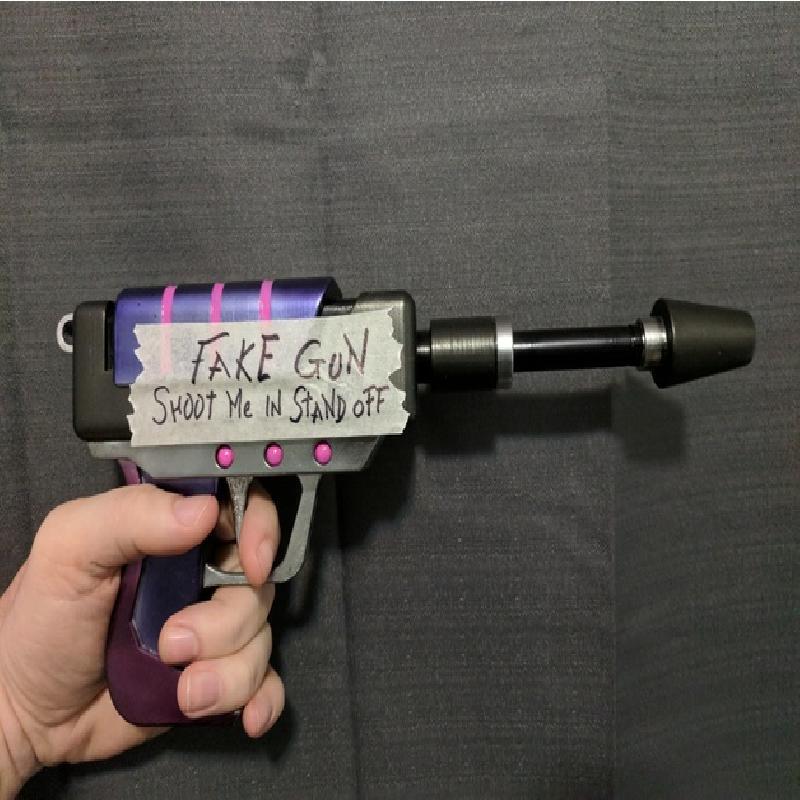
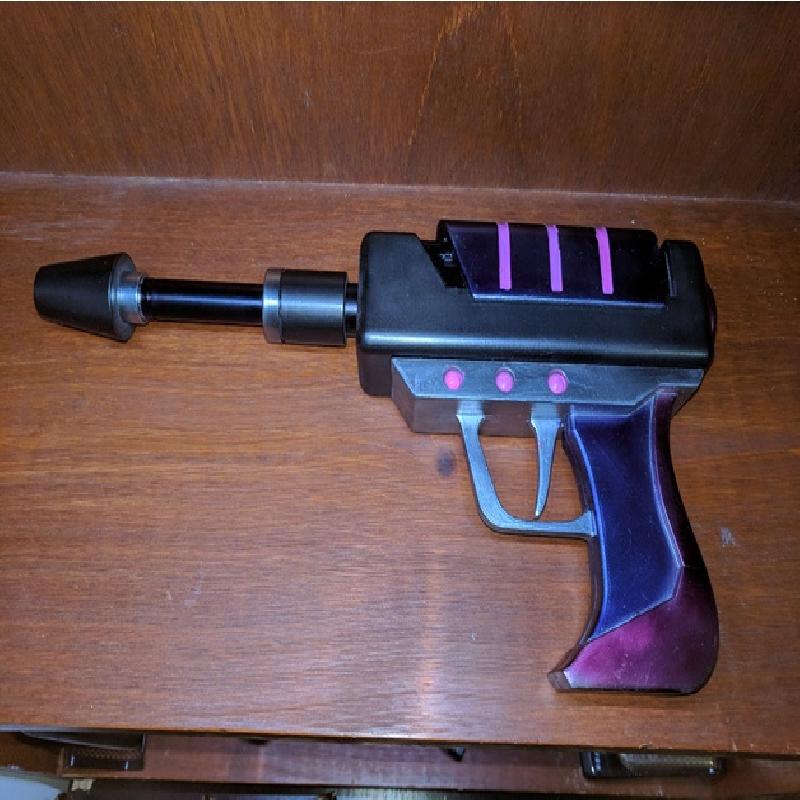
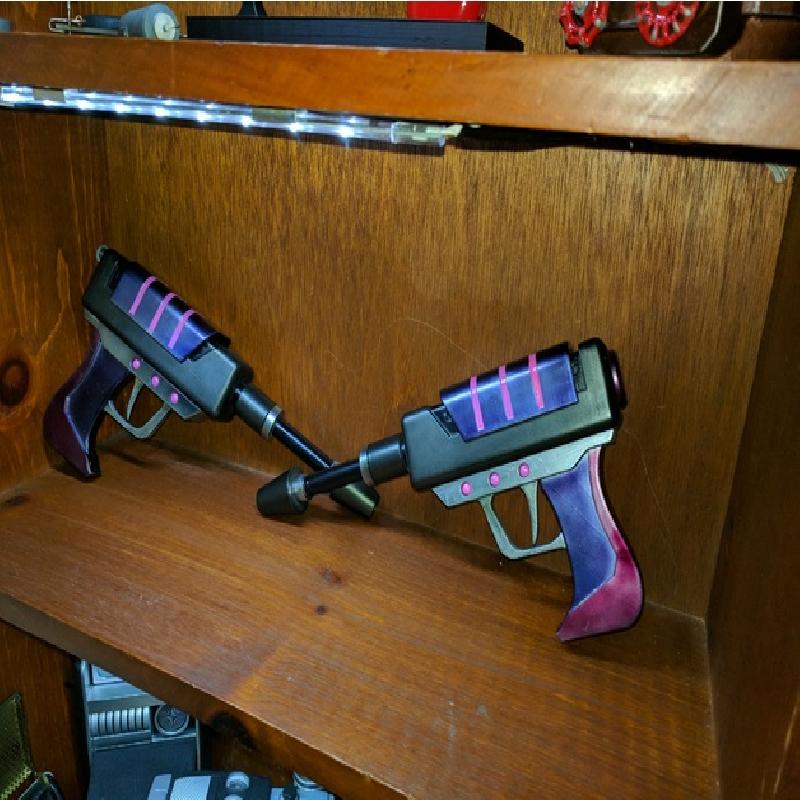
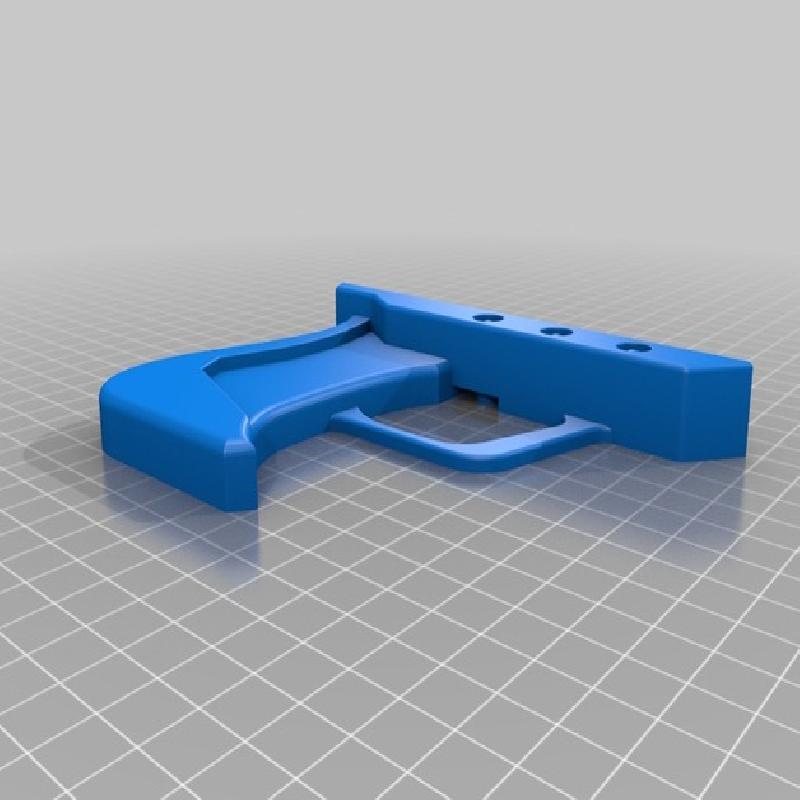
Model of Rick C-137's 9 gauge plasma pistol (and the slightly different, "fake" version) from Rick and Morty S03E01 ("The Rickshank Redemption") and other episodes.
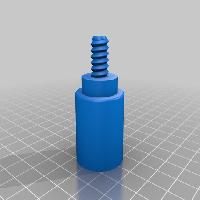
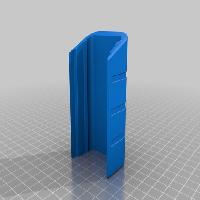
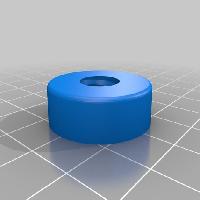
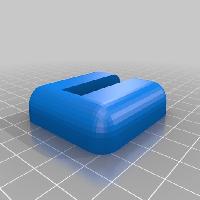
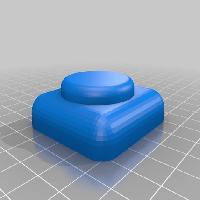
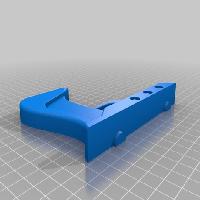
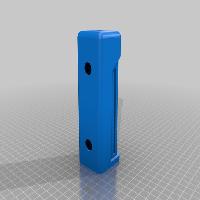
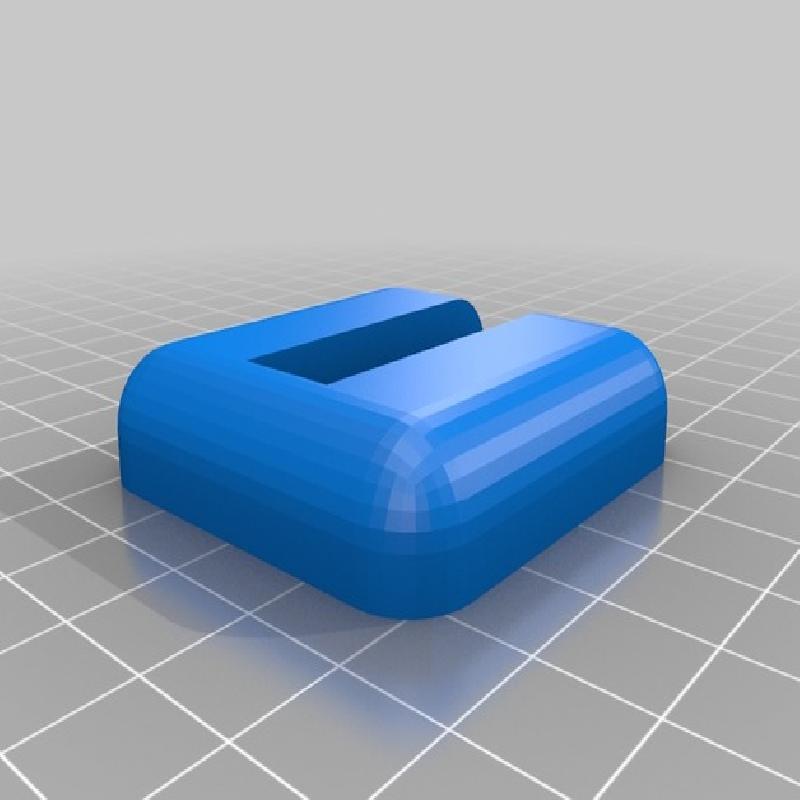
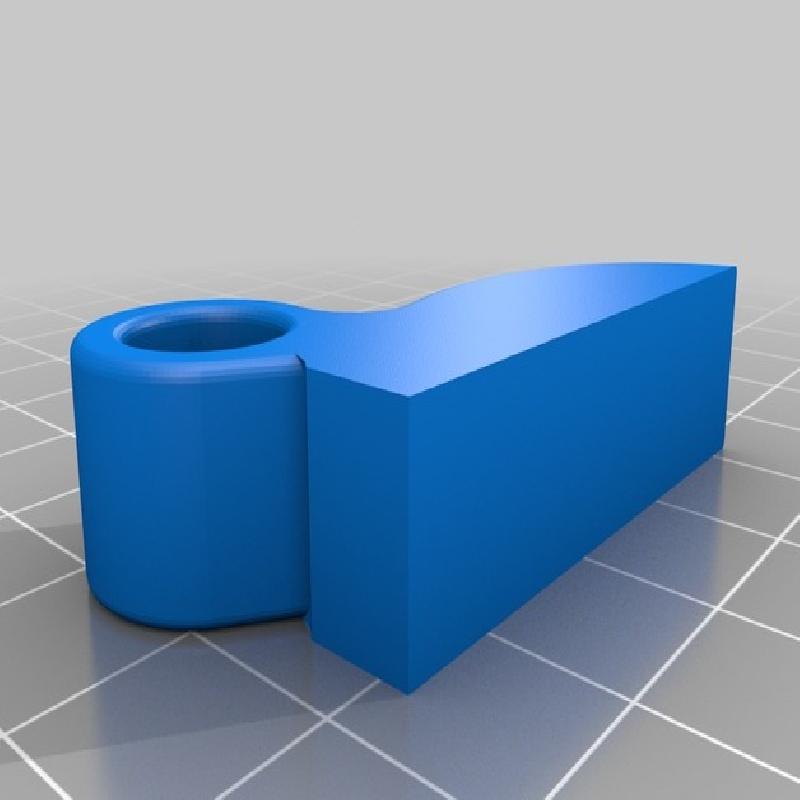
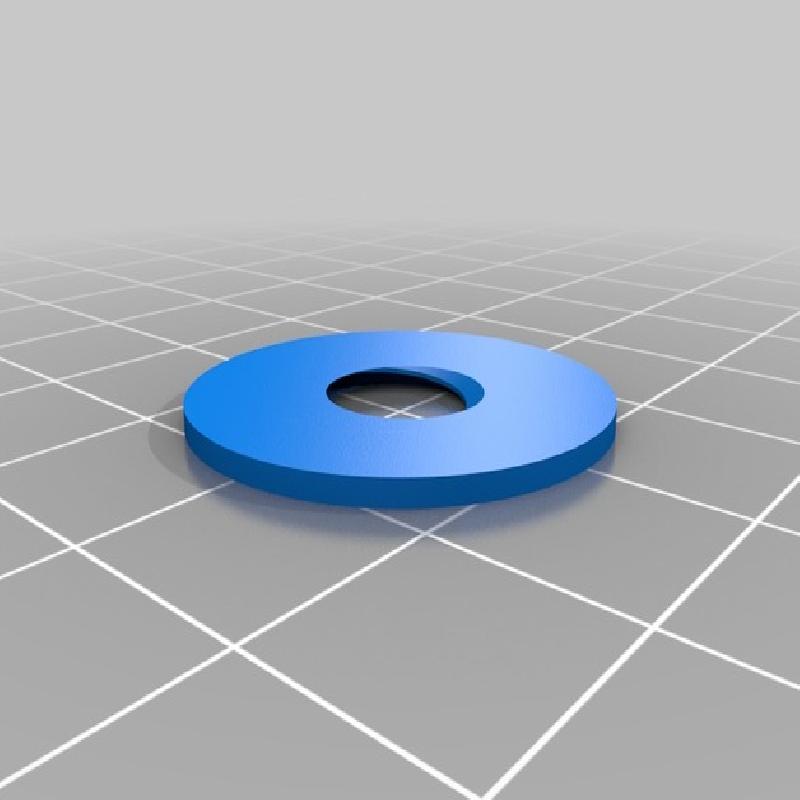
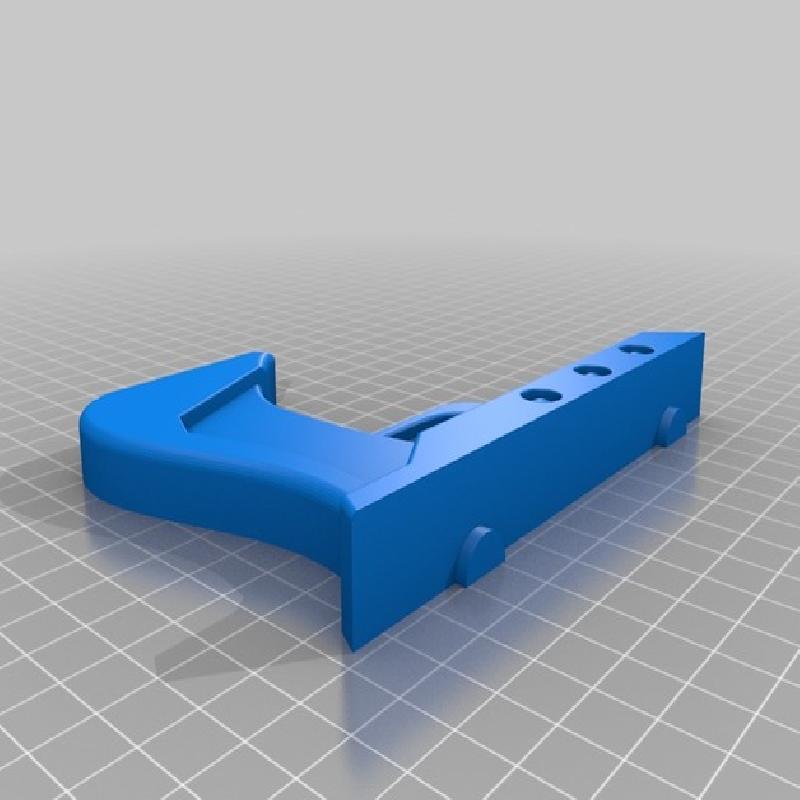
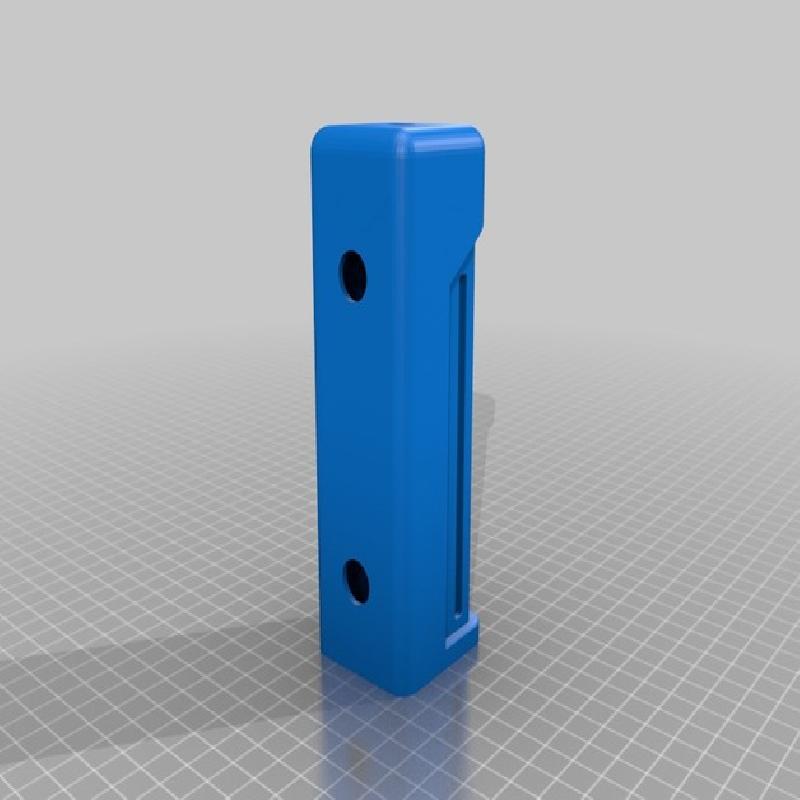
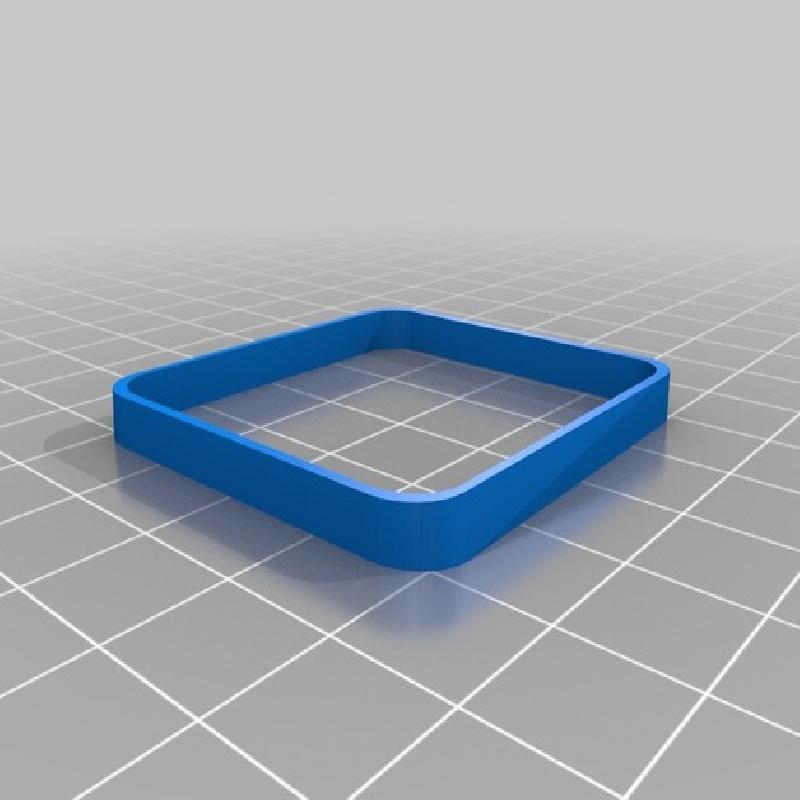
There are two versions of the main body: one that's completely hollow, and one with a structure inside it designed to reduce the amount of support material needed (select "Supports: Everywhere" in Cura, or the equivalent in your other slicer of choice). There's also an optional part that can be helpful in aligning the endcap on the rear of the main body.
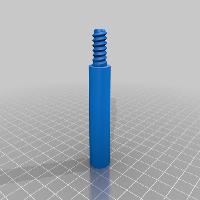
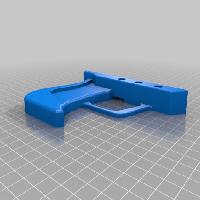
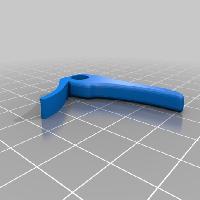
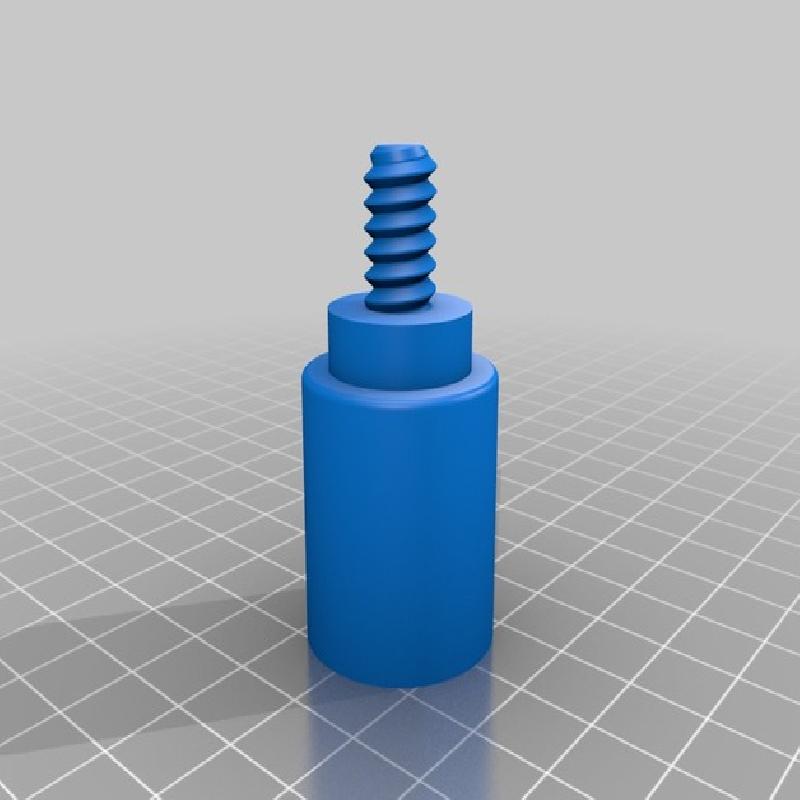
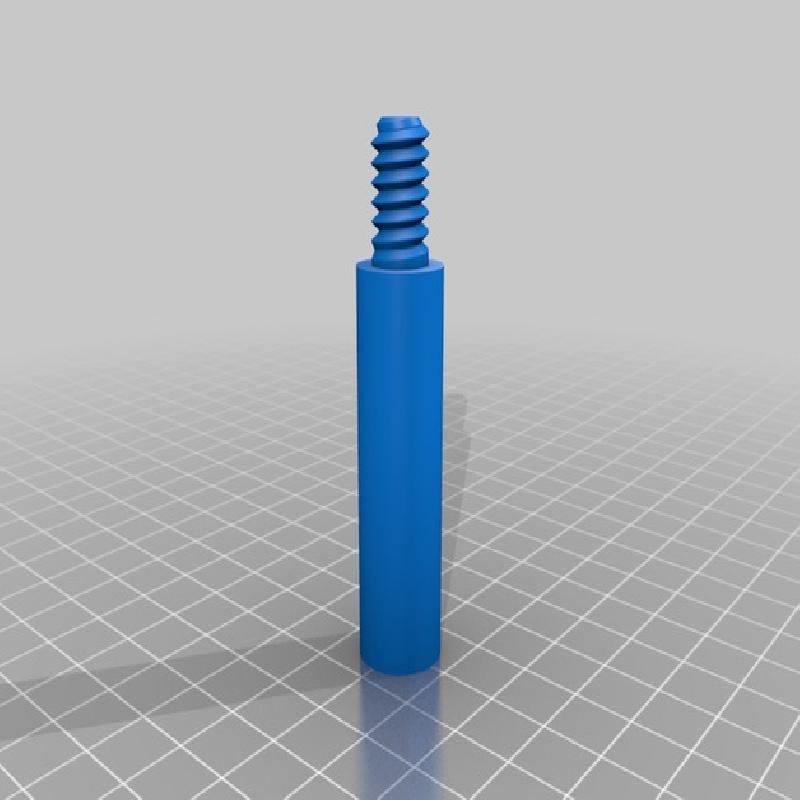
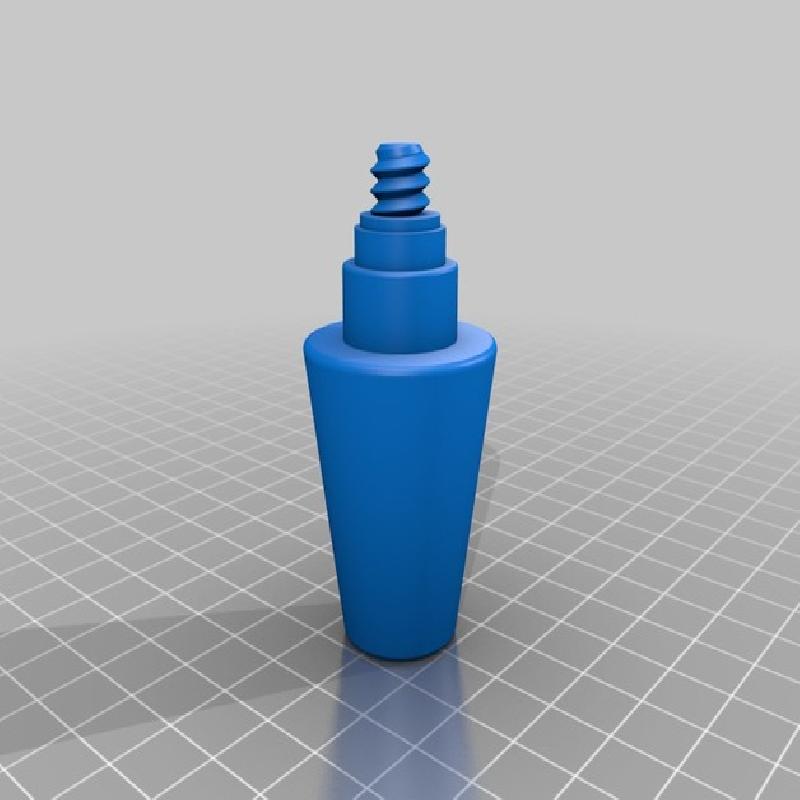
The model is split into sections for best print quality, and for making painting a bit easier. The parts of the barrel screw together, and are numbered in order (from the body to the muzzle). The finished barrel also screws into the main body.
Printer Brand:
Ultimaker
Printer:
Ultimaker 2
Rafts:
No
Supports:
Yes
Resolution:
0.12mm
Infill:
15%
Notes:
I used the "Main Body with Support reducer" version, with supports set to "Everywhere" (not just from the buildplate).
The barrel parts don't really need supports, but they are highly recommended for the body, endcap, and handle halves.
Smoothing
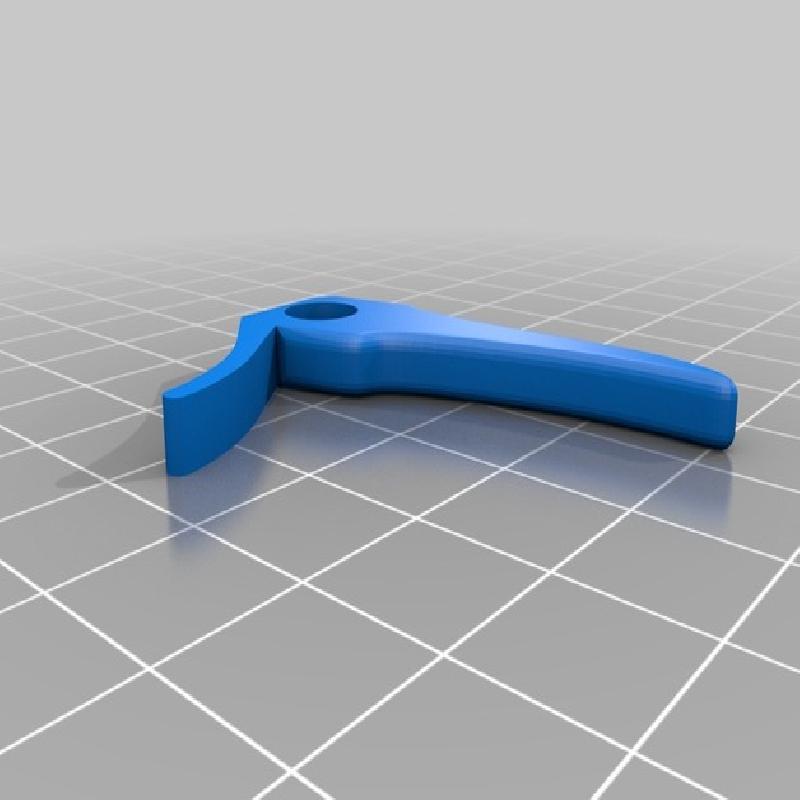
It's highly recommended to smooth the model for best results. I sprayed it with a high-build filler primer, then sanded that down with successively finer grits. Then I glued the halves of the handle together using a clear two-part epoxy (making sure to put the trigger in the appropriate space first), and the endcaps to the main bodies (using the optional "Endcap Alignment Part"), then filled in the seams with JB-Weld epoxy, waited for them to dry, and smoothed the seams out.
Painting
I used Alclad II lacquers. First I put down a base layer of their gloss black base coat, then various metallic colors (Gunmetal, Steel, Aircraft Aluminum, and Silver Candy Base).
The Silver Candy Base parts were then tinted using their candy colors: a mixture of 2:1 red and violet for the redder parts, and 1:1 electric blue and violet for the bluer parts.
I mixed some UV-reactive pink pigments with white Testors enamel paint for the details on the handle and the slide.
Gluing
I used a clear two-part epoxy to glue the handle to the body.
Attaching the slide
I placed the slide top side down on a cutting mat on the floor. I then folded two pieces of wax paper and laid them along the inside of each side. I put the rest of the pistol upside down between the folded halves of wax paper, and pressed straight down until it clicked into place. I then carefully removed the wax paper.
(The wax paper was to prevent the inside of the slide from scratching the paint on the body. It's a very tight fit, but should allow the slide to move freely without coming loose.)
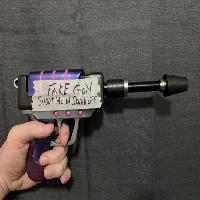
Secret Message
On a piece of masking tape, write the secret message from Rick to Morty, and affix it to the appropriate side on Morty's gun.
I modeled the pistol in Blender, based on various frame grabs from the episode. The most useful was a shot of Rick holding it in almost a perfect side view, which was instrumental in determining the proper dimensional relationships.
At least for that shot; since it was hand-drawn, and not a cel-shaded 3D model, the proportions varied quite a bit from shot to shot.
After the basic shape was finished, I split it into parts to avoid overhangs, in order to get the best print quality, and also to aid in painting.