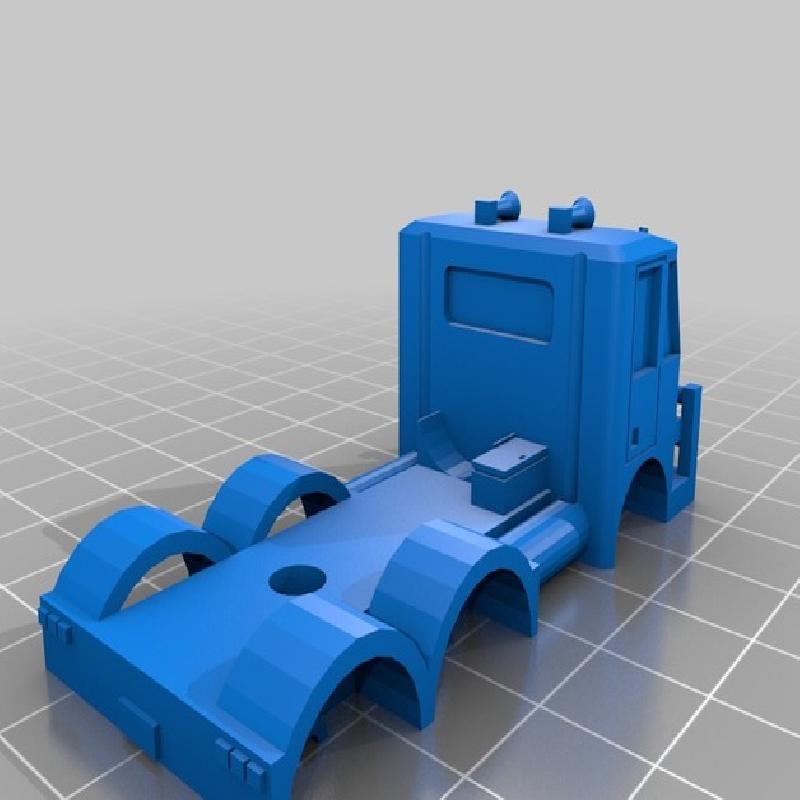
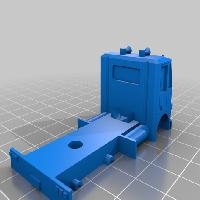
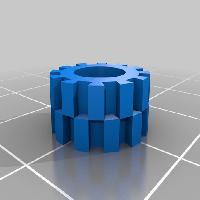
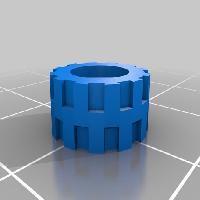
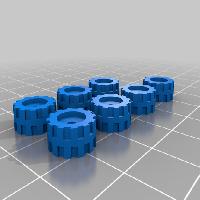
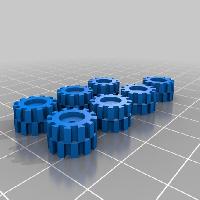
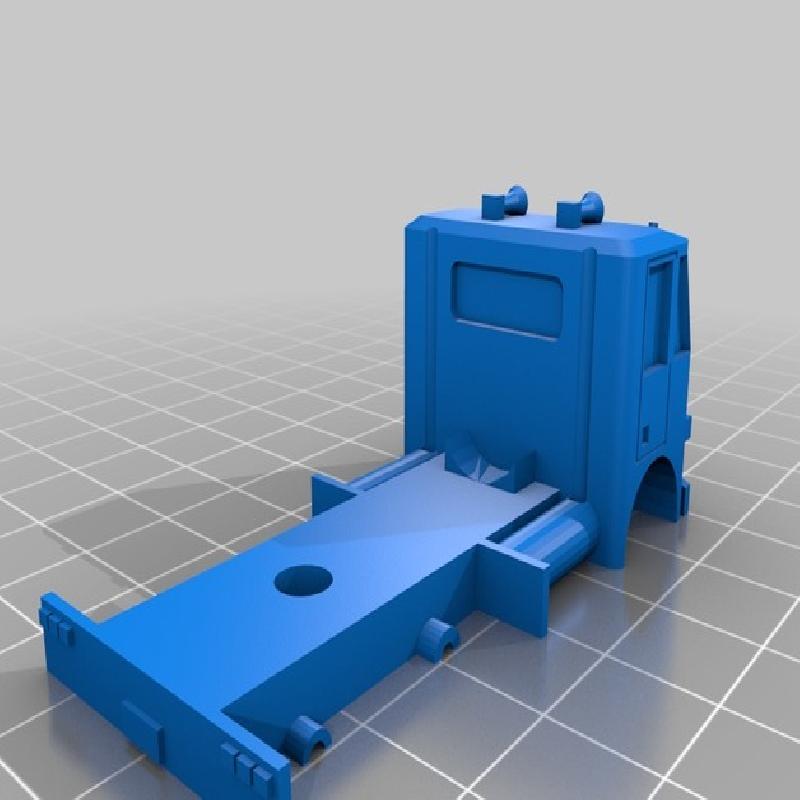
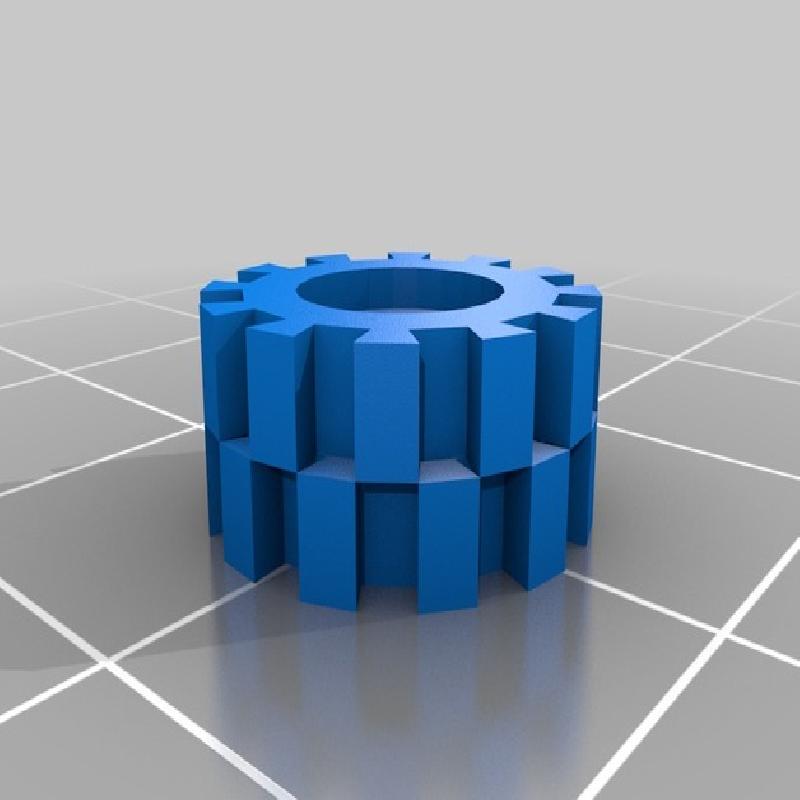
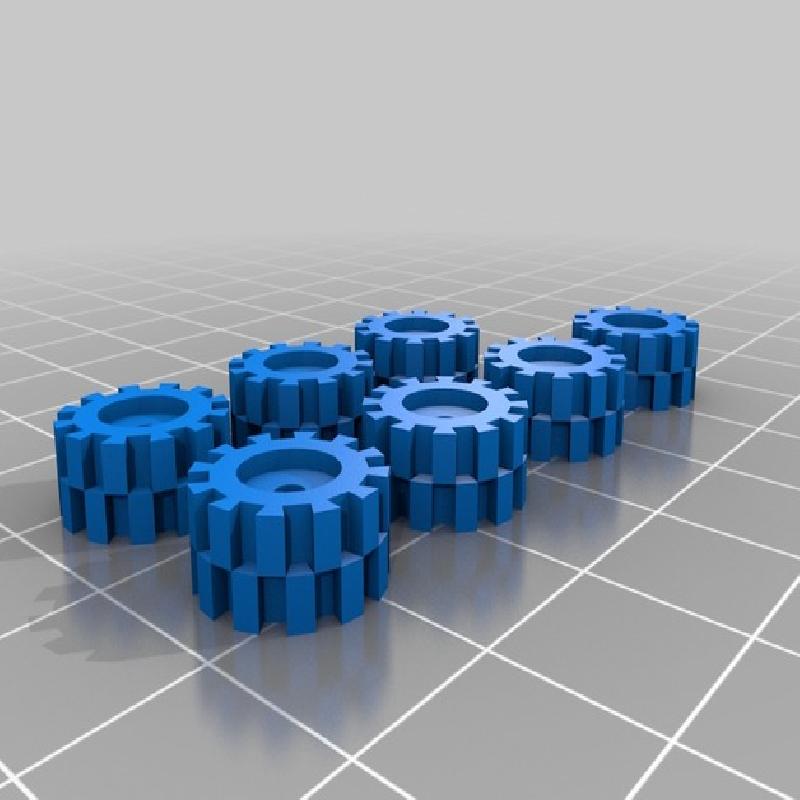
Just a little model truck I designed when I was bored. It's supposed to be about the same scale as matchbox toy cars. It comes in two versions: A lighter, simpler version and a heavier, tougher-looking version. There's also two types of wheel: Small and Large. Either wheel type will work with either truck.
Before too long, I will upload some trailers to go with it. If you have any suggestions for trailer types, please leave a comment.
Printer:
Anet A8
Rafts:
Doesn't Matter
Supports:
Doesn't Matter
Resolution:
0.2 is fine
Infill:
20%-ish
Notes:
The supports for the body aren't strictly necessary, but I would recommend it, if you can choose to have supports ONLY under the wheel arches. For slicers like Cura, I would turn it off, because it'll probably place supports underneath the top of the windscreen, and they'll be a nightmare to remove. Supports aren't required for the wheels.
Thing you'll need
-Soldering iron
-Super glue
-Glass of water
-Approximately 160mm of 1.75mm filament (for axles and exhaust pipes, silver recommended)
-Flat heatproof surface (like an electric hotplate)
-Scissors (or side cutters etc.)
Wheel attachment
To stick the wheels on you can either A:Glue them on (self explanatory, no axles or soldering iron required), or B:Weld them on with axles (more sophisticated but the wheels can spin).
This truck is designed for a piece of 1.75mm filament to act as an axle.You'll need to cut three lengths of filament about 35mm long each. Set up the soldering iron beside the hotplate with a glass of water on standby.
Heat up one end of the filament with the soldering iron then squish it down on the hotplate so that the end of the filament gets wider. Then dunk in in the glass of water to make it harden. Repeat until the end of the axle is 3-4mm wide.
Repeat the above process for the other two axles, but be sure to ONLY melt one end of the axles.
Then you need to place the wheels onto the axles, and make sure that they're facing the correct direction (facing opposite directions to each other and with the tops facing outwards). Now you can weld the other ends of the axles, but be careful not to damage the wheels.
To attach the axles onto the truck, line the centre of the axle up with the centre line, in the groove underneath the truck. You may wish to use a drop or two of super glue to hold the axle into place, but it does create super glue fumes when you melt it. I personally wouldn't bother with it.
Use the soldering iron to melt the axle into the body of the truck, taking care not to melt anything too close to the wheels, because it might make the connection too weak or prohibit the wheel from spinning freely. If the axle is too wide or thin for the truck, push or pull the wheels into a more appropriate position. When you're satisfied with the position of the wheels, (carefully) dip the entire axle into the glass of water. Repeat the process for the other two axles, but be careful not to burn through the top of the back part of the truck. Dip it in the water each time.
Spare tyre & exhaust pipes attachment
Use a drop or two of super glue to hold the spare tyre on. You could try welding it on, but I wouldn't recommend it.
For the exhaust pipes, cut two pieces of filament about 30mm long (silver or grey recommended) and straighten them out as mush as possible. Place the pipes into the slots on the back of the cab with one end inserted into the hole in the top of the fuel tank. If this hole is too small, enlarge it with the tip of the soldering iron. A drop of super glue will hold them into place. Now use the scissors to cut the the ends of the exhaust pipes off until they're 25mm long, or until they look about right.