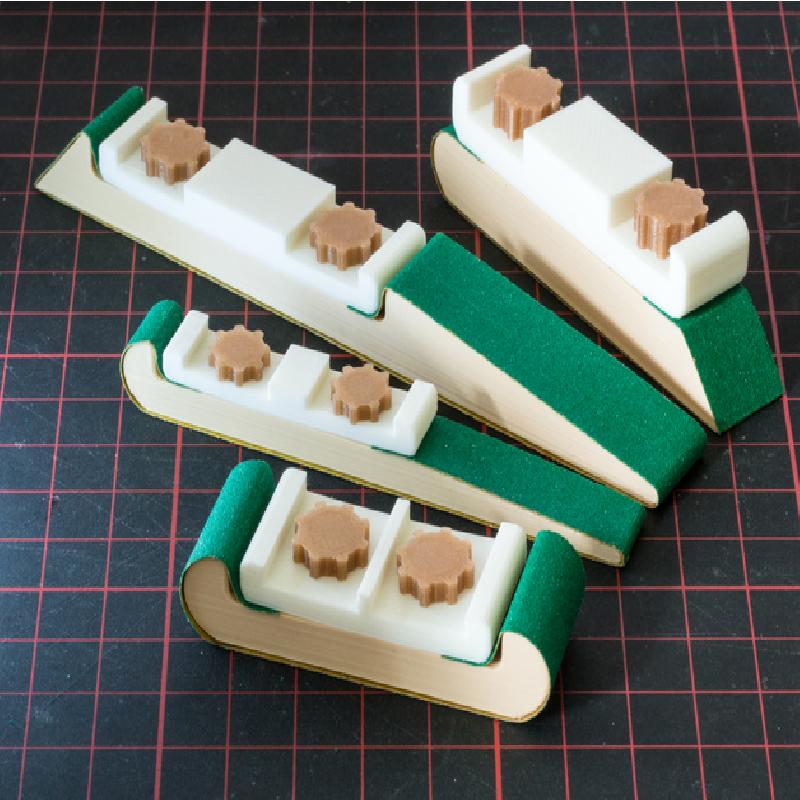
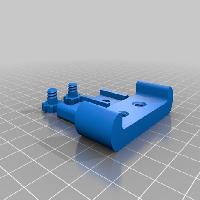
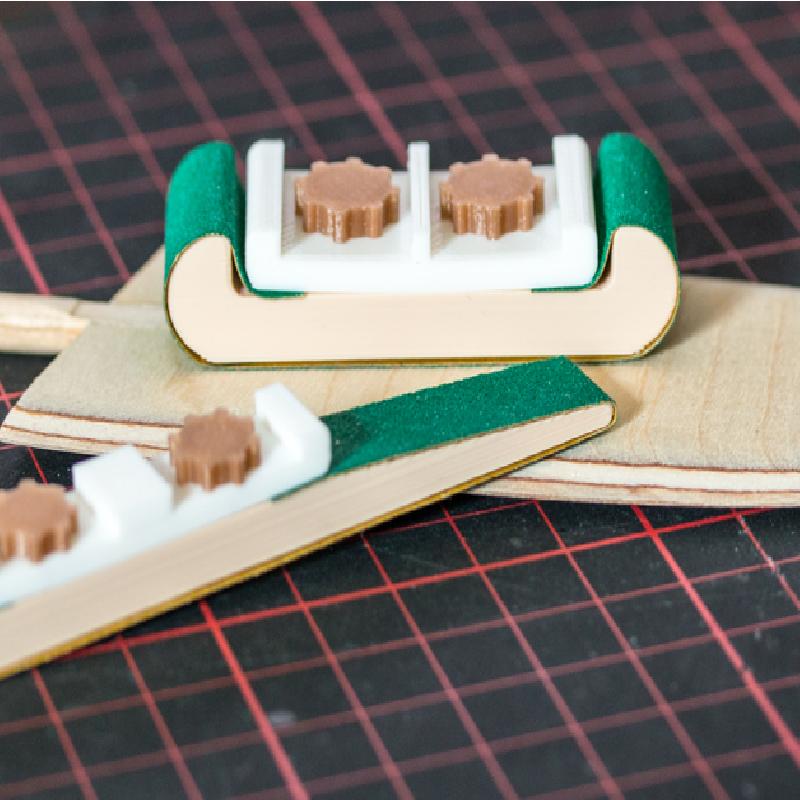
I like the idea of the Sanding stick by workshopbob, but I don't want to buy some hex screws. So I've created this thing, where you can customize your sanding stick, that will automatically include the needed printable screws.
I have also added the four sticks I'm using in the first picture as .stl files.
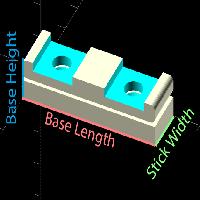
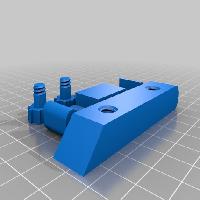
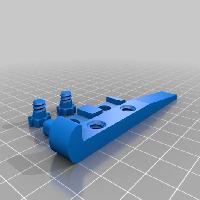
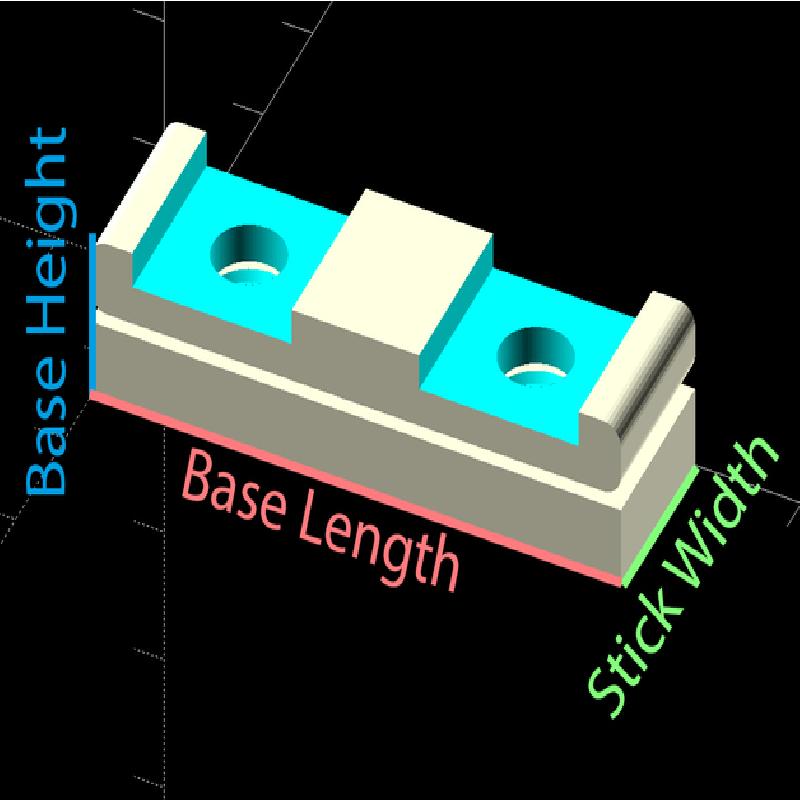
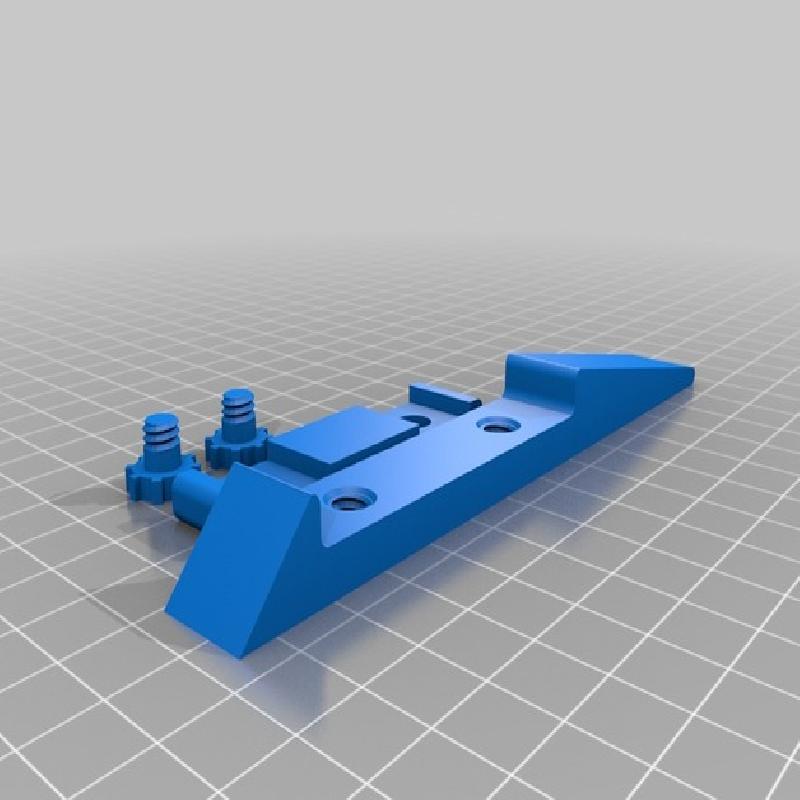
set the length, height and width (picture 3)
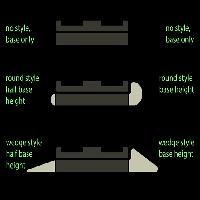
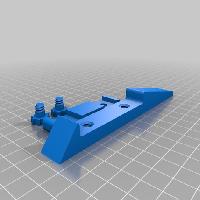
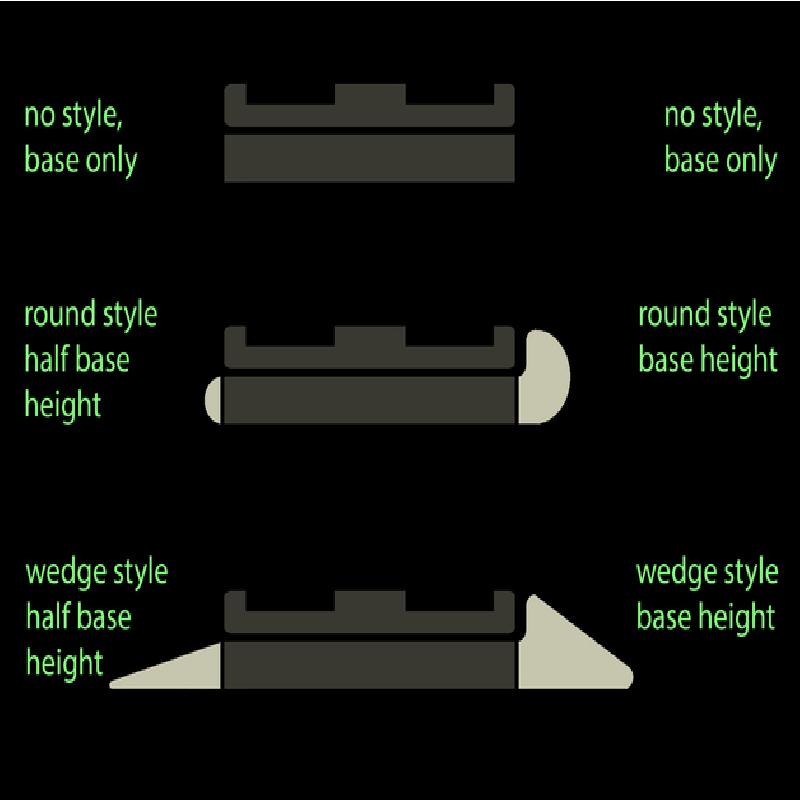
3 different end styles: none, round and wedge (picture 4)
set the angle and a smooth round end for wedge style
RCLifeOn: https://www.youtube.com/watch?v=eK8k_6zu0hs
Print 3D Channel: https://www.youtube.com/watch?v=kY7AoZirRsI
v1.3 - 2017-08-08:
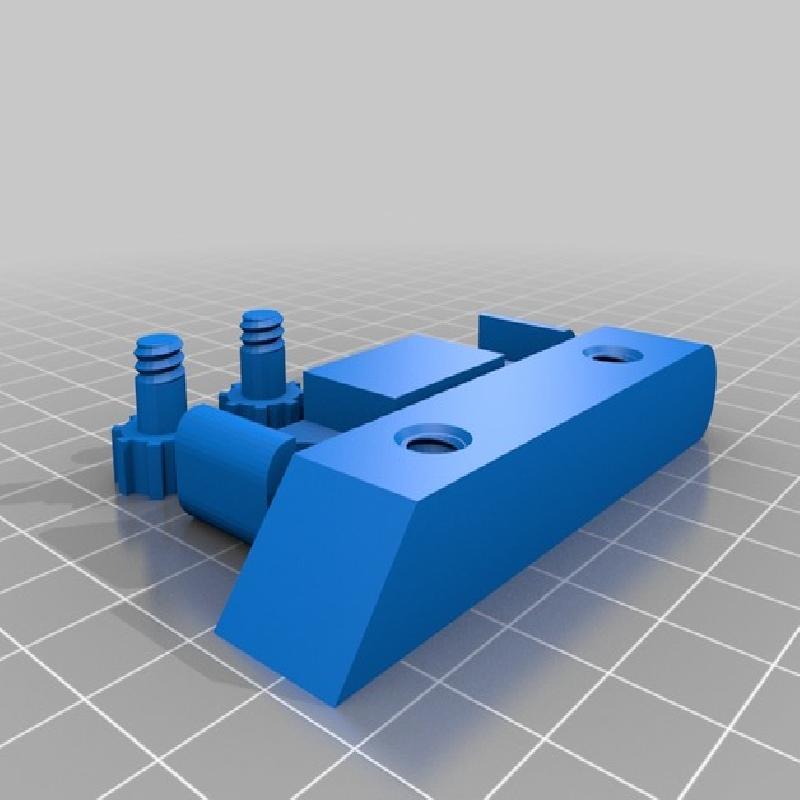
[feature] parts will be generated in separate stl-Files additionally.
v1.2 - 2017-07-31:
[fix] reduced the tolerance of the threaded hole. If you have problems, to insert the screw in, you can change the tolerance in the screw-settings-advanced section -> Screw Thread Hole Dia In Millimeter.
[feature] parameter to add extra height of the screws head
v1.1 - 2017-06-27:
[feature] added color
[cosmetic] updated description for screw settings
Do you like my things and do you want to support me? You can use these links if you want to buy something. This helps me doing more things. Thanks!
Banggood: https://goo.gl/ZXgx3A
Gearbest: https://goo.gl/FfE59f
Aliexpress: https://goo.gl/bQLi15
Printer:
Anet A8
Rafts:
No
Supports:
No
Resolution:
0.2 or better
Infill:
50%
Notes:
You can use lower infill, as long as the infill is present in each layer of the screw. Or you can use separate infill settings for each part e.g. 50% for bottom part and screws, 25% for top part. You can easily separate the part in Simplify3D under Mesh -> Separate Connected Surfaces. You can also separate the parts in the customizer.
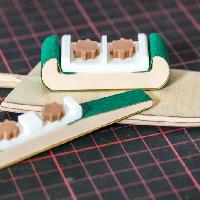
Step 1
Cut a strip of a sheet of sanding paper in the width of the stick. The length should be about the hole around the stick to the second hole + a little extra length.
Step 2
Wrap the strip around the stick from the edge of the first hole beginning to the edge of the second hole. You may cut the length in this step. You can either use your fingers or the top part to hold the strip in place.
Step 3
Screw the first screw in. Then you can tension the strip, lift the top part a bit and push the end of the strip between the top and bottom part. Use the second screw now.
Optional: You can use pliers to tighten the screws, but don't overtighten it!
Website