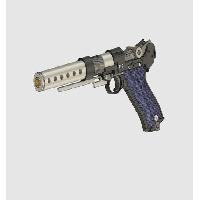
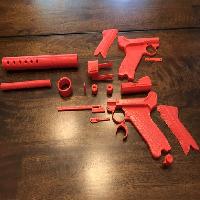
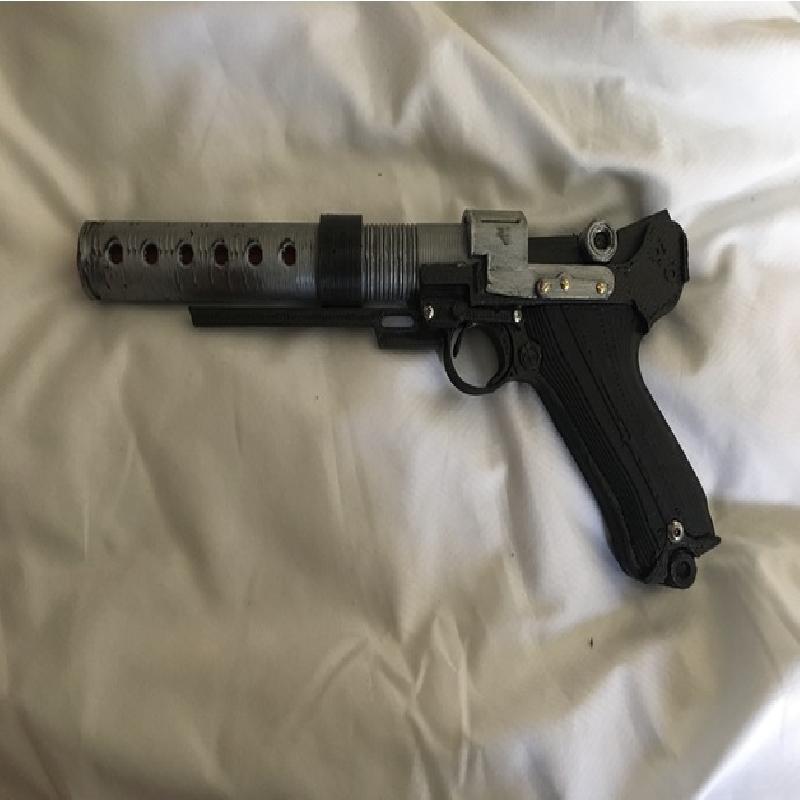
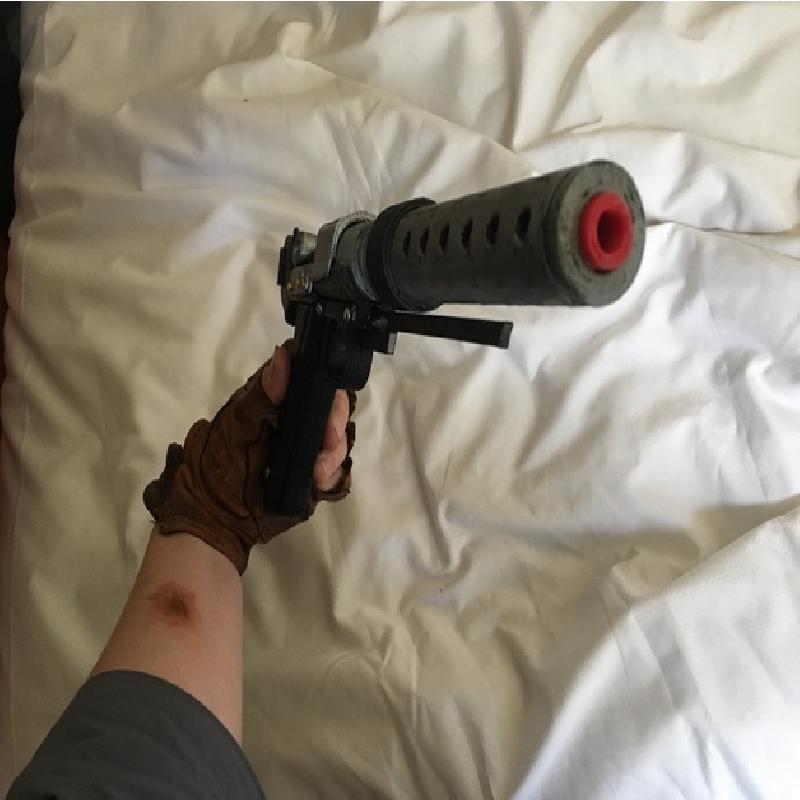
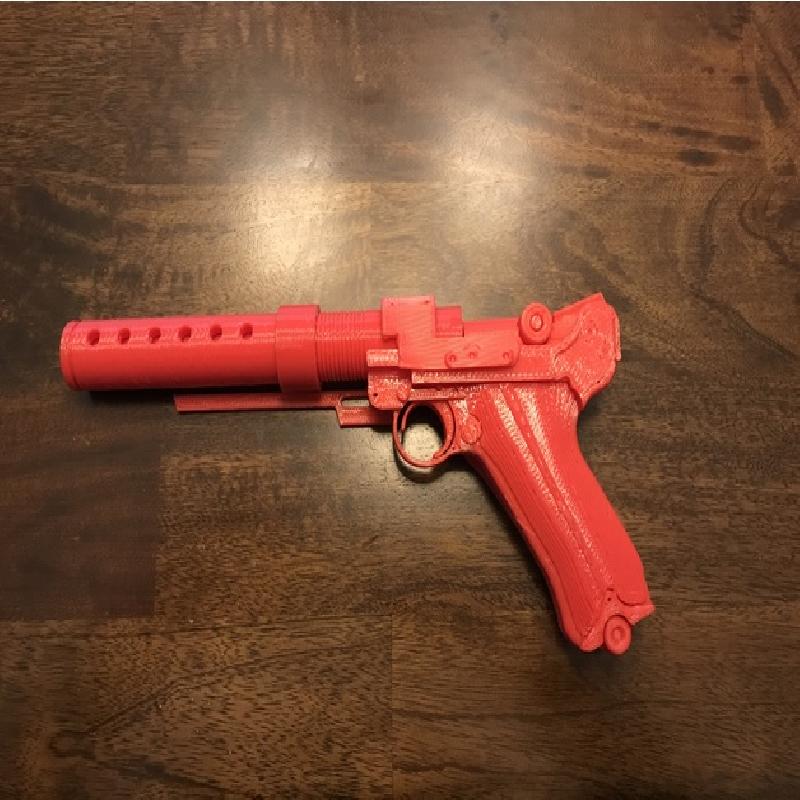
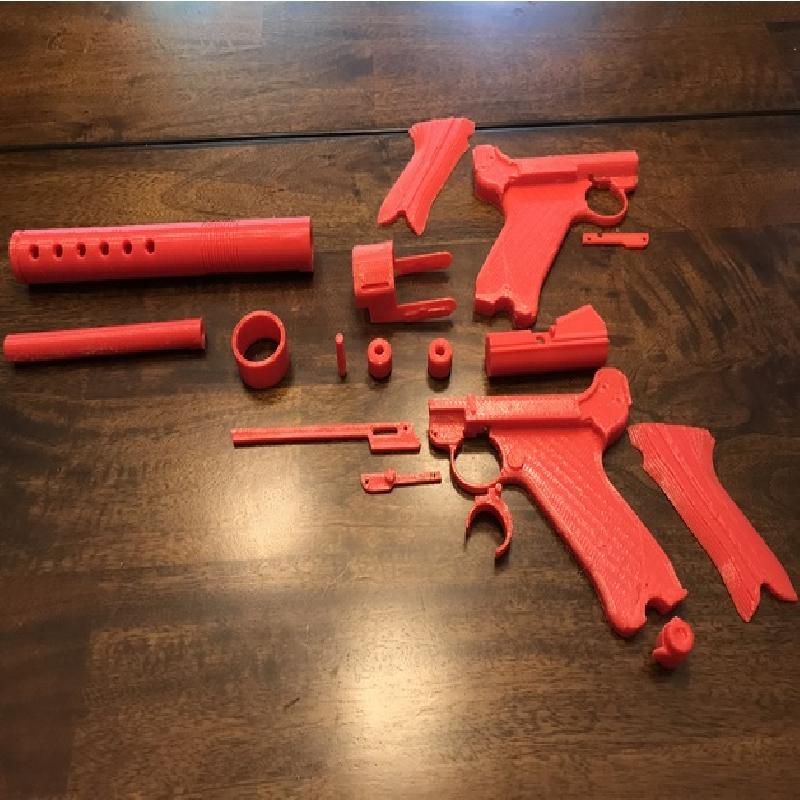
I was disappointed with the other offerings for the A-180. So, I built one with 3D printing in mind and a working trigger! To improve on its aesthetics, I wanted to have a few parts to assemble after printing. It should be obvious where the pieces go based on their names. I have included a few extra files to provide added flexibility. I included a split as well as a complete version of the the gun body. I did this to allow you to print the body all at once (i f you are a brave soul with a good printer). Similarly, I included knurled and smooth handgrip models. You only need one pair. I found that the knurling pattern is very difficult for most printers and the 3D printing process will leave a pattern of its own. However, if you have to have knurling for authenticity, I included the knurled models. In the screen shot you will see many screws. These screws are actual screws you buy and screw into the model to make it look better. I found some interesting looking screws at Lowes. The blaster is primarily held together with E6000 glue. I robbed a spring from a ball point pen to put behind the trigger. If you don't care about that, just glue the trigger in instead.
I would say that this is a moderately difficult print and build. If you like this model, please hit like and leave comments.
Printer Brand:
LulzBot
Printer:
TAZ 6
Rafts:
Doesn't Matter
Supports:
Yes
Resolution:
.2 on some and .6 on big pieces
Infill:
25%
Notes:
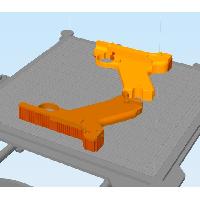
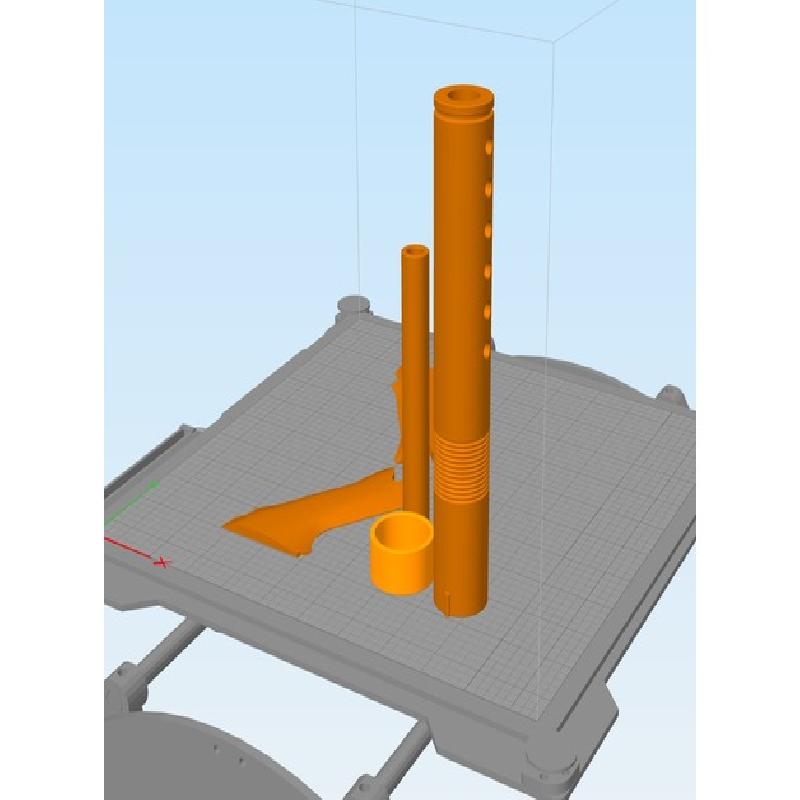
Don't try to print too many pieces at once. I have screen shots of what I did. I used .2mm layers and the standard tool head (.5mm nozzle) for the majority of the parts and .6mm (using the MOARstruder 1.2 mm nozzle tool head) on the barrels just to reduce print time. I used two perimeter layers, two bottom and three top layers for these prints. when doing multiple parts you might want to slow the print speed down a little so it has less chance to fail with the multiple retractions when moving between pieces.
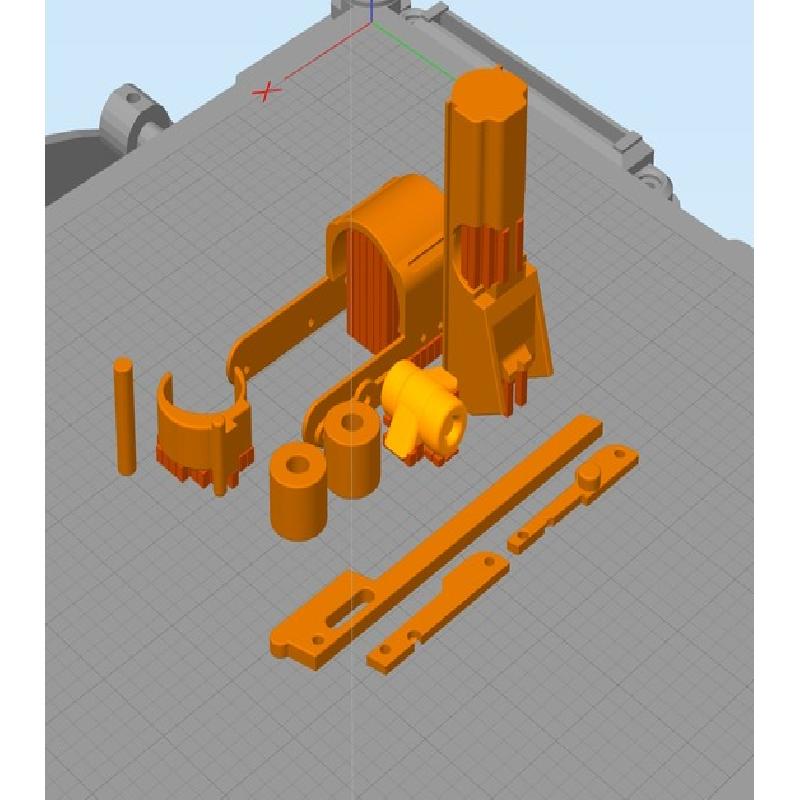
I used Fusion 360 to produce this model. I used the CAM feature to model the knurling on the handgrips. This required me to run a cutting simulation and then save the stock. Once saved, I removed the excess material by using separate shells command from the edit menu. Then, I imported the grips back into fusion 360 as mesh objects.